
Intrepid V6-3.5L VIN V (2002)
Push back the compressor hooks and remove the coil spring.
Assembly
ASSEMBLY - STRUT ASSEMBLY (REAR)
WARNING: DO NOT INSTALL THE COIL SPRING COMPRESSOR HOOKS ON THE COIL SPRING IN AN AREA OF THE SPRING
COVERED BY A SLEEVE. IF THE SLEEVE MOVES WHEN COMPRESSING THE SPRING, THE SPRING COULD MOVE RESULTING
IN PERSONAL INJURY.
CAUTION: Positioning the spring compressor hooks on the coil spring sleeve could cause the sleeve to dislodge from the coil spring when it is
compressed. A dislodged sleeve requires replacement of the coil spring.
NOTE: Make sure all components are free of dirt and debris before assembly, especially around the mounting surfaces. If the coil spring has been
removed from the spring compressor, proceed with the next step, otherwise, proceed with step 2.
1. Place the coil spring in the compressor following the manufacturer's instructions. The coil spring must be installed so the sleeve on the spring is
towards the upper end of assembly. Before compressing the spring, rotate the spring to the position noted in disassembly for ease of strut assembly
components.
2. Install the lower spring isolator on strut matching the step in the isolator to the step in the strut lower spring seat.
3. Install the strut through the bottom of the coil spring until the lower spring seat contacts the lower end of the coil spring. Align the lower coil
spring end with the step in the strut lower spring seat. Install the clamp on the lower end of the coil spring and strut, so the strut is held in place.
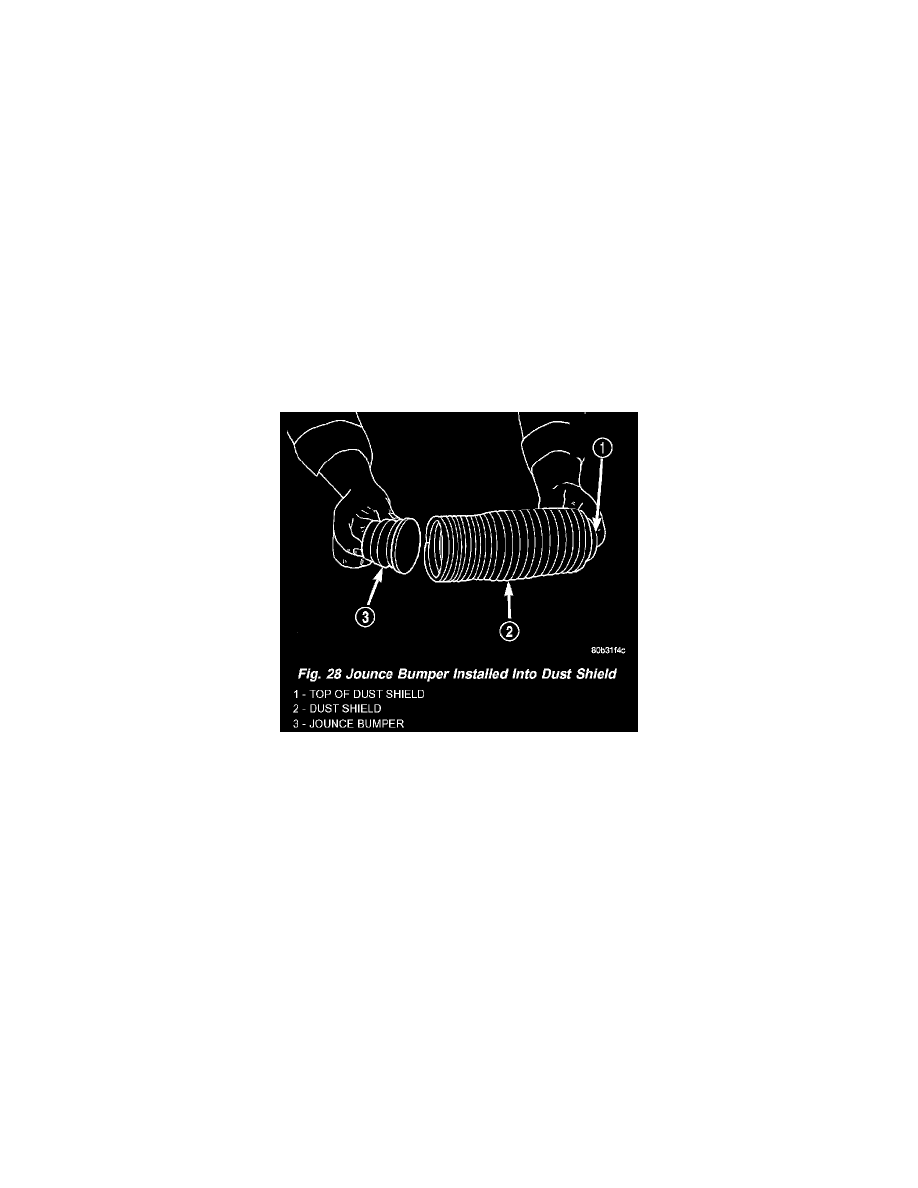
4. Install the jounce bumper into the dust shield from the bottom. The jounce bumper should snap into position at the top end of the dust shield.
5. Install the dust shield and jounce bumper into position in bottom of upper strut mount. Dust shield should snap into position. Once correctly
installed, the dust boot should be able to be rotated within the mount without coming loose.
6. Install the upper strut mount, dust shield and jounce bumper onto the strut shaft. Position the mount so its center rear mounting stud is aligned with
the stabilizer bar attaching link bracket that is on the inboard side of the strut.
7. Install the upper strut mount to strut shaft nut on the strut shaft. Install Strut Shaft Socket, Special Tool 6864, on strut shaft nut. Use a deep well
socket inserted into the opening of tool 6864 to keep strut shaft from turning. Tighten the strut shaft nut to a torque of 75 Nm (55 ft. lbs.).
8. Slowly release the tension from the coil spring by backing off the compressor drive fully. As the tension is relieved, make sure the upper mount,
spring, and strut align properly.
9. Remove the clamp from the lower end of the coil spring and strut. Push back the spring compressor upper and lower hooks, then remove the strut
assembly from the spring compressor.
10. Install the strut assembly back into the vehicle.
Installation
INSTALLATION - STRUT ASSEMBLY (REAR)
1. Install the nut, washers, and rubber isolators securing the stabilizer bar attaching link to the strut.