
Journey FWD V6-3.5L (2009)
Trim Panel: Service and Repair
Luggage Compartment Trim
Quarter Trim Panel - Removal
REMOVAL
1. Remove the second row seats. See: Seats/Service and Repair/Seats, Front/Seat - Removal.
2. Remove the third row seats, if equipped. See: Seats/Service and Repair/Seats, Front/Seat - Removal
3. Remove the storage box, if equipped. See: Utility Storage Compartment/Service and Repair/Rear Storage Box - Removal.
4. Remove the door sill plate. See: Scuff Plate/Service and Repair/Scuff Plate - Removal.
5. Remove the D-pillar trim panel. See: Pillar Trim/D-Pillar Trim/Removal.
6. Remove the mounting fasteners.
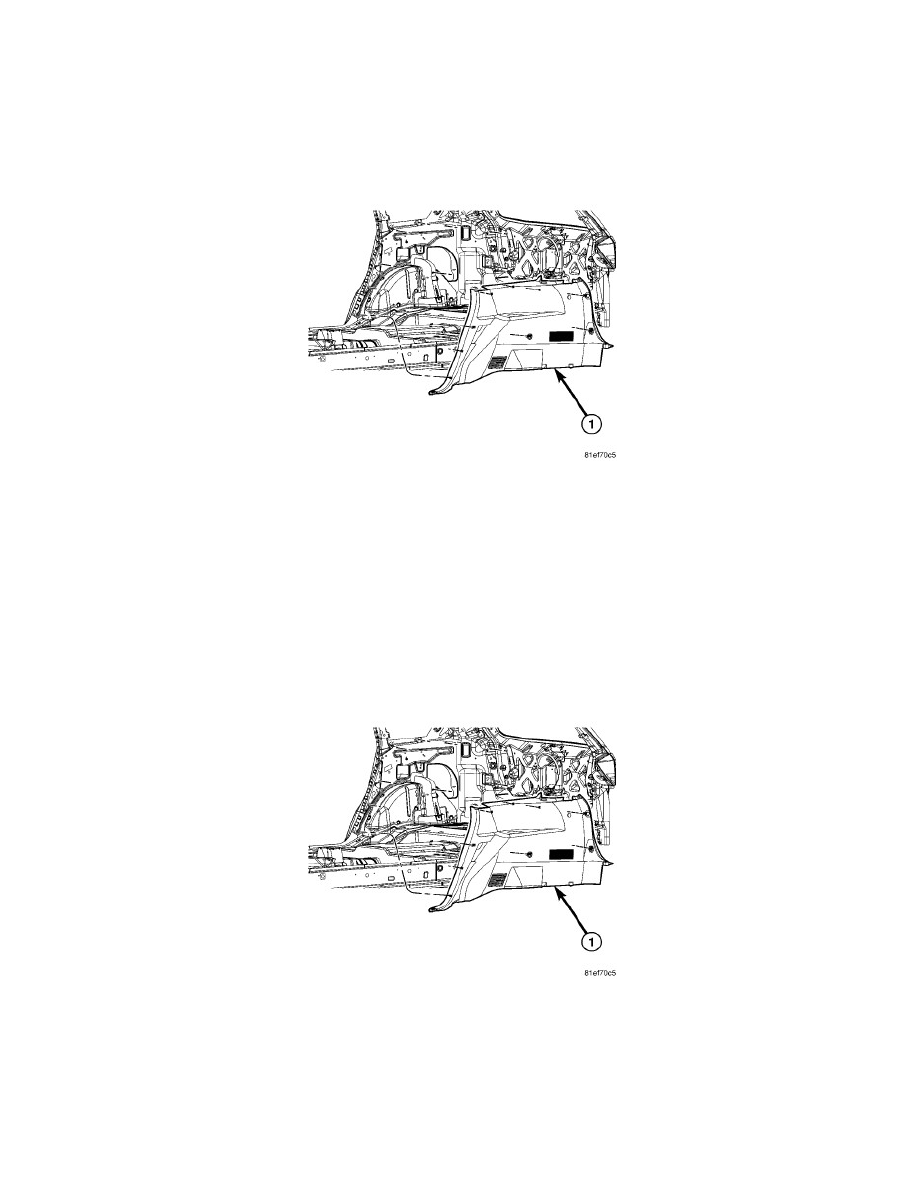
7. Using trim stick C-4755, carefully pry the quarter trim panel out disengaging the retaining clips.
Quarter Trim Panel - Installation
INSTALLATION
1. Install the quarter trim panel.
2. Install the mounting fasteners.
3. Install the door sill plate. See: Scuff Plate/Service and Repair/Scuff Plate - Installation.
4. Install the D-pillar trim panel. See: Pillar Trim/D-Pillar Trim/Installation.
5. Install the storage box, if equipped. See: Utility Storage Compartment/Service and Repair/Rear Storage Box - Installation.
6. Install the third row seats, if equipped. See: Seats/Service and Repair/Seats, Front/Seat - Installation.
7. Install the second row seats. See: Seats/Service and Repair/Seats, Front/Seat - Installation.