
Journey FWD V6-3.5L (2009)
Brake Master Cylinder Reservoir - Installation
INSTALLATION
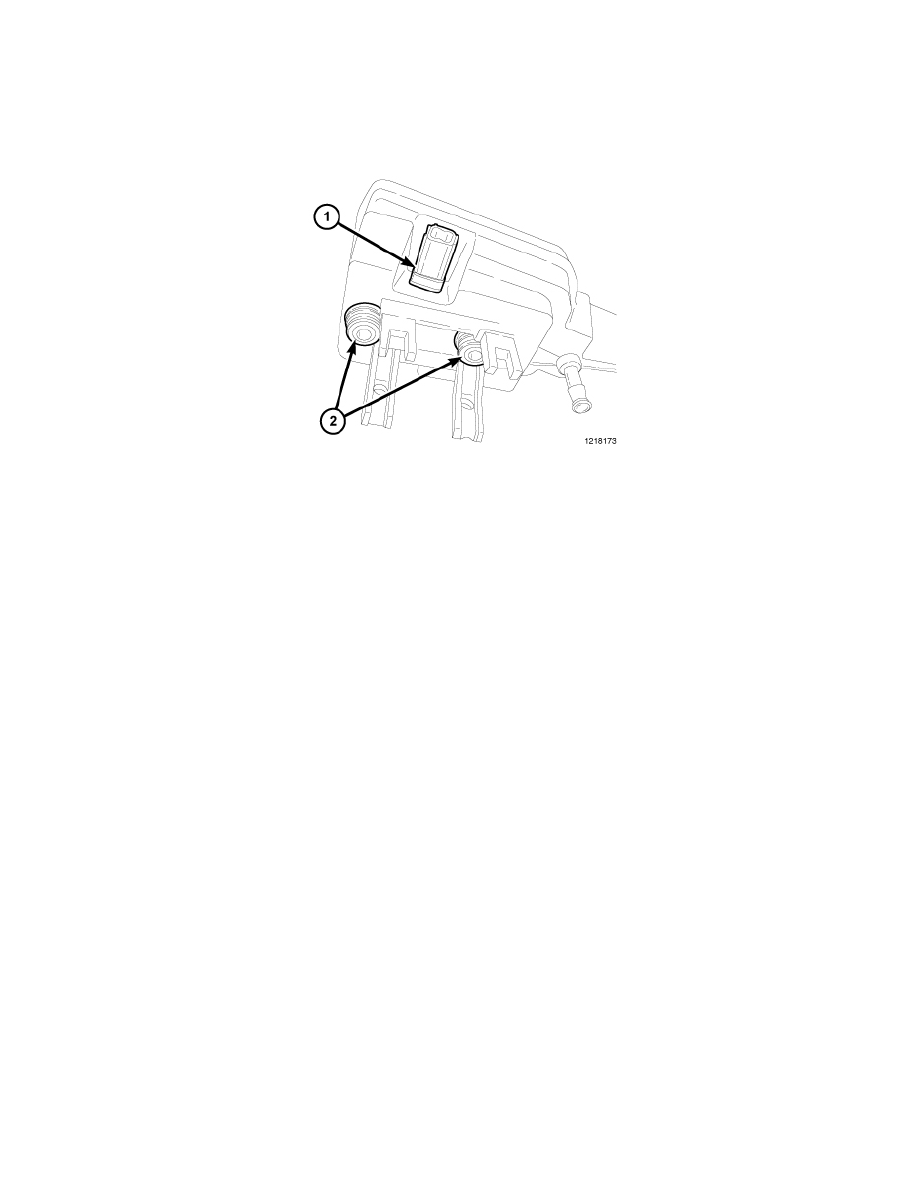
NOTE: The brake fluid level switch is mounted through the center of the fluid reservoir. The switch can be serviced separately from the
master cylinder fluid reservoir See: Brake Fluid Level Sensor/Switch/Service and Repair/Brake Fluid Level Switch - Installation
1. Lubricate the reservoir mounting area with fresh clean brake fluid. With the grommet seals (2) on the fluid reservoir spigots, place the reservoir in
position over the master cylinder. Install the fluid reservoir by firmly pressing down on the fluid reservoir. Once installed, make sure the fluid
reservoir is touching the top of both grommet seals.
2. Push the reservoir retaining tabs over the mounting posts on the master cylinder housing. Make sure the retaining tabs are securely engaged.
3. Fill the brake fluid reservoir with fresh Mopar(R) Brake Fluid DOT 3 Motor Vehicle, or equivalent See: Brake Fluid/Specifications
4. Install the front wiper motor module See: Wiper and Washer Systems/Wiper Motor Linkage/Service and Repair/Wiper Arm Linkage - Installation
5. Install the inner and outer cowl covers See: Body and Frame/Cowl/Cowl Moulding / Trim/Service and Repair/Cowl Panel Inner Cover -
Installation See: Body and Frame/Cowl/Cowl Moulding / Trim/Service and Repair/Cowl Panel Outer Cover - Installation