
Journey FWD V6-3.5L (2009)
c.
Place the Ignition in the "RUN" position, then Power "ON" the StarMOBILE.
d.
Record the StarMOBILE I.P. address displayed on the StarMOBILE screen.
e.
From the desktop, launch the "StarMOBILE Desktop Client" software.
f.
Establish a connection with the StarMOBILE scan tool.
g.
Starting at the "Home" screen select "ECU View".
h.
Touch the screen to highlight "PCM" in the list of modules.
i.
Select "More Options".
j.
Select "ECU Flash".
k.
Record the part number at the top of the Flash PCM screen for later reference.
3.
Place the Ignition in the "OFF" position.
4.
Disconnect the negative battery cable.
5.
Unlock and disconnect the electrical connectors from the PCM.
6.
Remove the air cleaner box.
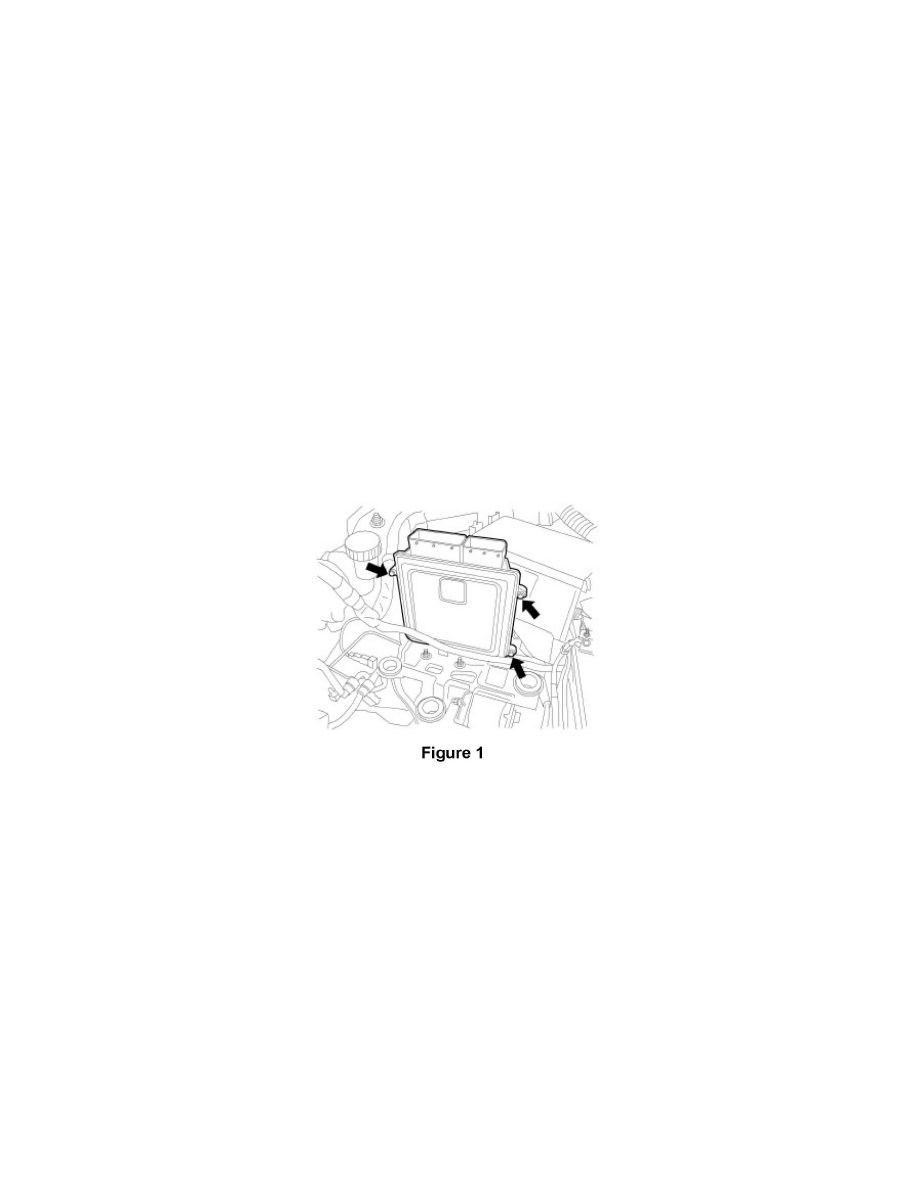
7.
Remove the three PCM mounting bolts (Figure 1).
8.
Tip the PCM out and remove it from the mounting bracket.
9.
Place the new PCM into the mounting bracket.
10.
Install the three mounting bolts and tighten them to 80 in. lbs. (9 N.m) (Figure 1).
11.
Connect the PCM electrical connectors and engage the electrical connector locks.
12.
Install the air cleaner box.
13.
Connect the negative battery cable.
14.
Continue with Section C. Program PCM.
B. PCM Replacement For JS/JC Models
1.
Open the hood. Install a battery charger and verify that the charging rate provides 13.0 to 13.5 volts. Do not allow the charger to time out during
the flash process. Set the battery charger timer (if so equipped) to continuous charge.