
Magnum V6-2.7L VIN T (2007)
Drive/Propeller Shaft: Service and Repair
Installation
Installation - Front
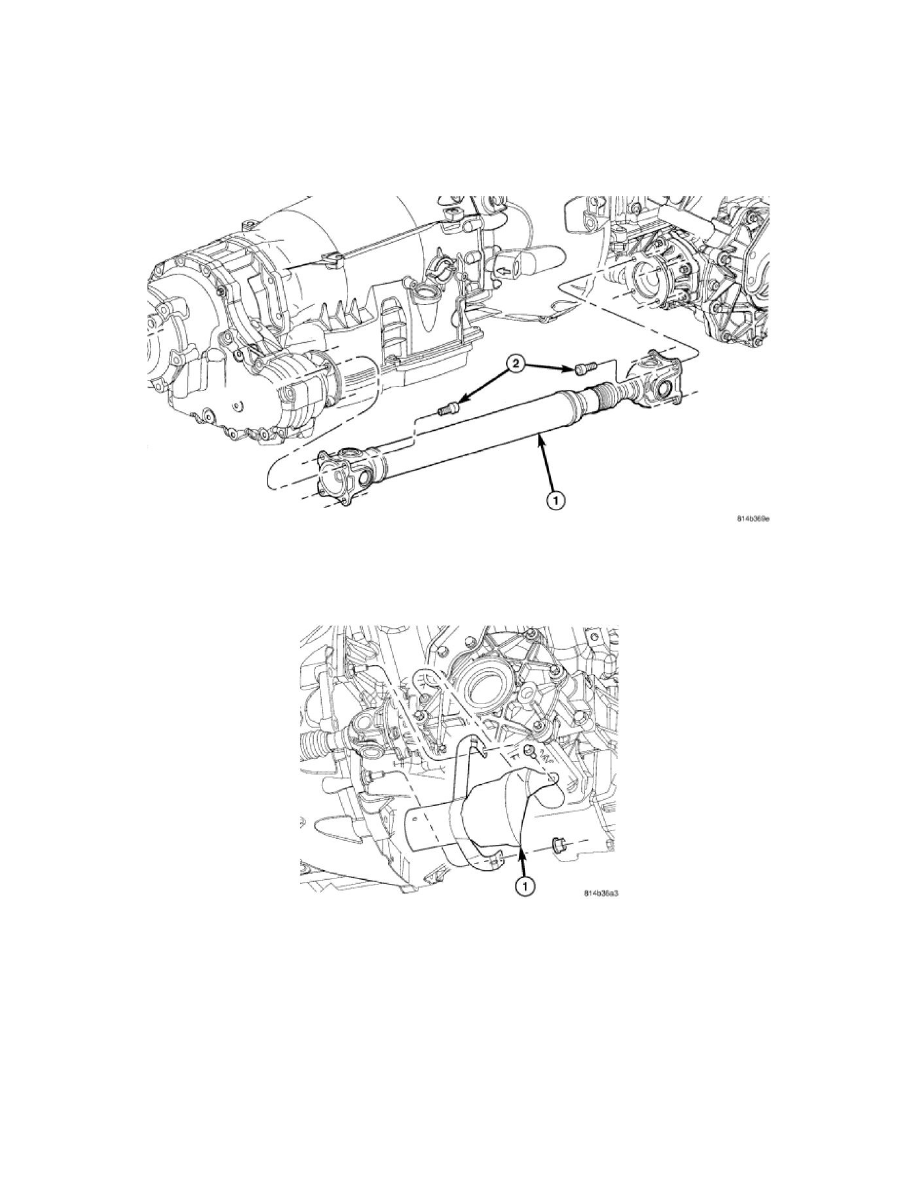
INSTALLATION - FRONT
1. Install propeller shaft (1) into position.
2. Starting at transfer case end, align index marks placed upon removal and loose-install new propeller shaft-to-transfer case flange bolts.
3. Align index marks at front axle end of shaft, and loose-install new propeller shaft-to-front axle flange bolts.
4. Torque propeller shaft-to-transfer case and axle flange bolts (2) to 61 Nm (45 ft. lbs.).
5. Install propeller shaft heat shield.
6. Lower vehicle.
Installation - Rear
INSTALLATION - REAR
CAUTION: Propeller shaft installation is a two-man operation. Never allow propeller shaft to hang from the center bearing, or while only
connected to the transmission or rear axle flanges. A helper is required. If a propeller shaft section is hung unsupported, damage may occur to
the shaft, coupler, and/or center bearing from over-angulation. This may result in driveline vibrations and/or component failure.
COUPLER/DAMPER SERVICE