
Magnum V6-3.5L VIN V (2006)
Oxygen Sensor: Service and Repair
CAUTION: Never apply any type of grease to the oxygen sensor electrical connector, or attempt any soldering of the sensor wiring harness.
REMOVAL
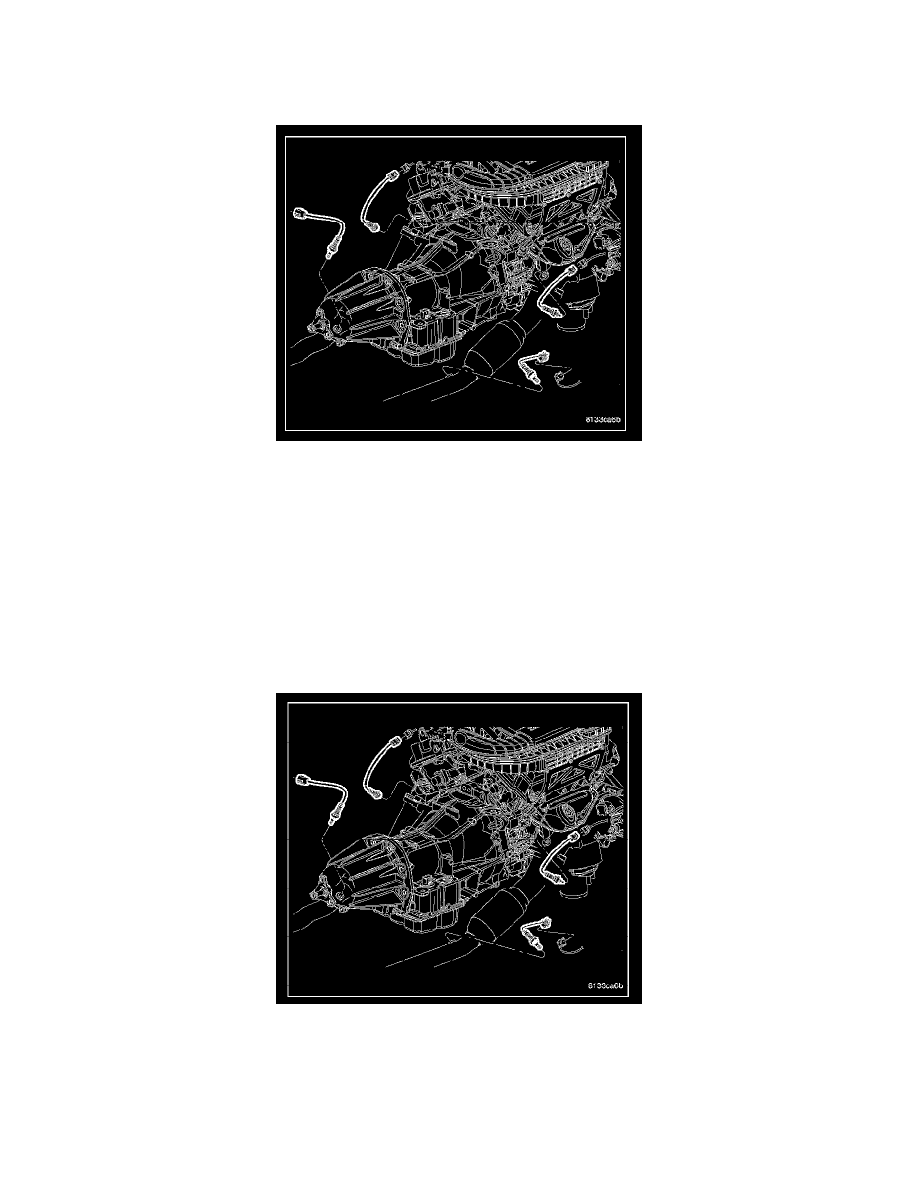
The engines uses two heated oxygen sensors, one in each exhaust manifold.
WARNING: THE EXHAUST MANIFOLD, EXHAUST PIPES AND CATALYTIC CONVERTER BECOME VERY HOT DURING ENGINE
OPERATION. ALLOW ENGINE TO COOL BEFORE REMOVING OXYGEN SENSOR.
CAUTION: When disconnecting sensor electrical connector, do not pull directly on wire going into sensor.
1. Remove the negative battery cable.
2. Raise vehicle and support.
3. Disconnect the heated oxygen sensor electrical connector.
4. Use a socket such as Snap-On YA8875 or a crow foot wrench to remove oxygen sensor.
INSTALLATION
NOTE: When replacing an O2 Sensor, the PCM RAM memory must be cleared, either by disconnecting the PCM C-1 connector or momentarily
disconnecting the Battery negative terminal. The NGC learns the characteristics of each O2 heater element and these old values should be cleared when
installing a new O2 sensor. The customer may experience driveability issues if this is not performed.
The engines uses two heated oxygen sensors, one in each exhaust manifold.
1. After removing the sensor, the exhaust manifold threads must be cleaned with an 18 mm X 1.5 + 6E tap. If reusing the original sensor, coat the
sensor threads with an anti-seize compound such as Loctite 771-64 or equivalent. New sensors have compound on the threads and do not require