
Magnum V8-5.7L (2008)
Trunk / Liftgate Latch: Service and Repair
Liftgate Latch Handle
Removal
REMOVAL
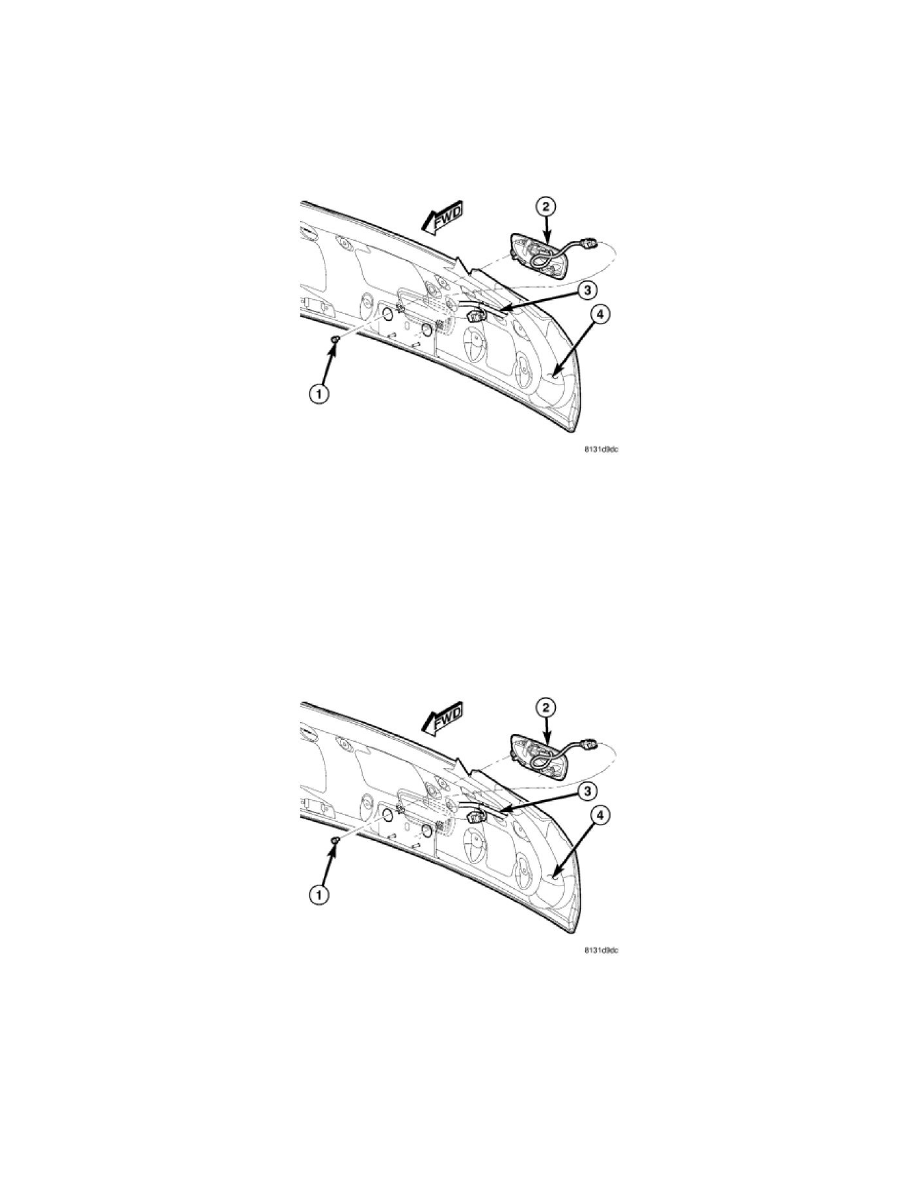
1. Open the liftgate (4).
2. Disconnect and isolate the battery negative cable.
3. Remove the lower trim panel from the inside of the liftgate. See: Trunk / Liftgate Interior Trim Panel/Service and Repair/Liftgate Trim
Panel/Removal.
4. Disconnect the pigtail wire connector of the latch handle (2) from the take out of the liftgate wire harness (3) on the inside of the liftgate.
5. Reach through the clearance hole in the inside of the liftgate panel on each side of the latch to access and remove the two screws (1) that secure the
handle to the liftgate.
6. Remove the latch handle from the outside of the liftgate.
Installation
INSTALLATION
1. Position the latch handle (2) onto the outside of the liftgate (4).
2. Reach through the clearance hole in the inside of the liftgate panel on each side of the latch to install and tighten the two screws (1) that secure the
handle to the liftgate. Tighten the screws to 9 Nm (7 ft. lbs.).
3. Reconnect the pigtail wire connector of the latch handle to the take out of the liftgate wire harness (3) on the inside of the liftgate.
4. Reinstall the lower trim panel onto the inside of the liftgate. See: Trunk / Liftgate Interior Trim Panel/Service and Repair/Liftgate Trim
Panel/Installation.
5. Reconnect the battery negative cable.
6. Close the liftgate.