
Magnum V8-5.7L VIN 2 (2007)
9. Remove lower isolator (2) from shock body by pulling straight up and off shock shaft.
10. Inspect shock assembly components for following and replace as necessary:
-
Inspect shock (3) for any condition of shaft binding over full stroke of shaft.
-
Inspect upper mount (5) for cracks and distortion and its retaining studs for any sign of damage.
-
Inspect upper spring isolator (5) for severe deterioration.
-
Inspect lower spring isolator (2) for severe deterioration.
-
Inspect dust shield for tears and deterioration.
-
Inspect coil spring (1) for cracks in the coating and corrosion.
-
Inspect jounce bumper (4) for cracks and signs of deterioration.
Assembly
ASSEMBLY
CAUTION: Use care not to damage coil spring coating during spring assembly. Damage to coating will jeopardize its corrosion protection.
NOTE: Left and right springs must not be interchanged.
NOTE: If coil spring has been removed from spring compressor, proceed with next step, otherwise, proceed with step 4.
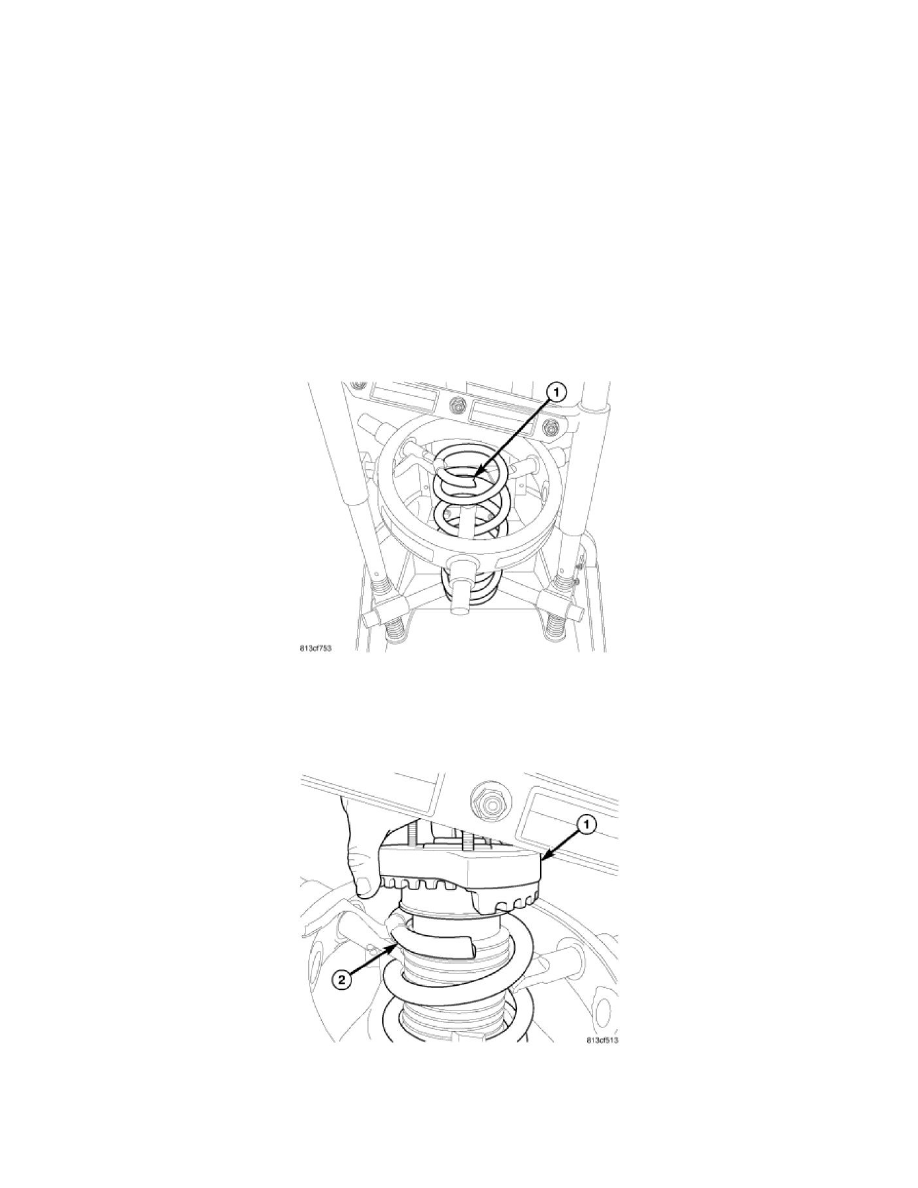
1. Place coil spring (part number tag end upward) in compressor lower hooks following manufacturers instructions. To ease shock reassembly,
rotate coil spring around until upper coil (1) ends at straight outward position from Compressor. Proper orientation of spring to upper mount (once
installed) is necessary.
2. Position compressor upper hooks over coil spring following manufacturers instructions.
3. Compress coil spring far enough to allow shock installation.
4. If separated, install upper mount (1) onto coil spring (2). Match step in upper isolator to end of spring coil.