
Magnum V8-5.7L VIN H (2005)
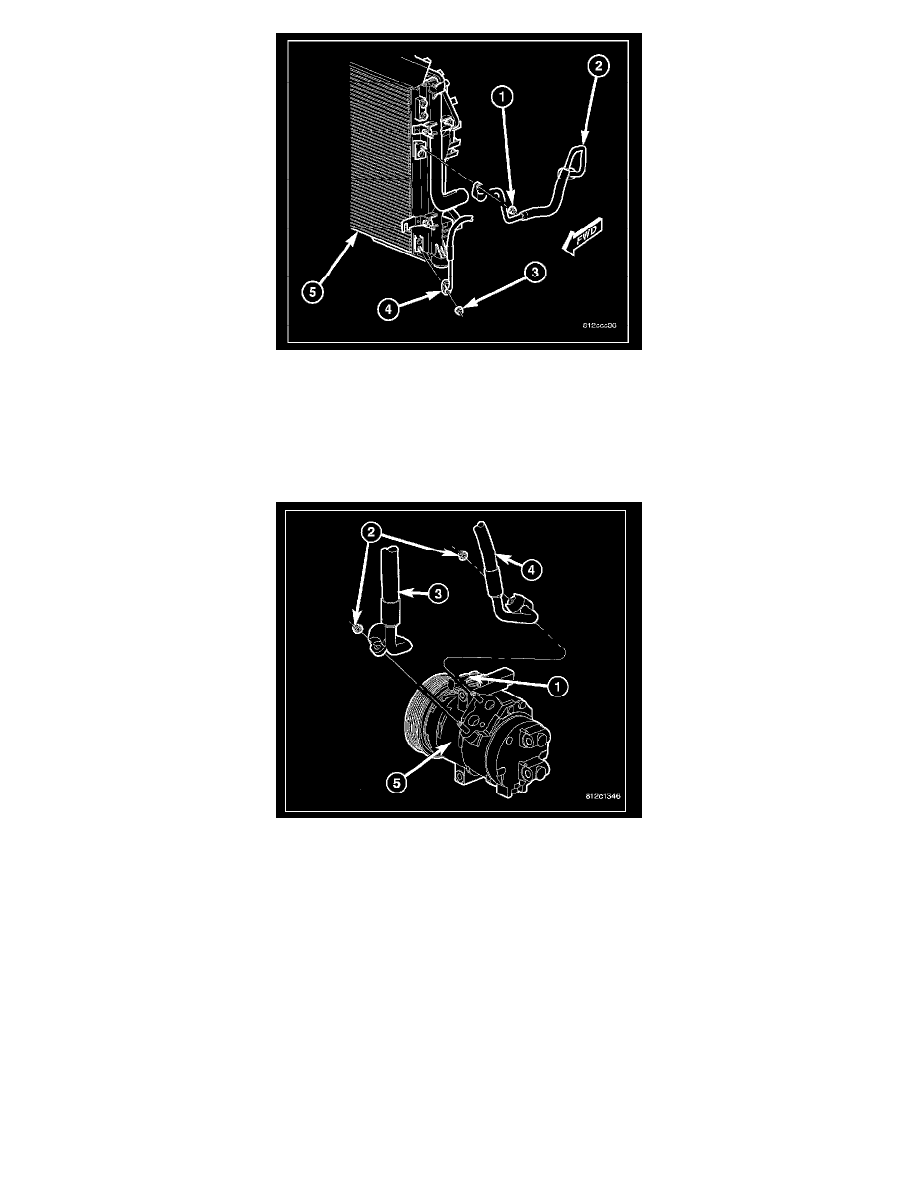
1. Position the A/C discharge line (2) into the engine compartment.
2. Remove the tape or plugs from the opened discharge line fitting and the inlet port on the A/C condenser (5).
3. Lubricate a new dual plane seal with clean refrigerant oil and install it onto the discharge line fitting. Use only the specified seal as it is made of a
special material for the R-134a system. Use only refrigerant oil of the type recommended for the A/C compressor in the vehicle.
4. Install the A/C discharge line onto the A/C condenser.
5. Reach through the headlamp opening in the upper radiator support and install the nut (1) that secures the A/C discharge line to the A/C condenser.
Tighten the nut to 22 N.m (16 ft.lbs.).
6. Remove the tape or plugs from the opened fitting on the A/C discharge line (4) and the outlet port on the A/C compressor (5).
7. Lubricate a new dual plane seal with clean refrigerant oil and install it onto the discharge line fitting. Use only the specified seal as it is made of a
special material for the R-134a system. Use only refrigerant oil of the type recommended for the A/C compressor in the vehicle.
8. Install the A/C discharge line onto the A/C compressor.
9. Install the nut (2) that secures the A/C discharge line to the A/C compressor. Tighten the nut to 23 N.m (17 ft.lbs.).
10. Install the air cleaner housing.
11. Reconnect the negative battery cable.
12. Evacuate the refrigerant system.
13. Charge the refrigerant system.