
Magnum V8-5.7L VIN H (2005)
b.
If the old "Part Number" is not known, proceed to Step # 6.
5.
Select "Enter part number".
a.
Follow the on screen instructions. Enter the "Part Number" (use capital letters) recorded in Step # 1 when prompted to do so. Follow the on
screen instructions. Select "Next" after each step. Select "Finish" after completing the last step.
b.
Proceed to Step # 7.
6.
Select "Enter YME Information".
a.
Follow the on screen instructions. Select "Next" after each step. Select "Finish" after completing the last step.
b.
Proceed to Step # 7.
7.
Using the mouse highlight the appropriate "Calibration"
a.
Select "Save to USB".
b.
Follow the on screen instructions. Select "Next" # after each step. Select "Finish" after completing the last step.
8.
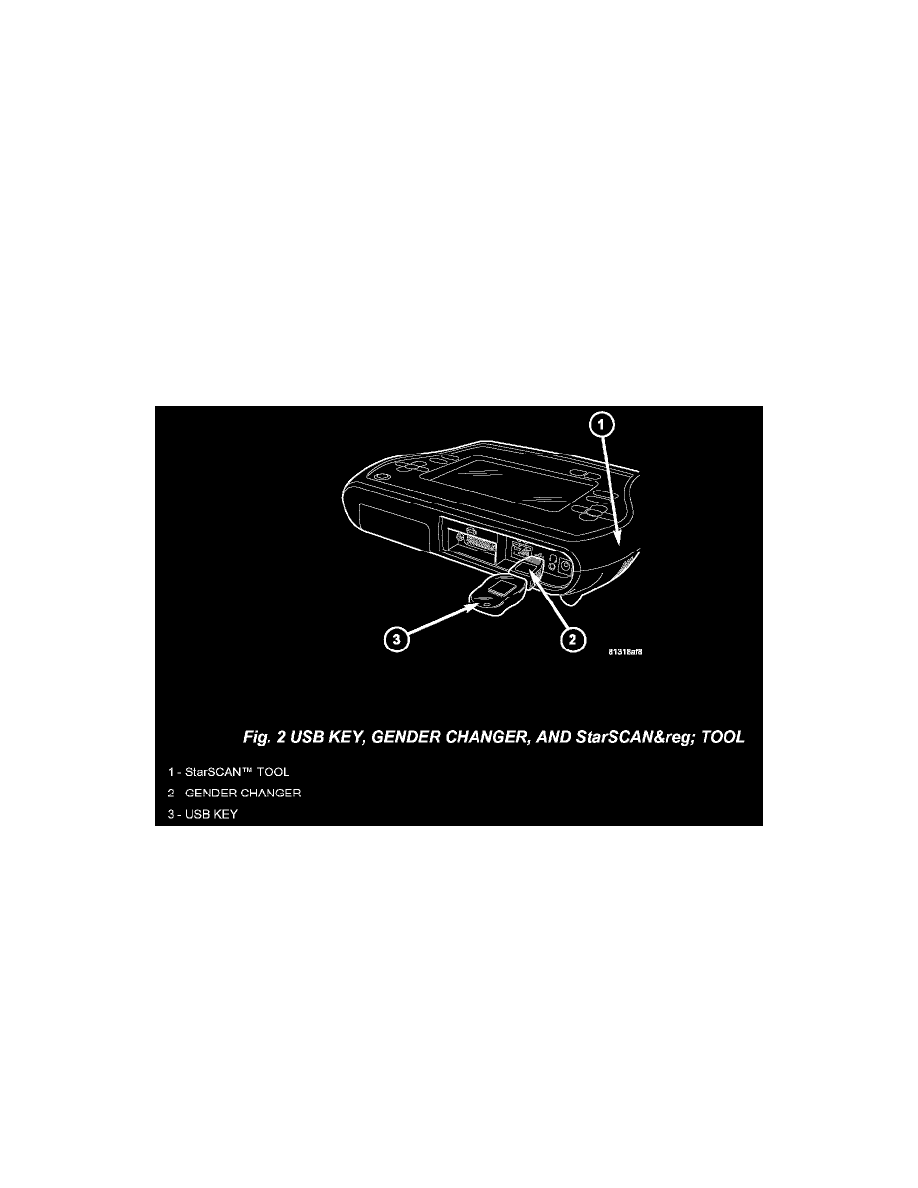
With the StarSCAN(R) powered OFF, connect the USB Key and Gender Changer to the StarSCAN(R) USB port (Fig. 2).
9.
Open the hood, install a battery charger and verify that the charging rate provides approximately 13.5 volts.
10.
Connect the StarSCAN(R) to the vehicle.
11.
Power ON the StarSCAN(R).
12.
Download the file from the USB key to the StarSCAN(R). Using the StarSCAN(R) at the "Home" screen:
a.
Select "Flash Download".
b.
Select "Use USB device".
c.
Follow the on screen instructions. Select "Next" # after each step. Select "Finish" after completing the last step.
d.
At the "Flash File List" screen, highlight the appropriate FCM "Calibration".