
Magnum SRT-8 V8-6.1L VIN 3 (2006)
Console: Service and Repair
CONSOLE-FLOOR
REMOVAL
1. Apply the parking brake.
2. Turn the ignition switch to the On position, apply the service brakes and place the gear selector lever into the Neutral position.
3. Turn the ignition switch to the Off position and release the service brakes.
NOTE: For vehicles equipped with the optional Automatic Express Up power window feature, calibration of this feature is required whenever
power to the door module is disrupted. A battery reconnect procedure must be performed anytime the battery has been disconnected. Refer to
Battery / Service and Repair.
4. Disconnect and isolate the battery negative cable.
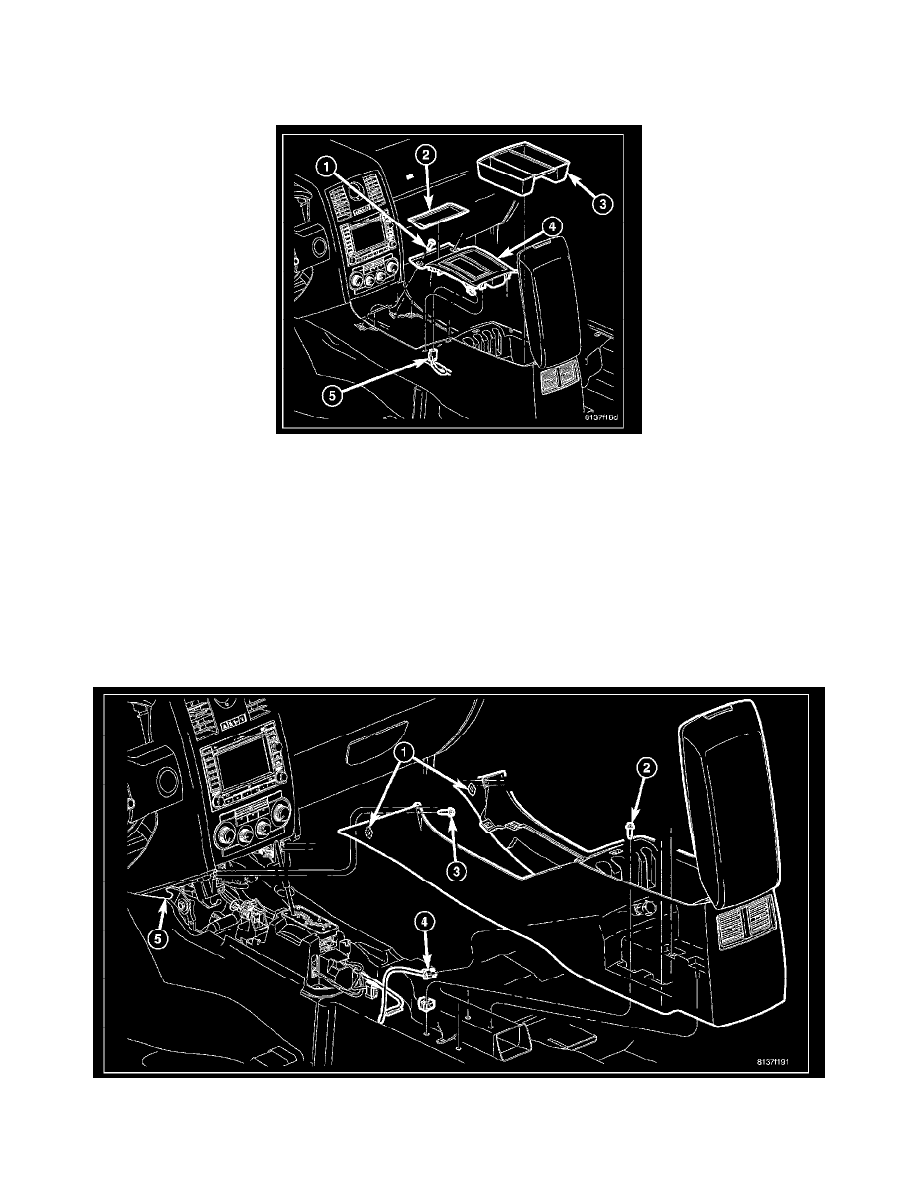
5. Remove the mat (2) from the cubby bin at the front of the floor console.
6. Open the lid of the console rear bin and remove the mat (3) from the rear bin.
7. Remove the two screws (1) that secure the front of the console shifter bezel to the console.
8. Using a trim stick unsnap the console bezel from the console
9. Remove the shifter bezel from around the gear selector lever.
10. Remove the three 8 mm bolts (2) from the rear bin that secure the console to the floor panel transmission tunnel.
11. Remove the two screws (3) that secure the front of the console to the instrument panel.