
Magnum SRT-8 V8-6.1L VIN 3 (2006)
CAUTION: When removing and installing the piston and connecting rod assembly, Do not damage the piston cooling jets. If the jets are bent,
engine damage may occur.
6. Immediately after piston and connecting rod removal, install bearing cap on the mating connecting rod to prevent damage to the fractured cap and
rod surfaces.
7. Carefully remove piston rings from piston(s), starting from the top ring down.
CLEANING
CAUTION: DO NOT use a wire wheel or other abrasive cleaning devise to clean the pistons or connecting rods. The pistons have a Moly coating,
this coating must not be damaged.
1. Using a suitable cleaning solvent clean the pistons in warm water and towel dry.
2. Use a wood or plastic scraper to clean the ring land grooves.
INSPECTION
Check the connecting rod journal for excessive wear, taper and scoring.
Check the connecting rod for signs of twist or bending.
Use the proper tool when removing the piston clip. If the clip is pried out, a burr may form on the groove that will inhibit pin removal and installation.
Check the piston for taper and elliptical shape before it is fitted into the cylinder bore.
Check the piston for scoring, or scraping marks in the piston skirts. Check the ring lands for cracks and/or deterioration.
INSTALLATION
1. Before installing piston and connecting rod assemblies into the bore, install the piston rings.
2. Immerse the piston head and rings in clean engine oil. Position a ring compressor over the piston and rings. Tighten ring compressor. Ensure
position of rings do not change during this operation.
3. Position bearing onto connecting rod. Lubricate bearing surface with clean engine oil.
4. Install Special Tool 8507 Connecting Rod Guides into connecting rod bolt threads.
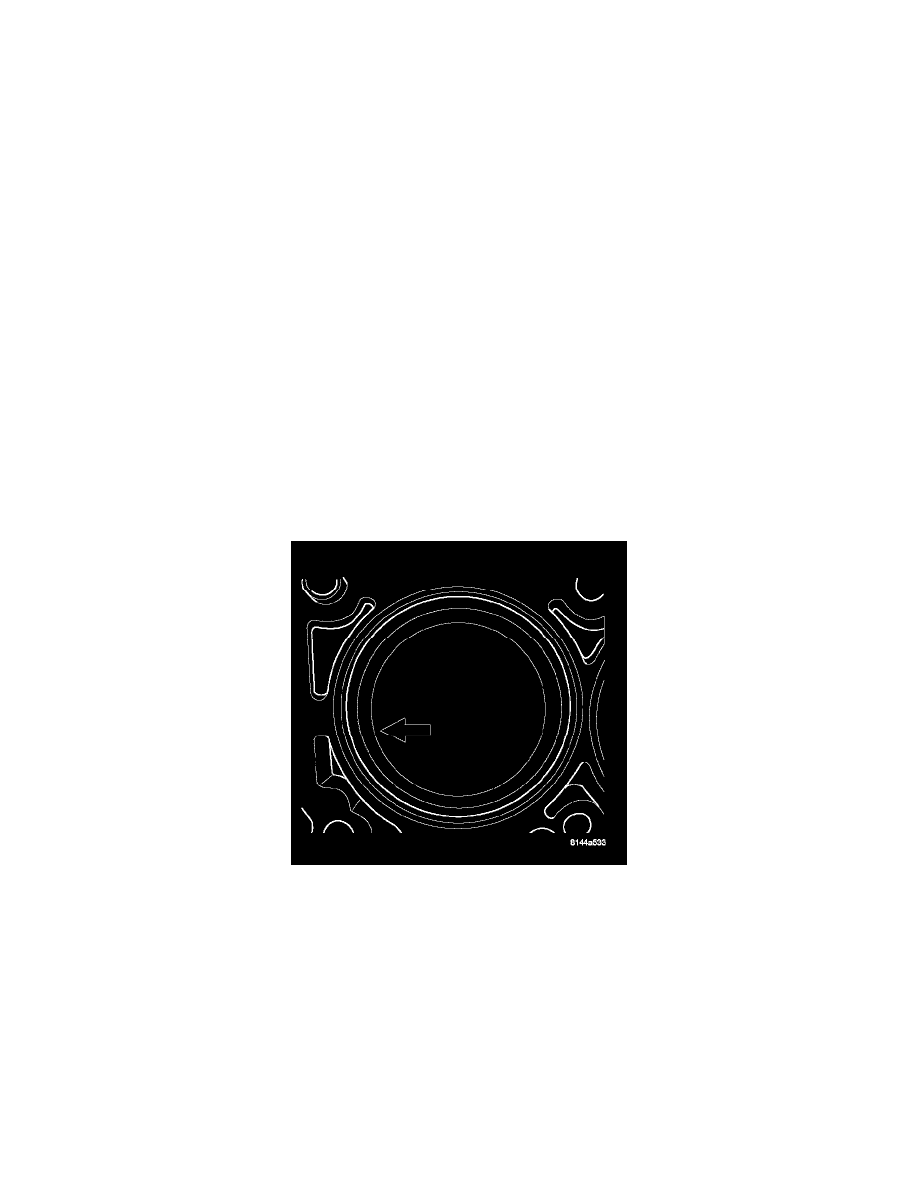
5. The pistons are marked on the piston pin bore surface with an raised "F or arrow on top of piston indicating installation position. This mark must
be pointing toward the front of engine on both cylinder banks.
6. Wipe cylinder bore clean and lubricate with engine oil.
7. Rotate crankshaft until connecting rod journal is on the center of cylinder bore. Insert rod and piston into cylinder bore and carefully position
connecting rod guides over crankshaft journal.