
Mini Ram Van L4-156 2.6L SOHC VIN G 2-bbl (1984)
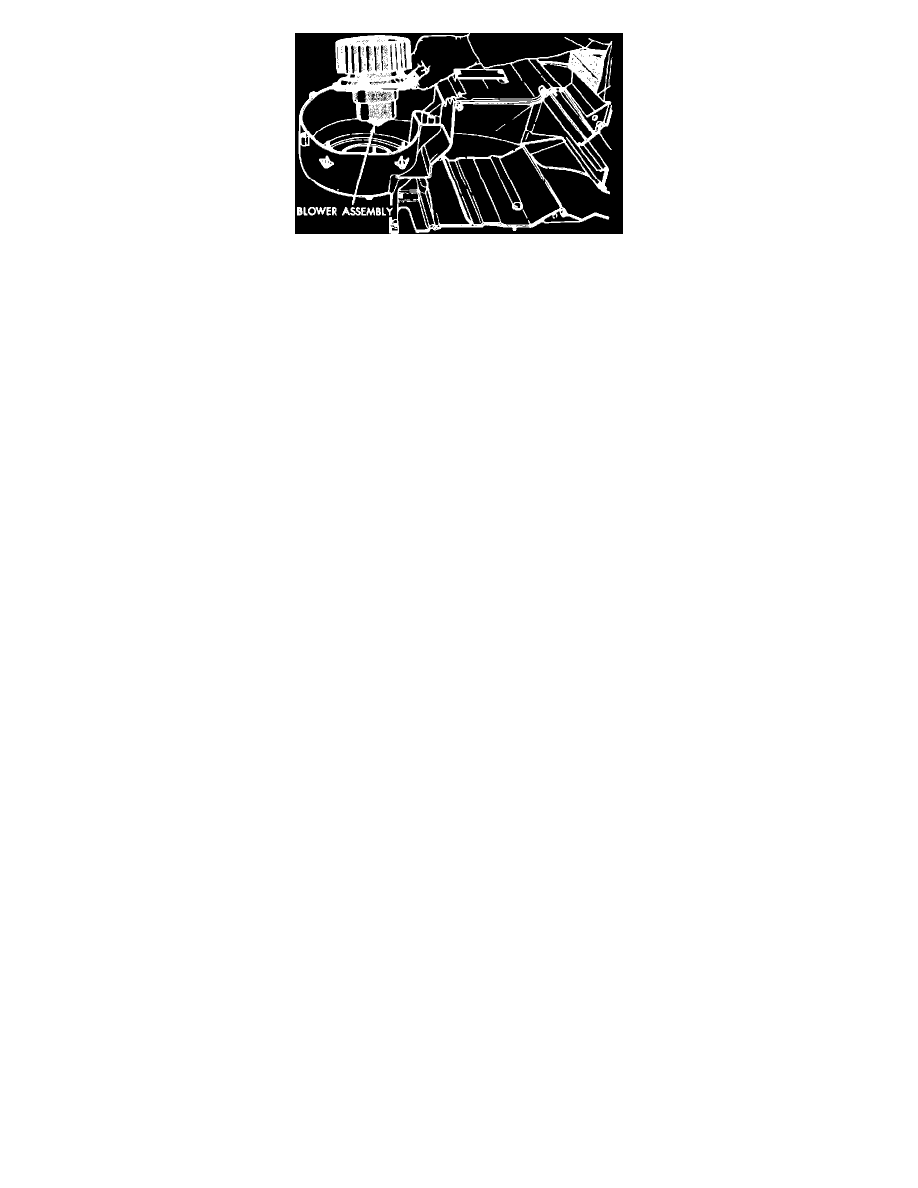
Fig. 16 Blower motor replacement. (Typical)
1984 - 85
1. Disconnect battery ground cable, drain cooling system and discharge refrigerant from A/C system if equipped.
2. Disconnect heater hoses at heater core. Plug heater core tube openings to prevent coolant leakage.
3. Disconnect vacuum lines at brake booster and water valve, if equipped.
4. On models with A/C, remove expansion valve (H-valve) as follows:
a. Disconnect low pressure cut-off switch electrical connector located on side of H-valve.
b. Remove hex head bolt from center of plumbing sealing plate.
c. Pull refrigerant line assembly towards front of vehicle.
d. Remove two Allen head cap screws, then carefully remove the disassembled valve.
5. Remove condensate drain tube, then the evaporator heater assembly to dash attaching nuts.
6. Remove resistor block electrical connector, push out grommet, then feed wire through grommet hole into passenger compartment.
7. Remove steering wheel. Refer to "Steering Wheel, Replace" procedure.
8. Remove lower instrument panel as follows:
a. Remove left lower instrument panel cover, then the side cowl and sill moulding.
b. Loosen side cowl attaching bolts, then place selector lever in Neutral position and disconnect shift indicator cable if equipped with automatic
transaxle.
c. Remove instrument panel lower reinforcement, then the five steering column to support bracket attaching nuts. Lower steering column onto
seat.
d. Remove right instrument panel trim moulding, then nine lower panel to upper panel and mid-reinforcement attaching screws.
e. Drop lower panel down approximately six inches, then disconnect park brake release cable.
f.
Disconnect heater control cable, then the A/C control cable if equipped.
g. Disconnect antenna and electrical connector from radio, then the electrical connections at cluster, bulkhead disconnect, side cowl, heater or
A/C unit, blower motor and steering column.
h. Disconnect fresh air duct, then remove garnish moulding and weatherstrip.
i.
Remove lower instrument panel from vehicle.
9. Remove evaporator heater unit hanger strap, then pull assembly rearward and out of vehicle.
10. Place evaporator heater assembly on work bench, then remove vacuum harness attaching screw. Feed harness through hole in cover.
11. Remove thirteen cover attaching screws, then the cover. Temperature control door will come out with cover.
12. Remove heater core tube retaining bracket attaching screw, then the heater core.
13. Remove 5 sound helmet attaching screws, then the blower wheel by removing retainer clamp from blower wheel hub and sliding blower wheel
from blower motor shaft.
14. Remove blower motor attaching screws, then the blower motor.
15. Reverse procedure to install.