
Mirada L6-225 3.7L VIN G 1-bbl (1982)
Crankshaft Main Bearing Seal: Service and Repair
REPLACE
6-225
Crankshaft oil seal leaks on 1981 - 83 6-225 engines can sometimes be difficult to locate and repair without proper diagnosis. When a seal leak is
suspected, always perform an air test to verify the condition and location before you begin disassembly. Test for oil leaks as follows, using regulated
air adjusted to 4 psi to air test engine.
1. Remove crankcase vent valve and cap and plug valve cover holes.
2. Remove dipstick, then install rubber hose connected to air source into dipstick tube.
3. Raise and support vehicle, then remove torque convertor or clutch housing cover.
4. Visually inspect rear of engine block for leakage. Leakage between rear seal and crankshaft will cause oil spray in a circular pattern. Leakage from
retainer side seals, retainer joint face or back side of rear seal will tend to run straight down. Other possible leak paths are a porous block and rear
cam and gallery plugs.
5. Apply air pressure to crankcase and check seal area for leaks. If leakage is evident, check seal or seal retainer. If no leakage is detected, rotate
crankshaft and watch for leakage. If a leak is detected while crankshaft is being rotated, check crankcase seal surface for damage or scratches. If
no leakage is detected, pressurize lubrication system and check for leaking oil passage.
6. Remove rear seal retainer. Inspect retainer and seal sides for proper sealing and half round seal for correct positioning. If leak is evident only when
crankshaft is rotated, inspect crankshaft for nicks, scratches or cuts in seal area. Polish nicks or scratches with emery cloth.
7. Clean old sealer from seal retainer and block, and remove upper seal half. Ensure seal was not installed backwards, since this can cause leakage.
Check outside diameter of seal for cuts or peeled rubber.
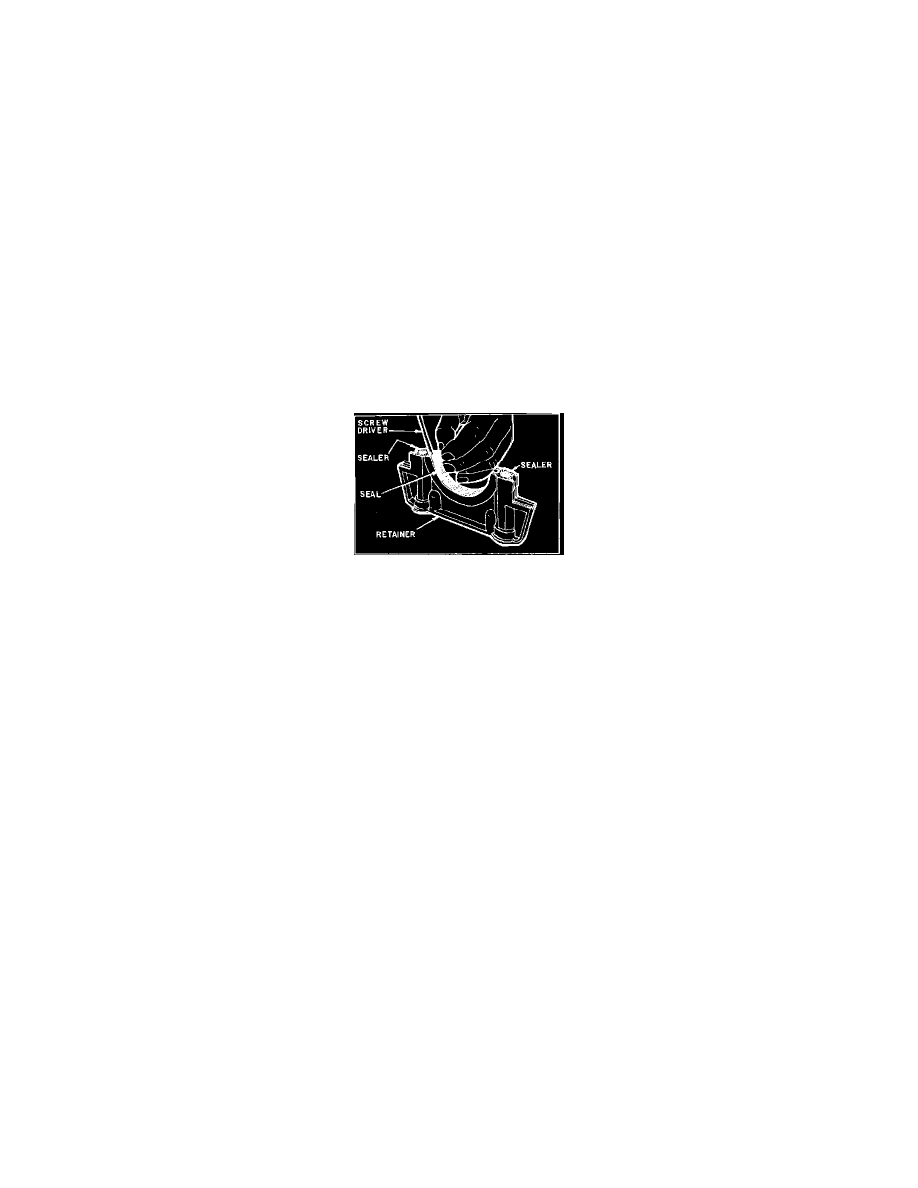
Fig. 16 Lower oil seal & retainer. 6-225
Replacement seals are of two piece rubber type composition which make possible the replacement of upper rear seal without removing crankshaft.
Both halves must be used. After removing oil pan, rear main bearing cap and seal retainer, pry lower rope seal from retainer with small screwdriver.
Screw a special tool into upper rope seal and carefully pull to remove seal while rotating crankshaft.
Install upper half of new seal into block, making sure stripe on seal faces rear of engine. Shim stock or equivalent may be used to protect back side of
seal against sharp side of block. Rotate crankshaft to ease installation. Apply a 1/8 inch bead of RTV sealant into groove in retainer, starting and
ending 1/2 inch from ends of groove. Install other half of seal into retainer, ensuring stripe on seal faces rearward, then install rear main bearing cap
and torque to specifications. Install side seals onto retainer using bonder part # 4057988 or equivalent. Apply a small amount of RTV sealer to retainer
in areas shown in Fig. 16. Install retainer and torque to 30 ft. lbs. Do not apply sealer to seal lip surface, as leakage may result.