
Neon L4-122 2.0L DOHC VIN Y SFI (1997)
Valve Cover: Service and Repair
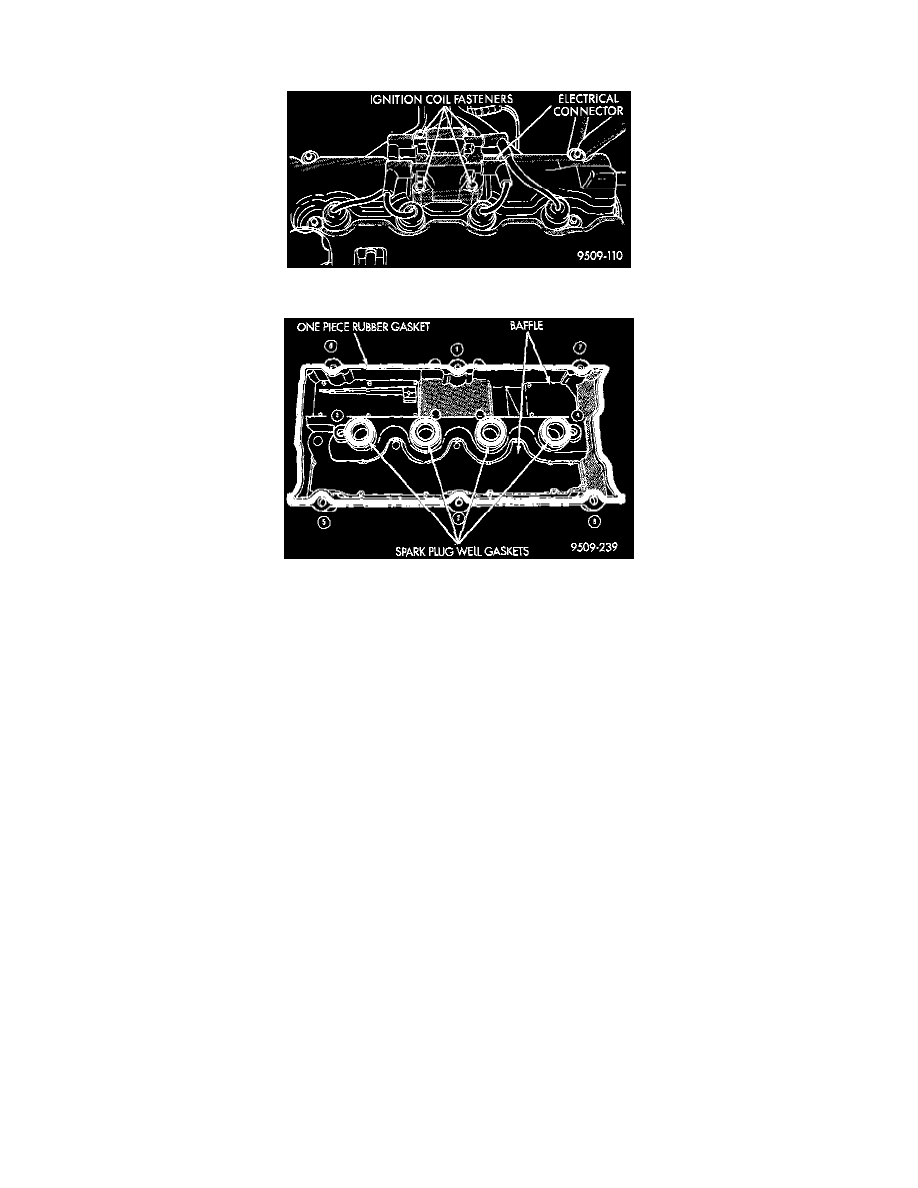
REMOVAL
1. Remove ignition coil pack.
2. Remove the cylinder head cover fasteners.
3. Remove cylinder head cover from cylinder head.
NOTE: Before installation, clean cylinder head and cover mating surfaces. Make certain the rails are flat.
INSTALLATION
1. Install new cylinder head cover gaskets.
CAUTION: Do not allow oil or solvents to contact the timing belt as they can deteriorate the rubber and cause tooth skipping.
2. Apply Mopar Silicone Rubber Adhesive Sealant at the camshaft cap corners and at the top edges of the 1/2 round seal.
3. Install cylinder head cover assembly to head and tighten fasteners in sequence shown. Using the 3 step torque method:
-
Step 1 Tighten all fasteners to 4.5 Nm (40 inch lbs.)
-
Step 2 Tighten all fasteners to 9.0 Nm (80 inch lbs.)
-
Step 3 Tighten all fasteners to 12 Nm (105 inch lbs.)
4. Install ignition coil pack. Tighten fasteners to 12 Nm (105 inch lbs.).