Neon L4-2.0L DOHC (1996)

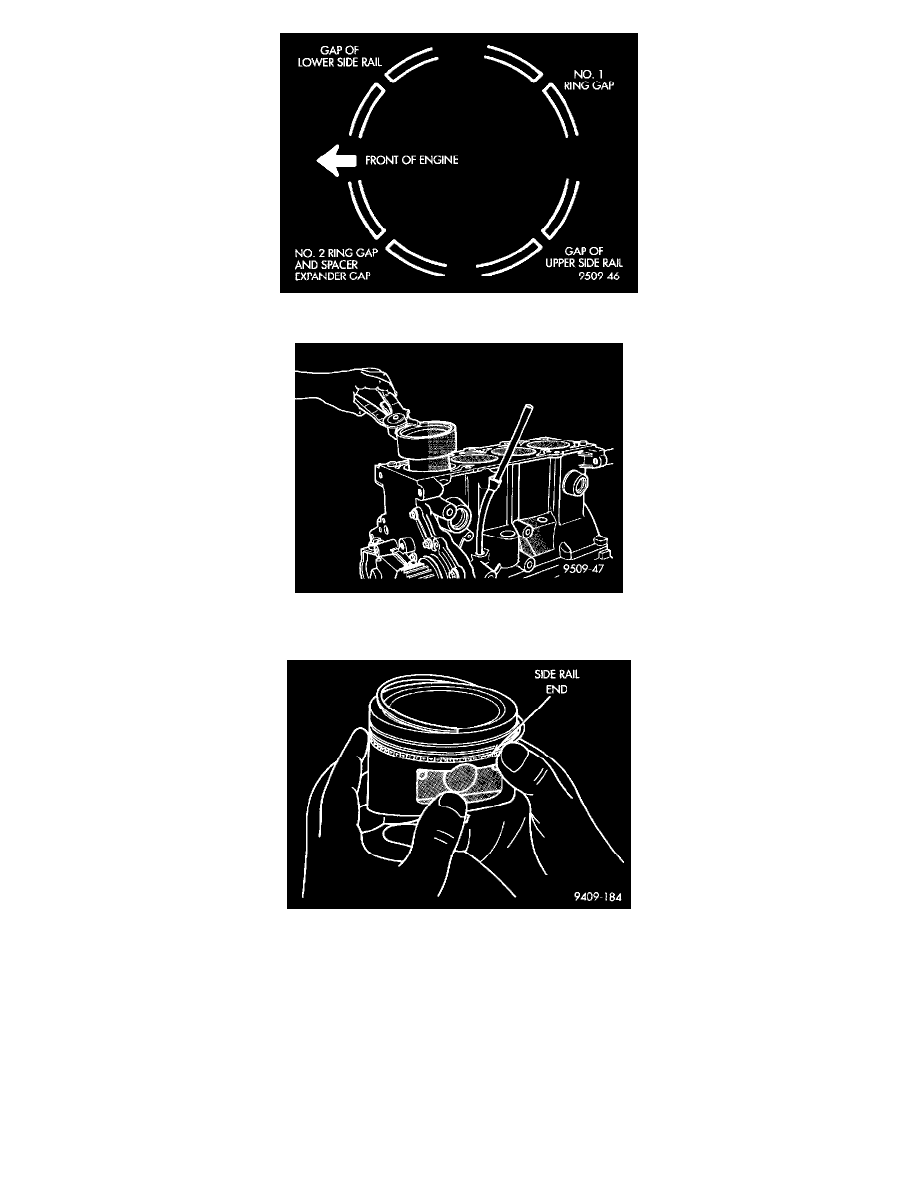
2. Before installing the ring compressor, make sure the oil ring expander ends are butted and the rail gaps.
3. Immerse the piston head and rings in clean engine oil, slide the ring compressor, over the piston. Be sure position of rings does not change during
this operation.
4. The weight stamp designation L for light or H for heavy assembly will be in the front half of the piston facing toward the front of the engine.
5. Rotate crankshaft so that the connecting rod journal is on the center of the cylinder bore. Insert rod and piston assembly into cylinder bore and
guide rod over the crankshaft journal.
6. Tap the piston down in cylinder bore, using a hammer handle. At the same time, guide connecting rod into position on connecting rod journal.
7. Install rod caps. Install cleaned and oiled rod bolts and tighten to 27 Nm (20 ft. lb.) Plus 1/4 turn.
CONNECTING RODS
1. See main bearing for measureing and specifiction procedures.
CAUTION: Do not rotate crankshaft or the Plastigage may be smeared. The rod bearing bolts should not be reused.
2. Before installing the NEW bolts the threads should be oiled with clean engine oil.
3. Install each bolt finger tight than alternately torque each bolt to assemble the cap properly.
