
Neon L4-2.0L VIN C (1998)
Evaporator Temperature Sensor/Clutch Cycling Switch: Testing and Inspection
The work area and vehicle must be between 16 °C (60 °F) and 32 °C (90 °F) when testing the switch.
1. Disconnect the three wire connector from the evaporator probe lead located behind the glove box.
2. Start engine and set A/C to low blower motor speed, panel, full cool, and RECIRC.
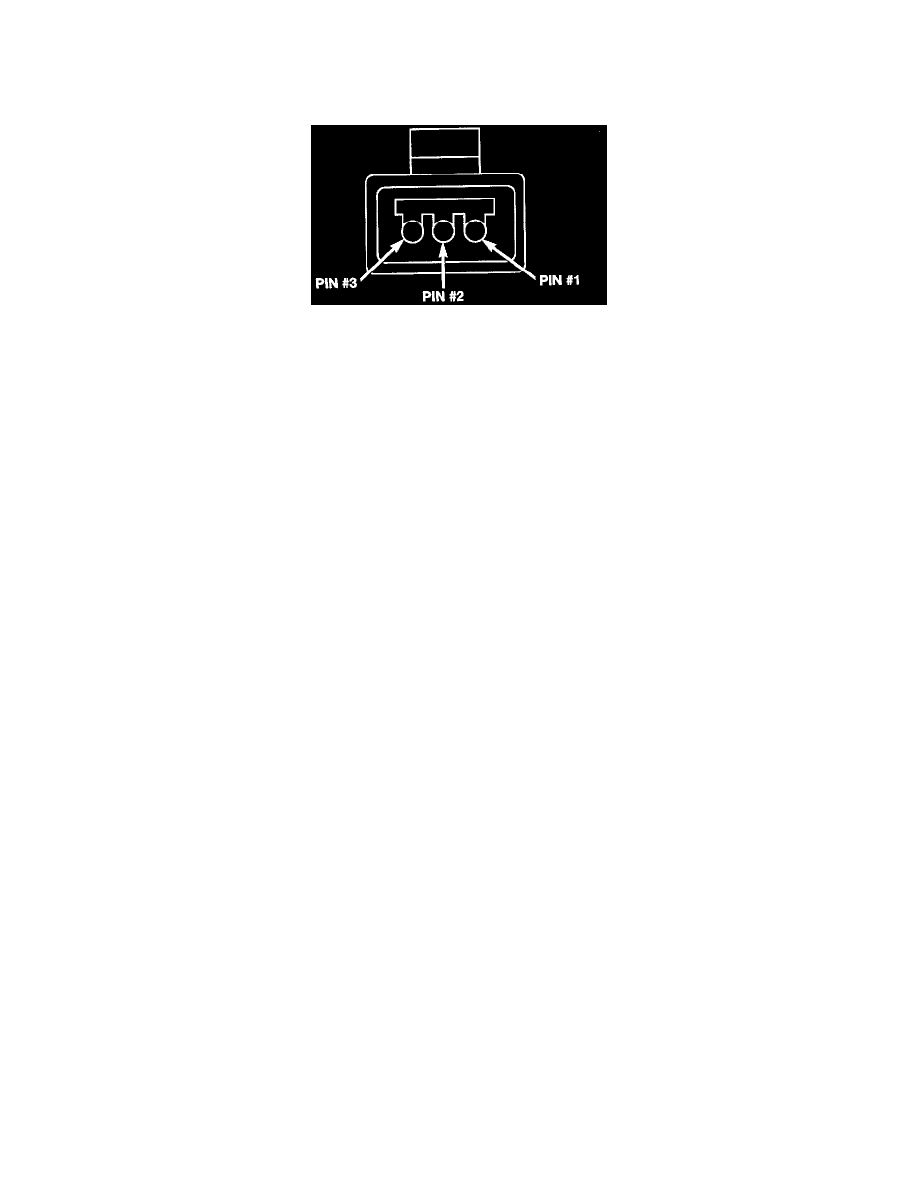
Evaporator Probe Harness Connector
3. Using a voltmeter, check for battery voltage between Pin 1 and 2. If no voltage is detected, there is no power to the switch. Check wiring and
fuses.
4. Using a voltmeter, check for battery voltage between Pin 1 and Pin 3. If no voltage is detected, there is no voltage from the Powertrain Control
Module. If voltage is OK, connect a jumper wire between Pin 1 and Pin 3. The compressor clutch should engage. If the clutch engages, remove the
jumper wire immediately and go to Step 5. If the compressor clutch does not engage, check the operation of the clutch and repair as necessary.
5. If compressor clutch engages, connect the evaporator probe 3-way connector. The compressor clutch should engage or cycle depending on
evaporator temperature. If OK, go to Step 6. If not OK, replace the clutch cycling switch.
6. The engine running and the A/C set to:
-
Blower motor on low speed
-
Panel position
-
Full cool
-
RESORT.
Close all doors and windows. Place a thermometer in the center discharge vent.
7. If the clutch does not begin to cycle off between 20 °C to 70 °C (35 °F to 45 °F), verify that the evaporator probe is fully installed and not loose
in evaporator. If it is not properly installed, install probe and retest outlet temperature. If the evaporator probe is properly installed, replace the
clutch cycling switch.