
Neon L4-2.0L VIN C (1998)
PROCEDURE
Use the following procedure for adjusting the front camber on a vehicle equipped with the competition package.
1. Prepare vehicle as described in the Pre-Alignment Vehicle Inspection procedure.
2. Loosen the strut to steering knuckle upper mounting bolt enough to allow the steering knuckle to move in the strut.
3. Loosen the strut to steering knuckle lower mounting bolt enough to allow the bolt to rotate in the steering knuckle and strut.
4. Rotate the lower mounting bolt until the desired camber setting is achieved.
5. When camber is set to the desired specification, tighten the strut to steering knuckle bolts to a torque or 53 Nm (40 ft. lbs.) plus an additional
1/4 turn after required torque is met.
Front Alignment
CAUTION: If the front suspension crossmember shows any sign of impact damage, the steering column to steering gear coupling must be inspected.
Before any attempt is made to change or correct the wheel alignment factors, the following inspection and necessary corrections must be made on
those parts which influence the steering of the vehicle.
1. Be sure the fuel tank is full when the wheel alignment specifications are checked and or adjusted. A full tank of fuel weighs approximately 75
pounds, if the fuel tank is not full this reduction in weight will affect the curb height of the vehicle and the alignment specifications.
2. Alignment specifications of a vehicle can be the most accurately checked and set when the passenger compartment and trunk of the vehicle are
vacant with the exception of the spare tire. People, luggage, and any other appreciable weight will adversely affect the checking and setting of
the camber specification.
3. Check and if required, inflate all of the tires to the recommended air pressure. All tires must be of the same size and in good condition and
have approximately the same tread wear. Note the type of tread wear on the tire, this will aid in diagnosing problems.
4. Check the front tire and wheel assemblies for radial runout.
5. Before beginning the alignment process, inspect all suspension component fasteners for looseness and/or loss of specified torque.
6. Inspect the lower front ball joints and all steering linkage for looseness and any signs of wear and or damage.
7. Inspect the tie rod ends for looseness and any signs of wear and or damage.
8. Inspect the rubber bushings on all suspension components for signs of wear or deterioration. If any bushings show signs of wear or
deterioration they should be replaced prior to aligning the vehicle.
Front and Rear Toe Setting Procedure
1. Prepare vehicle as described in the Pre-Alignment Vehicle Inspection procedure.
2. Center steering wheel and lock in place using a steering wheel clamp.
3. When performing the Toe setting procedure, set rear wheel Toe to preferred specification first, then set front wheel Toe to the preferred
specification.
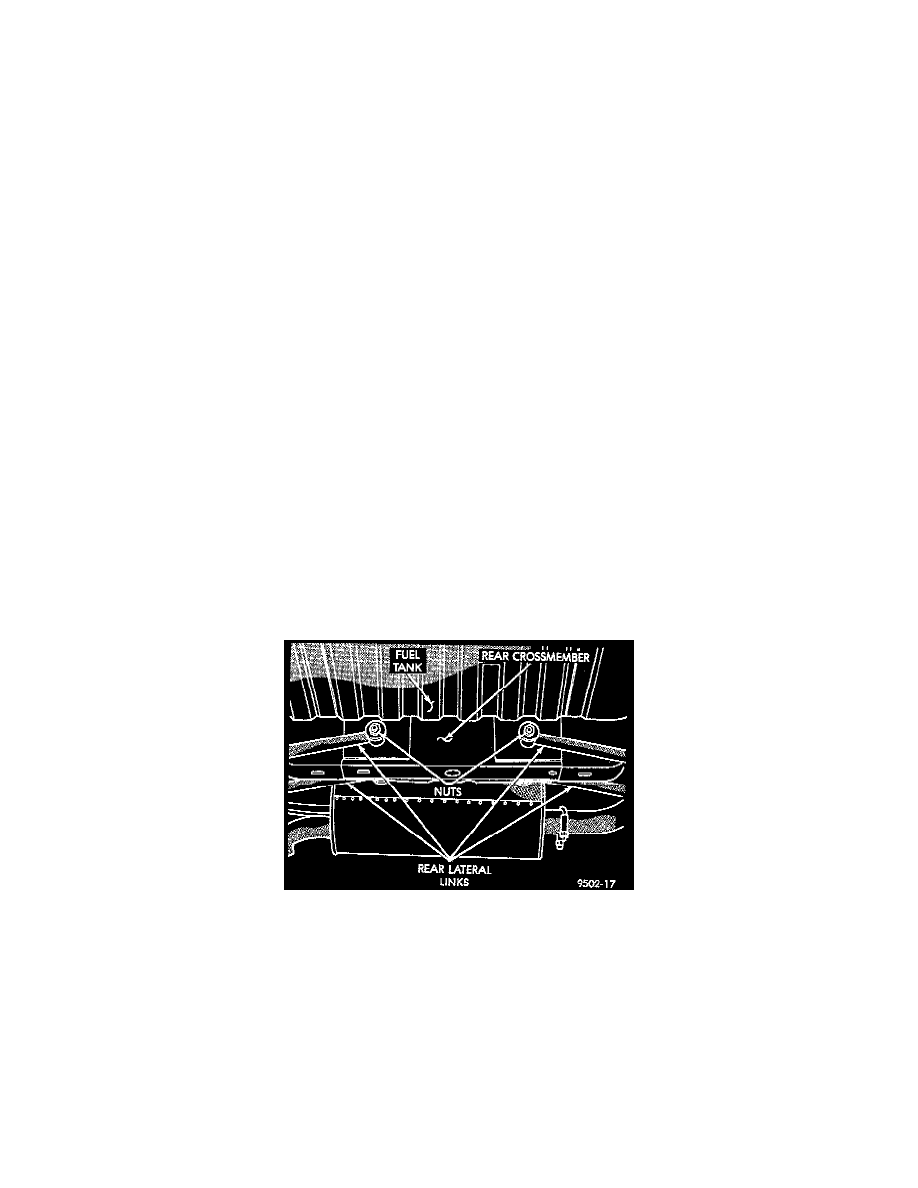
4. Loosen nuts on attaching bolts, for the left and right rear lateral links to rear crossmember.
CAUTION: When adjusting rear toe, the notches on the lateral link adjustment cams are not to be facing down. The notches in the adjustment
cams are only to be facing up or toward one side.