
Neon R/T L4-2.0L VIN F HO (2001)
Water Pump: Service and Repair
REMOVAL
1. Raise vehicle on a hoist. Remove right inner splash shield.
2. Remove accessory drive belts.
3. Drain the cooling system.
4. Remove power steering pump attaching bolts and set pump and assembly aside. Power steering lines do not need to be disconnected.
5. Remove upper and lower torque isolator struts.
6. Support the engine from bottom and remove right engine mount attaching bolt.
7. Remove right engine mount bracket.
8. Remove the timing belt.
9. Remove the timing belt tensioner.
10. Remove camshaft sprocket and rear timing belt cover.
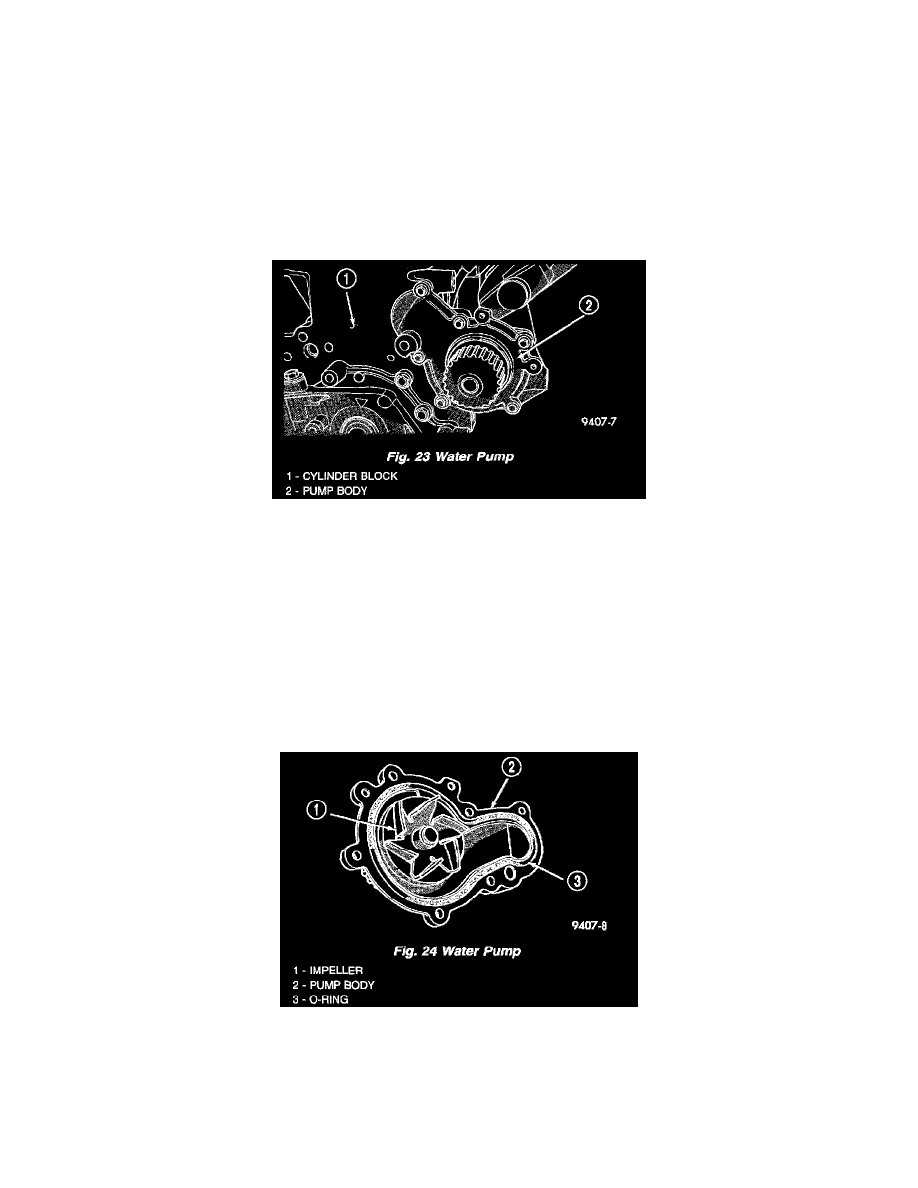
11. Remove water pump attaching screws to engine and remove pump.
INSPECTION
Replace water pump body assembly if it has any of these defects:
1. Cracks or damage on the body.
2. Coolant leaks from the shaft seal, evident by wet coolant traces on the pump body.
3. Loose or rough turning bearing.
4. Impeller rubs either the pump body or the engine block.
5. Impeller loose or damaged.
6. Sprocket or sprocket flange loose or damaged.
INSTALLATION
1. Apply Mopar(R) Dielectric Grease to O-ring before installation.
2. Install new O-ring gasket in water pump body O-ring groove.
CAUTION: Ensure O-ring gasket is properly seated in water pump groove before tightening screws. An improperly located O-ring may cause
damage to the O-ring, resulting in a coolant leak.
3. Assemble pump body to block and tighten screws to 12 Nm (105 inch lbs.). Pressurize cooling system to 15 psi with pressure tester and check
water pump shaft seal and O-ring for leaks.