
Neon R/T L4-2.0L VIN F HO (2001)
Fuel Line Coupler: Service and Repair
Two-Tab Type Fitting Service
TWO-TAB TYPE FITTING
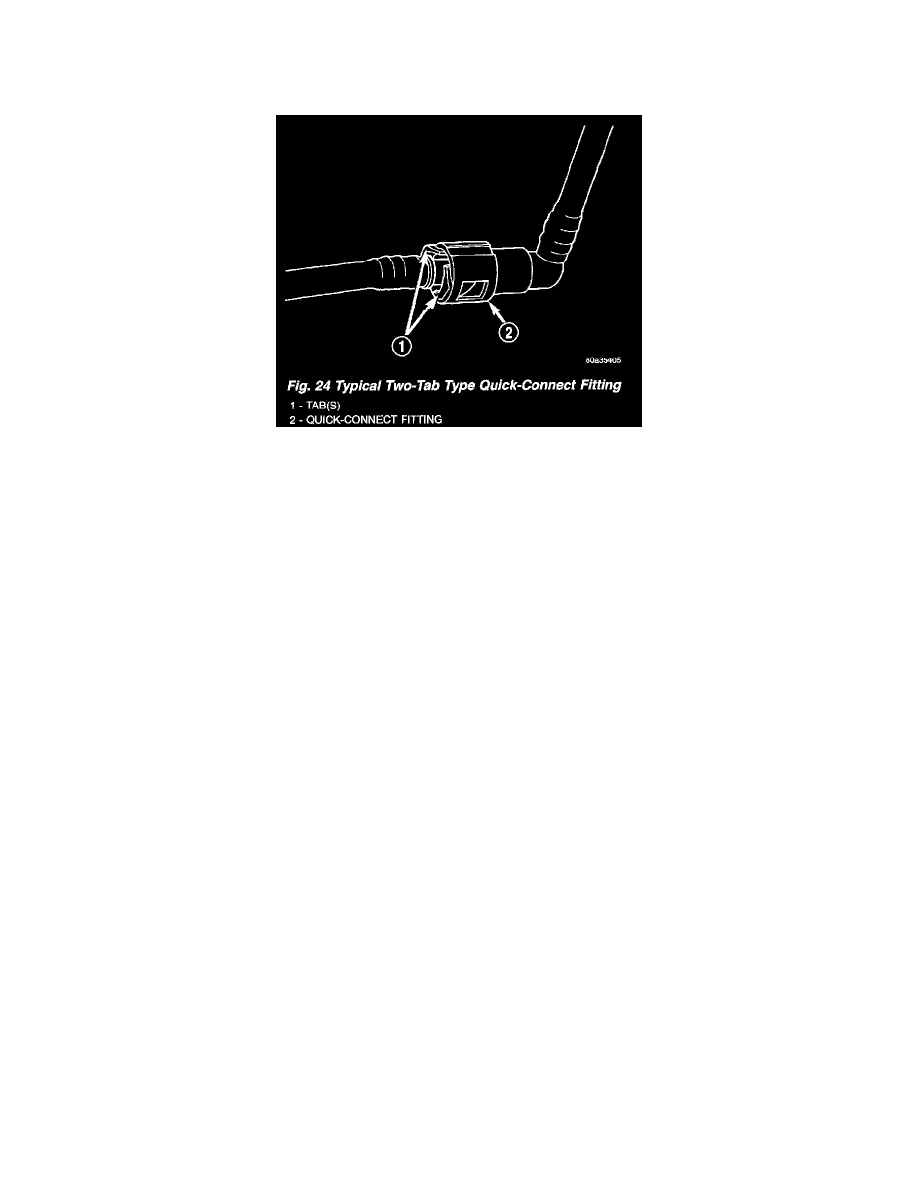
Fig. 24 Typical Two-Tab Type Quick-Connect Fitting
This type of fitting is equipped with tabs located on both sides of the fitting (Fig. 24). These tabs are supplied for disconnecting the quick-connect
fitting from component being serviced.
CAUTION: The interior components (O-rings, spacers) of this type of quick-connect fitting are not serviced separately, but new plastic retainers are
available. Do not attempt to repair damaged fittings or fuel lines/tubes. If repair is necessary, replace the complete fuel tube assembly.
WARNING: THE FUEL SYSTEM IS UNDER A CONSTANT PRESSURE (EVEN WITH THE ENGINE OFF). BEFORE SERVICING
ANY FUEL SYSTEM HOSES, FITTINGS OR LINES, THE FUEL SYSTEM PRESSURE MUST BE RELEASED. REFER TO THE FUEL
PRESSURE RELEASE PROCEDURE.
DISCONNECTION / CONNECTION
1. Perform fuel pressure release procedure.
2. Disconnect negative battery cable from battery or auxiliary jumper terminal.
3. Clean fitting of any foreign material before disassembly.
4. To disconnect quick-connect fitting, squeeze plastic retainer tabs (Fig. 24) against sides of quick-connect fitting with your fingers. Tool use is
not required for removal and may damage plastic retainer. Pull fitting from fuel system component being serviced. The plastic retainer will
remain on component being serviced after fitting is disconnected. The O-rings and spacer will remain in quick-connect fitting connector body.
5. Inspect quick-connect fitting body and component for damage. Replace as necessary.
CAUTION: When the quick-connect fitting was disconnected, the plastic retainer will remain on the component being serviced. If this
retainer must be removed, very carefully release the retainer from the component with two small screwdrivers. After removal, inspect the
retainer for cracks or any damage.
6. Prior to connecting quick-connect fitting to component being serviced, check condition of fitting and component. Clean parts with a lint-free
cloth. Lubricate with clean engine oil.
7. Insert quick-connect fitting to component being serviced and into plastic retainer. When a connection is made, a click will be heard.
8. Verify a locked condition by firmly pulling on fuel tube and fitting (15 - 30 lbs.).
9. Connect negative cable to battery or auxiliary jumper terminal.
10. Use the DRB III scan tool ASD Fuel System Test to pressurize the fuel system. Check for leaks.