
RAM 1500 Truck 2WD V6-3.7L VIN K (2003)
Oil Pan: Service and Repair
REMOVAL
1. Remove the engine.
2. Position the engine in a suitable engine stand. Special tool number 8534.Do not raise engine at this time.
3. Loosen both left and right side engine mounts through bolts. Do not remove bolts.
4. Remove the structural dust cover, if equipped.
5. Drain engine oil.
6. Remove the front crossmember Refer to crossmember.
CAUTION: Only raise the engine enough to provide clearance for oil pan removal. Check for proper clearance at fan shroud to fan cowl to
intake manifold.
7. Raise engine using special tool 8534 to provide clearance to remove oil pan.
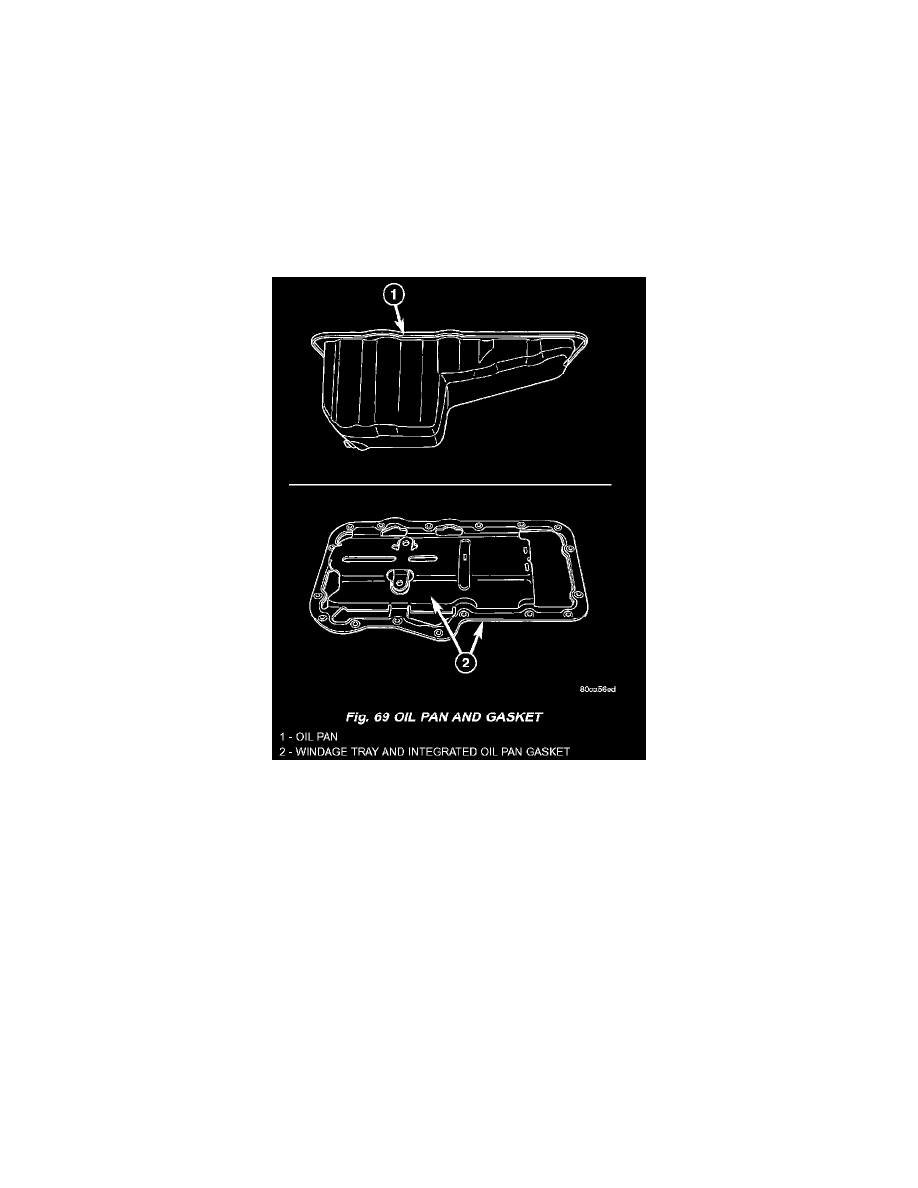
NOTE: Do not pry on oil pan or oil pan gasket. Gasket is integral to engine windage tray and does not come out with oil pan (Fig. 69).
8. Remove the oil pan mounting bolts and oil pan.
9. Unbolt oil pump pickup tube and remove tube.
10. Inspect the integral windage tray and gasket and replace as needed.
CLEANING
1. Clean oil pan in solvent and wipe dry with a clean cloth.
2. Clean the oil pan gasket surface. DO NOT use a grinder wheel or other abrasive tool to clean sealing surface.
3. Clean oil screen and tube thoroughly in clean solvent.
INSPECTION
1. Inspect oil drain plug and plug hole for stripped or damaged threads. Repair as necessary.
2. Inspect the oil pan mounting flange for bends or distortion. Straighten flange, if necessary.
INSTALLATION
1. Clean the oil pan gasket mating surface of the bedplate and oil pan.
2. Inspect integrated oil pan gasket, and replace as necessary.
3. Position the integrated oil pan gasket/windage tray assembly.
4. Install the oil pickup tube
5. Install the mounting bolt and nuts. Tighten nuts to 28 Nm (20 ft. lbs.).