RAM 1500 Truck 2WD V8-5.7L VIN 2 (2006)

9. Using snap ring pliers (1), remove the snap ring (2) that secures the pulley and bearing assembly (3) to the front of the A/C compressor (4).
NOTE: The pulley and bearing assembly can be removed from the compressor by hand or, if required, with a two jaw puller.
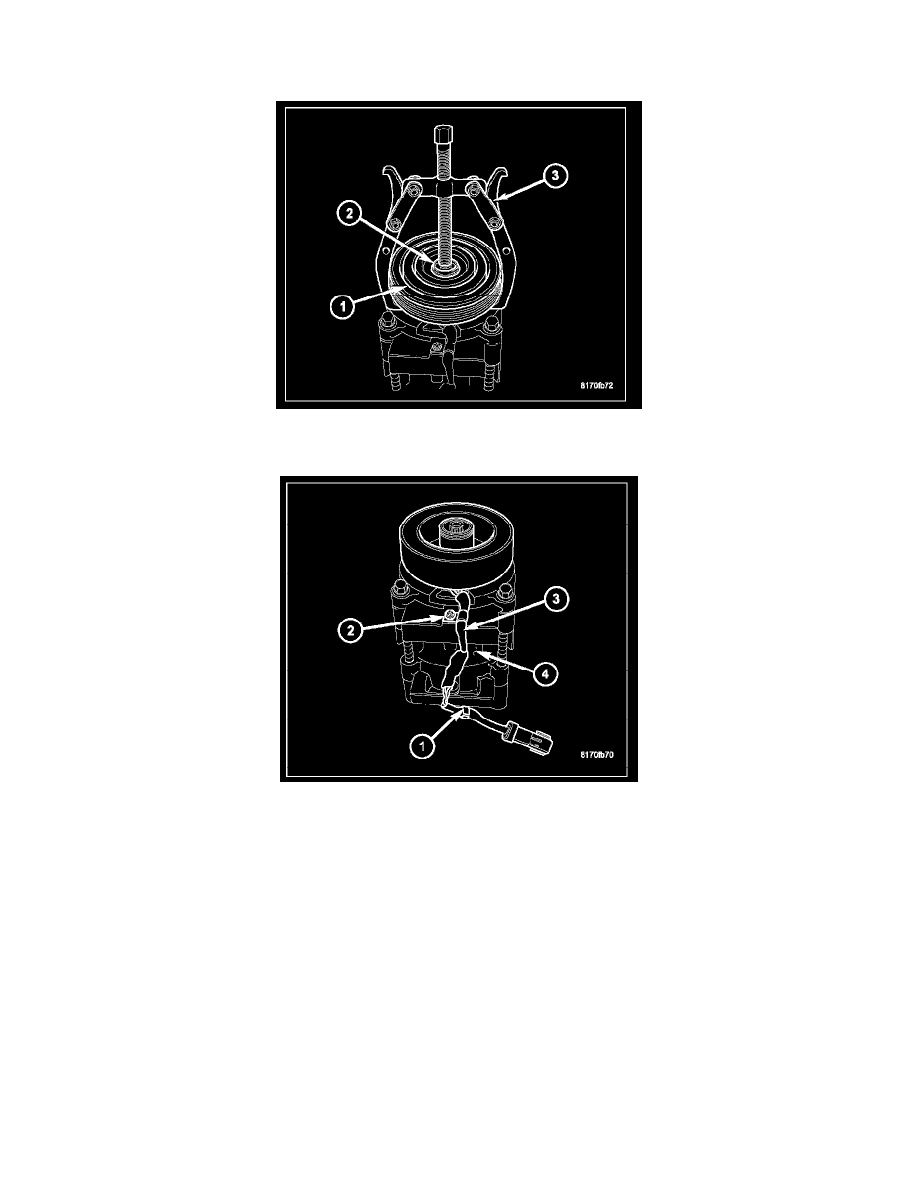
10. Remove the pulley and bearing assembly (1) from the front of the A/C compressor (2). If required, install a two jaw puller (3) and turn the puller
center-bolt clockwise until the pulley and bearing assembly is completely removed.
11. Remove the plastic retaining clip (1) and the screw (2) that secures the clutch field coil wire lead and connector (3) to the A/C compressor (4).
