RAM 1500 Truck 4WD V8-5.7L VIN D (2005)

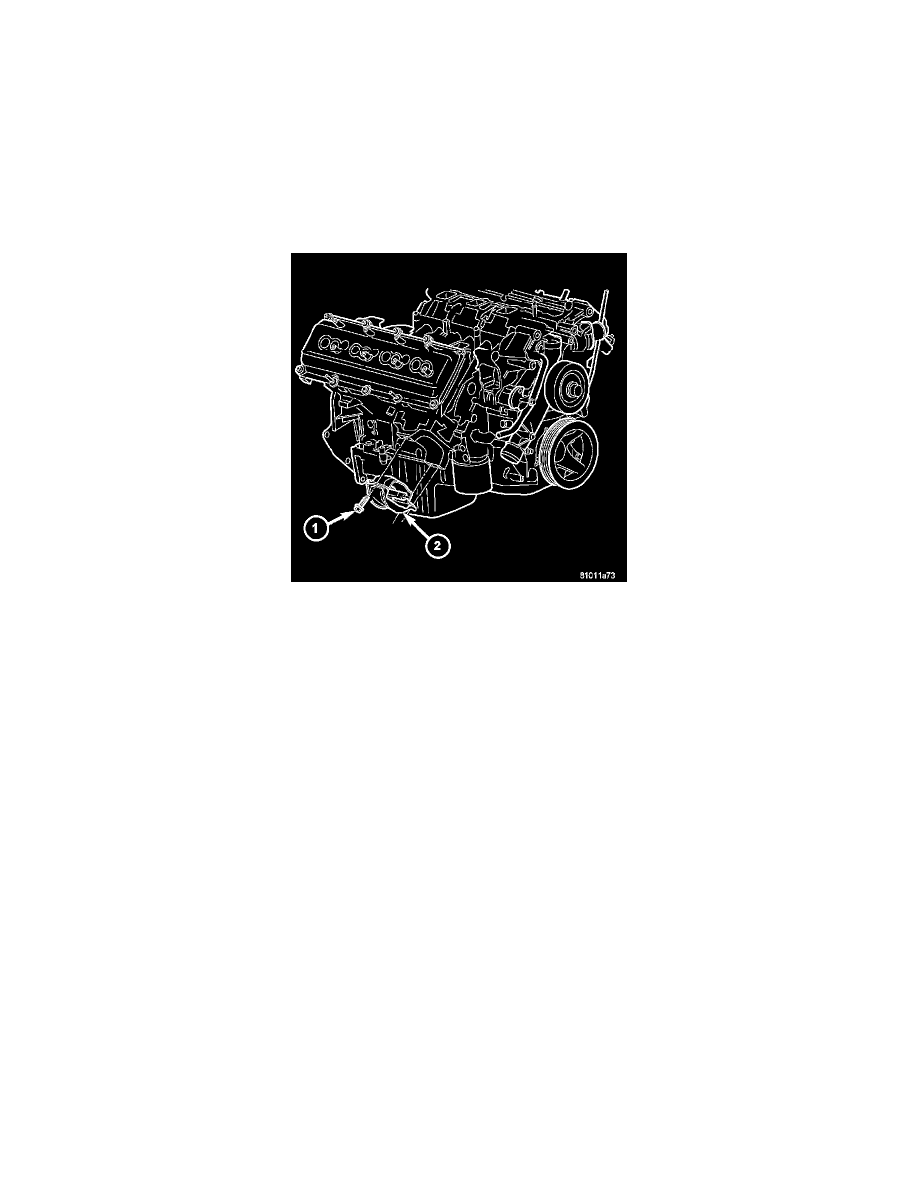
NOTE: For mount to engine block and left engine bracket to front axle bolts, apply Mopar(R) Lock and Seal Adhesive, Medium Strength
Threadlocker.
2. Install upper and lower mount mounting bolts. Tighten bolts to 61 Nm (45 ft. lbs.).
3. Lower the engine using engine support fixture special tool #8534.
4. Install mount through bolts.
5. Tighten through bolts on both sides to 61 Nm (45 ft. lbs.).
6. Lower vehicle.
7. Connect negative battery cable.
4WD
NOTE: For mount to engine block and left engine bracket to front axle bolts, apply Mopar(R) Lock and Seal Adhesive, Medium Strength
Threadlocker.
1. Install the right (8) and left (4) side engine mounts to the front axle. Torque nuts to 94 Nm (70 ft. lbs.).
2. Raise the front axle into the frame and install the left and right side through bolts. Torque nuts to 94 Nm (70 ft. lbs.).
3. Insert the two upper through bolts into the right and left side engine mounts and loose assemble the two nuts onto the through bolts.
4. Lower the engine using engine support fixture special tool #8534, until the left and right side engine brackets rest on the through bolts, and the
lower engine bracket through holes align with the engine mounts, and the left engine bracket holes align with the front axle slots.
5. Loose assemble the 3 bolts that attach the front axle to the left engine bracket.
6. Loose assemble the lower through bolts.
7. Torque the nuts for the 4 through bolts to 101 Nm (75 ft. lbs.).
8. Torque the 3 bolts that attach the front axle to the left engine bracket to 101 Nm (75 ft. lbs.).
9. Install the engine oil filter, if removed.
10. Install the front crossmember.
11. Install the skid plate.
12. Lower the vehicle.
13. Reconnect the negative battery cable.
