
RAM 1500 Truck 4WD V8-5.7L VIN D (2005)
Fluid Filter - A/T: Service and Repair
FLUID AND FILTER REPLACEMENT
For proper service intervals Refer to LUBRICATION & MAINTENANCE.
REMOVAL
1. Hoist and support vehicle on safety stands.
2. Place a large diameter shallow drain pan beneath the transmission pan.
3. Remove bolts holding front and sides of pan to transmission.
4. Loosen bolts holding rear of pan to transmission.
5. Slowly separate front of pan away from transmission allowing the fluid to drain into drain pan.
6. Hold up pan and remove remaining bolts holding pan to transmission.
7. While holding pan level, lower pan away from transmission.
8. Pour remaining fluid in pan into drain pan.
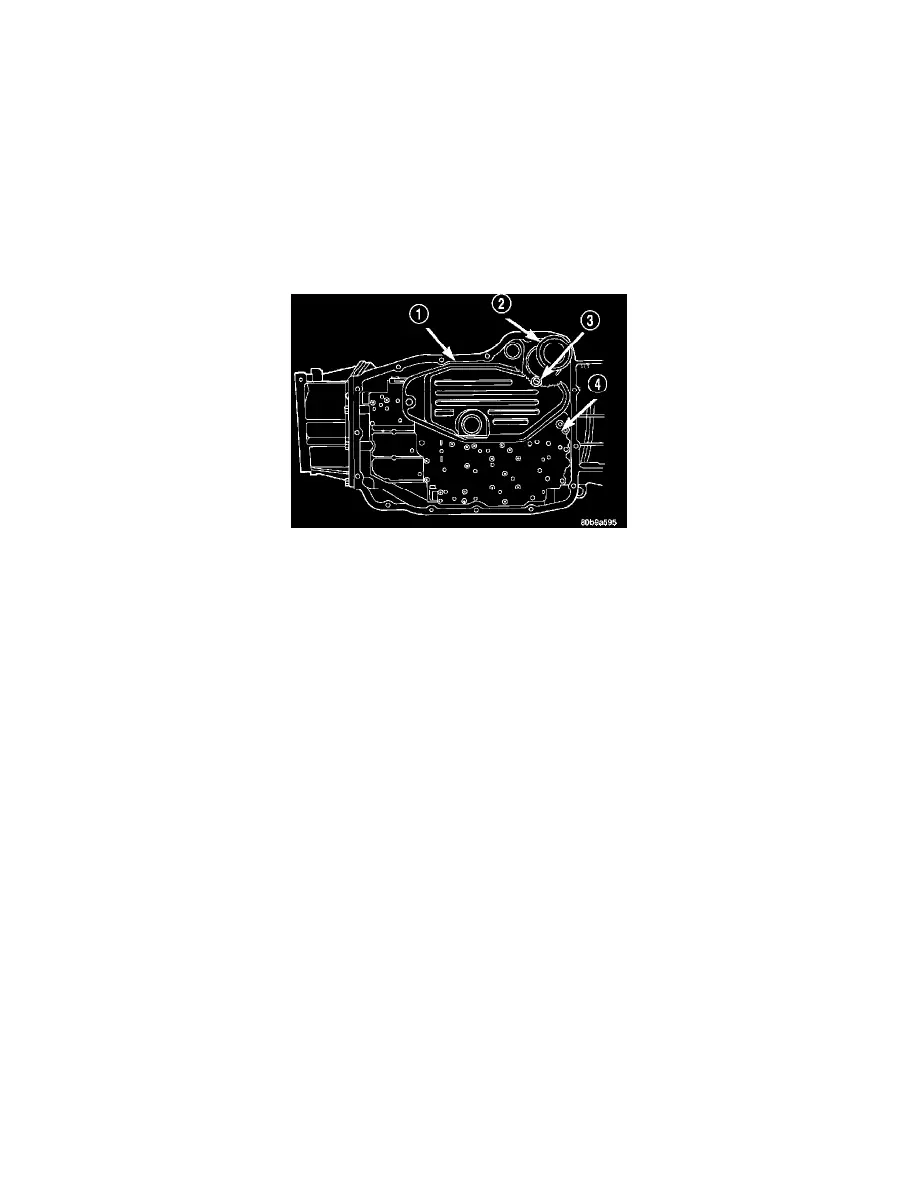
9. Remove the screw holding the primary oil filter (1) to valve body.
10. Separate filter from valve body and oil pump and pour fluid in filter into drain pan.
11. Inspect the oil filter seal in the bottom of the oil pump. If the seal is not installed completely in the oil pump, or is otherwise damaged, then remove
and discard the oil filter seal from the bottom of the oil pump. If the seal is installed correctly and is in good condition, it can be reused.
12. If replacing the cooler return filter (2), use Oil Filter Wrench 8321 to remove the filter from the transmission.
13. Dispose of used trans fluid and filter(s) properly.
INSPECTION
Inspect bottom of pan and magnet for excessive amounts of metal. A light coating of clutch material on the bottom of the pan does not indicate a
problem unless accompanied by a slipping condition or shift lag. If fluid and pan are contaminated with excessive amounts of debris, refer to the
diagnosis.
CLEANING
1. Using a suitable solvent, clean pan and magnet.
2. Using a suitable gasket scraper, clean original sealing material from surface of transmission case and the transmission pan.
INSTALLATION
CAUTION: The primary oil filter seal MUST be fully installed flush against the oil pump body. DO NOT install the seal onto the filter neck and
attempt to install the filter and seal as an assembly. Damage to the transmission will result.
1. If necessary, install a new primary oil filter seal in the oil pump inlet bore. Seat the seal in the bore with a suitable tool (appropriately sized drift or
socket, the butt end of a hammer, or other suitable tool).
2. Place replacement filter in position on valve body and into the oil pump.
3. Install screw to hold the primary oil filter (1) to valve body. Tighten screw to 4.5 Nm (40 inch lbs.) torque.
4. Install new cooler return filter (2) onto the transmission, if necessary. Torque the filter to 14.12 Nm (125 inch lbs.).
5. Place bead of Mopar(R) RTV sealant onto the transmission case sealing surface.
6. Place pan in position on transmission.
7. Install bolts to hold pan to transmission. Tighten bolts to 11.8 Nm (105 inch lbs.) torque.
8. Lower vehicle and fill transmission with Mopar(R) ATF +4.