
RAM 1500 Truck 4WD V8-5.9L VIN Z (2002)
Antenna Cable: Service and Repair
Antenna Body and Cable Replacement
REMOVAL
1. Disconnect and isolate the battery negative cable.
2. Remove the right side kick panel.
3. Disconnect antenna body cable from instrument panel cable.
4. Securely tie a suitable length of cord or twine to the antenna half of the coaxial cable connector. This cord will be used to pull the cable back into
position during installation.
5. Remove the antenna mast.
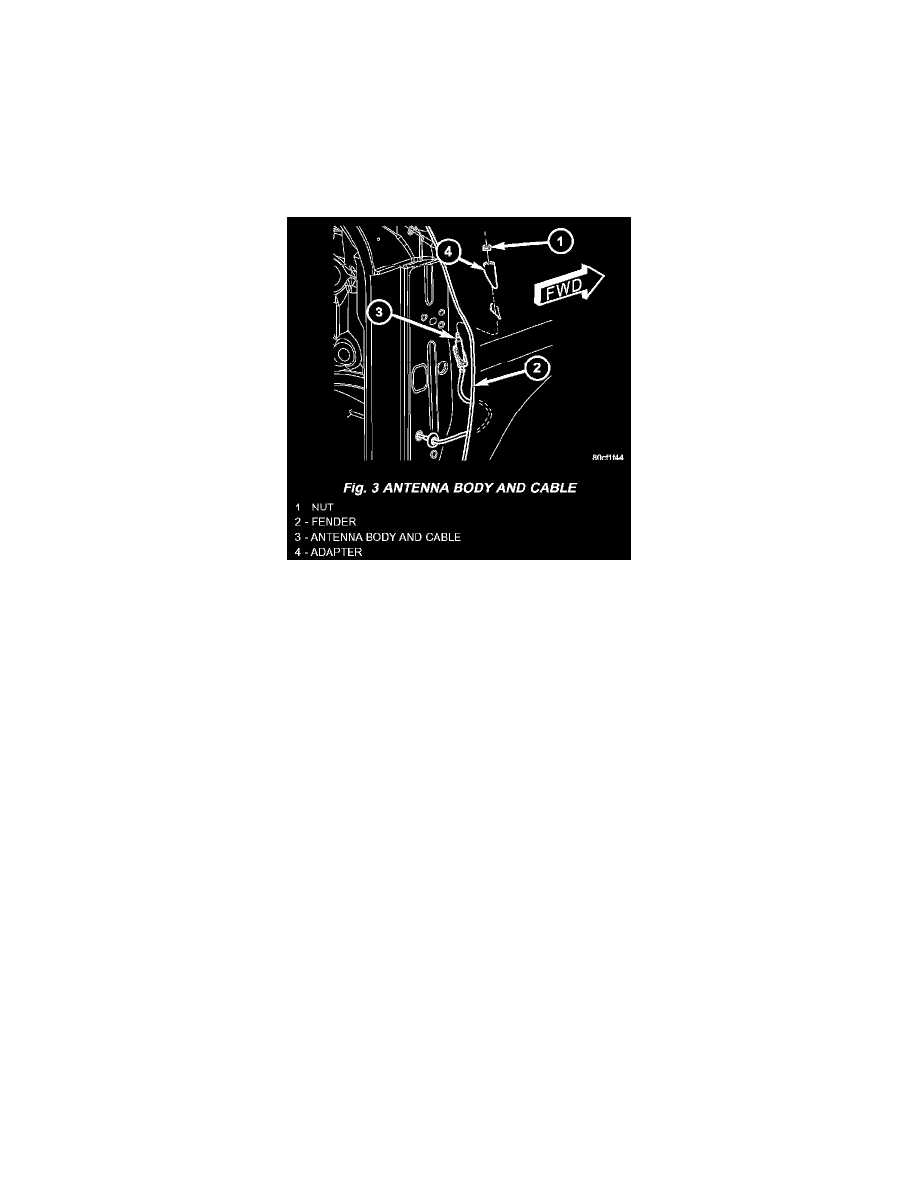
Fig. 3 Antenna Body And Cable
6. Remove the antenna cap nut using an antenna nut wrench (Special Tool C-4816).
7. Remove the antenna adapter.
8. With the right door open, pull the antenna body assembly out through the opening between the fender and body.
INSTALLATION
1. Tie the cord that was used during the removal procedure to the cable being installed.
2. Using the cord, pull the antenna cable through the hole in the door opening and seat grommet into place.
3. Connect the antenna body and cable to the instrument panel cable.
4. Install the right side kick panel.
5. Insert the antenna body through the hole in the fender and install adapter.
6. Install the antenna cap nut Tighten to 7 Nm (65 in lbs).
7. Install the antenna mast.
8. Connect the battery negative cable.