
RAM 1500 Truck 4WD V8-5.9L VIN Z LDC (1999)
Electronic Brake Control Module: Service and Repair
Antilock Control Assembly Replacement
NOTE: If the antilock control assembly needs to be replaced, the rear axle type and tire revolutions per mile must be programmed into the new CAB.
For axle type refer to Transmission and Drivetrain. For tire revolutions per mile refer to Steering and Suspension.
REMOVAL
1. Disconnect battery negative cable.
2. Push the harness connector locks to release the locks, then remove the connectors from the CAB.
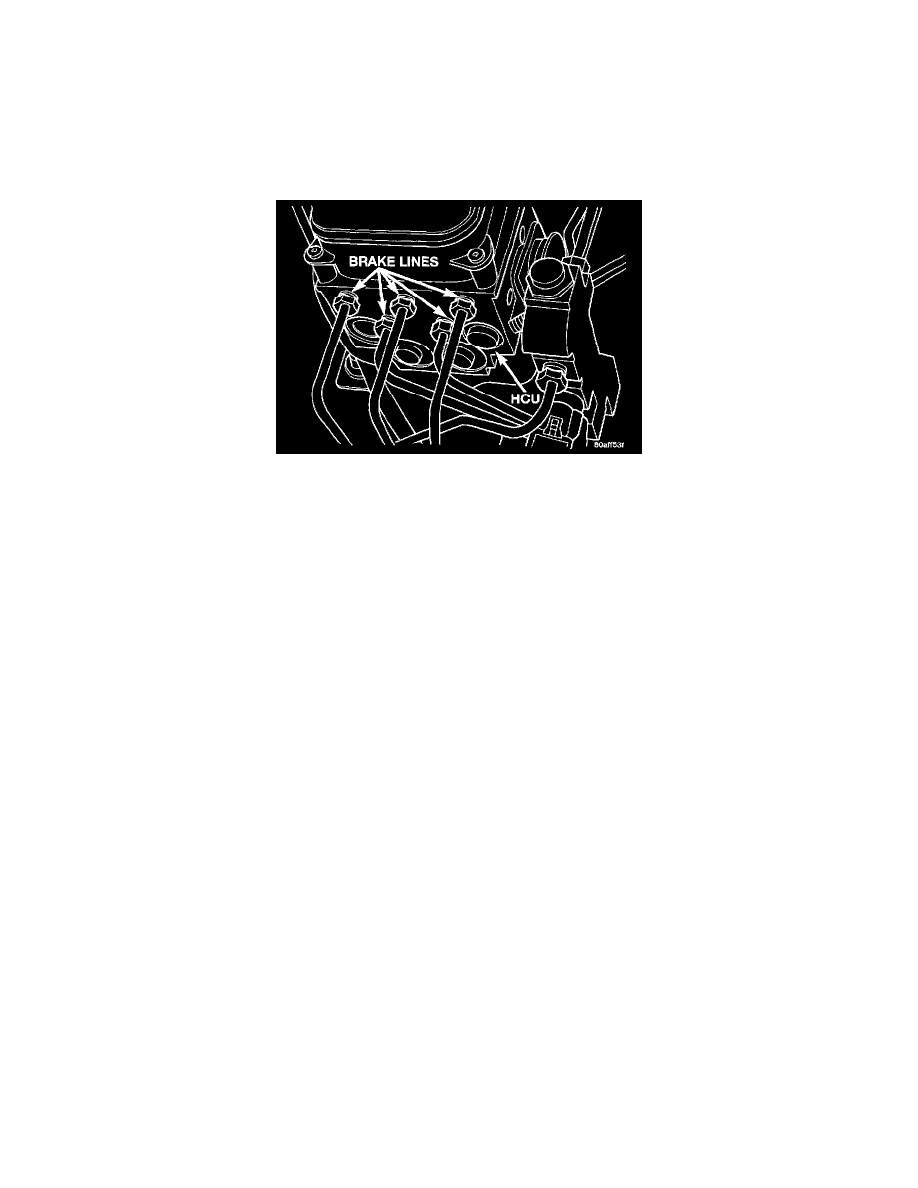
Brake Lines
3. Disconnect brake lines from HCU.
4. Remove the two mounting bolts on either side of the assembly which attach the assembly to the mounting bracket.
5. Tilt the assembly upward were the brake lines attach and remove the assembly from the mounting bracket.
INSTALLATION
1. Install the assembly into the mounting bracket.
2. Install the mounting bolts and tighten to 12 Nm (102 inch lbs.).
3. Connect the CAB harnesses.
4. Connect the brake lines to the HCU. Tighten brake line fittings to 19 - 23 Nm (170 - 200 inch lbs.).
5. Connect battery.
6. Bleed brake system.