
RAM 1500 Truck 4WD V8-5.9L VIN Z LDC (1999)
Seat Belt Control Module: Service and Repair
REMOVAL
1. Disconnect and isolate the battery negative cable.
2. Remove the fasteners that secure the front seat adjusters to the floor panel.
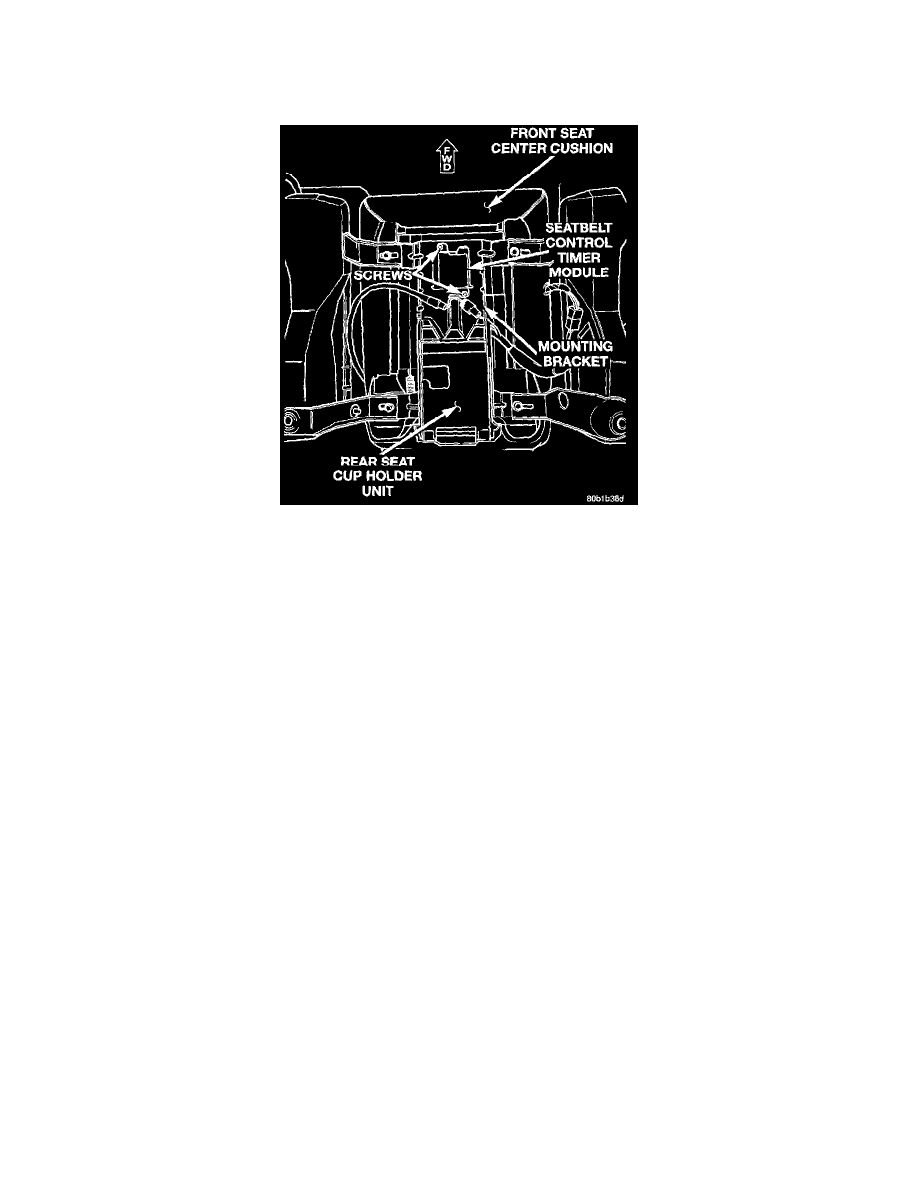
Seatbelt Timer Control Module Remove/Install
3. Tilt the structural seat assembly rearward far enough to reach under the forward edge of the front seat center cushion and access the Seatbelt
Control Timer Module (SCTM).
4. Remove the two screws that secure the SCTM to the mounting bracket under the forward edge of the front seat center cushion.
5. Lower the SCTM from the mounting bracket far enough to access and disconnect the front seat wire harness connector from the SCTM connector
receptacle.
6. Remove the SCTM from under the front seat.
INSTALLATION
1. Tilt the structural seat assembly rearward far enough to reach under the forward edge of the front seat center cushion and install the SCTM.
2. Reconnect the front seat wire harness connector to the SCTM connector receptacle.
3. Position the SCTM to the mounting bracket under the forward edge of the front seat center cushion.
4. Install and tighten the two screws that secure the SCTM to the mounting bracket. Tighten the screws to 2.2 Nm (20 in lbs).
5. Install the fasteners that secure the front seat adjusters to the floor panel.
6. Do not connect the battery negative cable at this time. Refer to Seatbelt Control System Test Mode in the Diagnosis and Testing for the proper
procedures.