
RAM 1500 Van V6-3.9L VIN X (1997)
Compressor Clutch: Service and Repair
Compressor Clutch / Coil Assembly Replacement
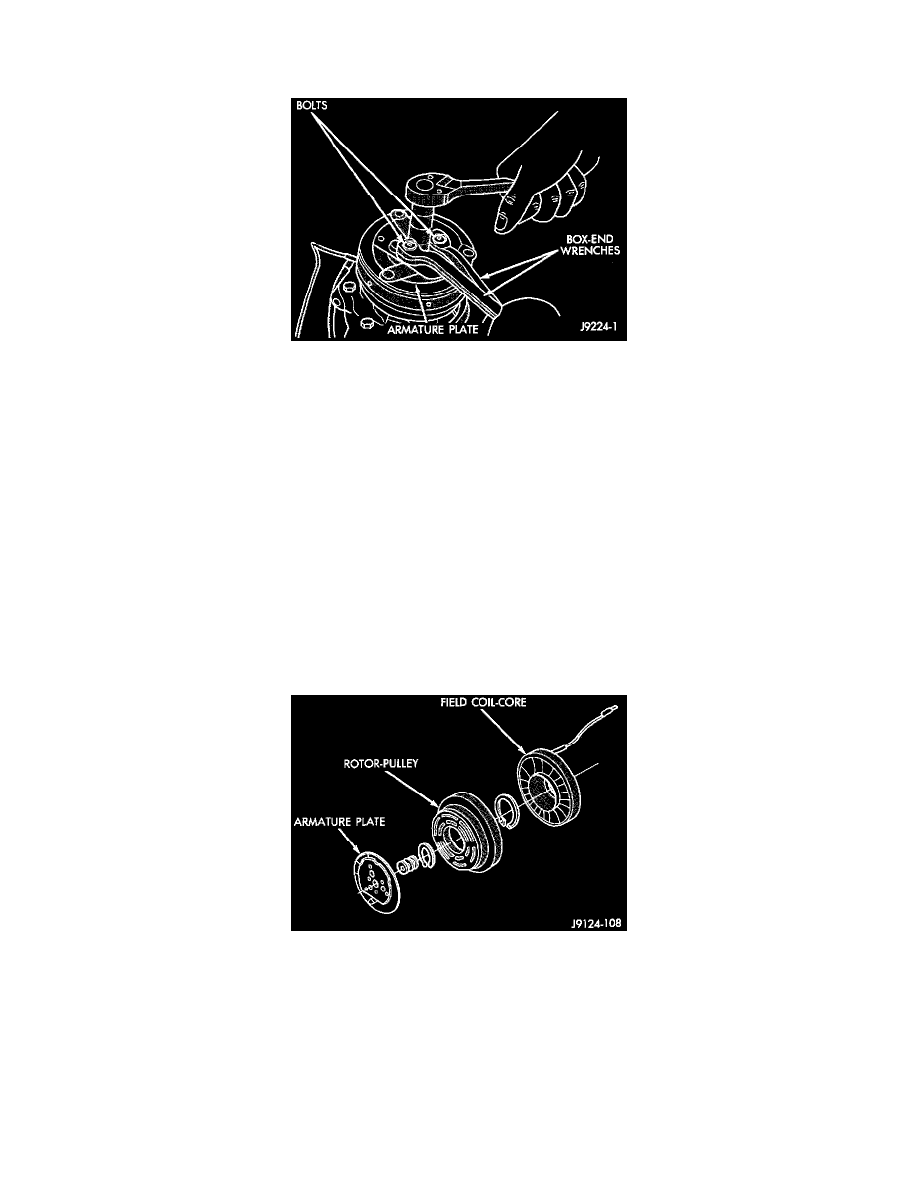
Fig 15 Compressor Shaft Nut Removal/Installation
NOTE: The refrigerant system can remain fully-charged during compressor clutch, pulley, or coil replacement. The compressor clutch can be serviced
in the vehicle.
REMOVAL
1. Remove the compressor. Do not remove the refrigerant lines or fittings.
2. Screw two 6 mm bolts into the threaded holes in the clutch armature plate. Hold the bolts with two wrenches to prevent the shaft from turning.
Remove the compressor shaft nut.
3. Lightly tap the clutch plate with a plastic hammer and remove the plate and shim(s).
CAUTION: Do not use screwdrivers between the armature plate assembly and the rotor/pulley to remove the armature plate. This may damage
the armature plate assembly.
4. Remove the pulley retaining snap ring with snap ring pliers. Remove the pulley assembly from the compressor. Use a plastic hammer, if required.
5. Loosen the clutch coil wire harness clamps and remove the wire harness from the compressor front coven Unplug the wire harness connectors
from the thermal limiter switch.
WARNING: Take care that the snap ring does not fly out from the groove.
Fig 16 Clutch/Pulley/Coil Removal/Installation
6. Remove the snap ring that secures the field coil assembly to the compressor front cover. Note the alignment of the field coil assembly when
removing it.
INSPECTION
Examine the friction surfaces of the clutch rotor/ pulley and the armature plate for wear. The pulley and plate should be replaced if there is
excessive wear or scoring.
If the friction surfaces are oily, inspect the shaft and nose area of the compressor for oil. If excessive oil is present, the shaft seal is leaking and the
compressor must be replaced.