
RAM 1500 Van V8-5.2L CNG VIN T (1999)
Low Pressure Sensor / Switch: Testing and Inspection
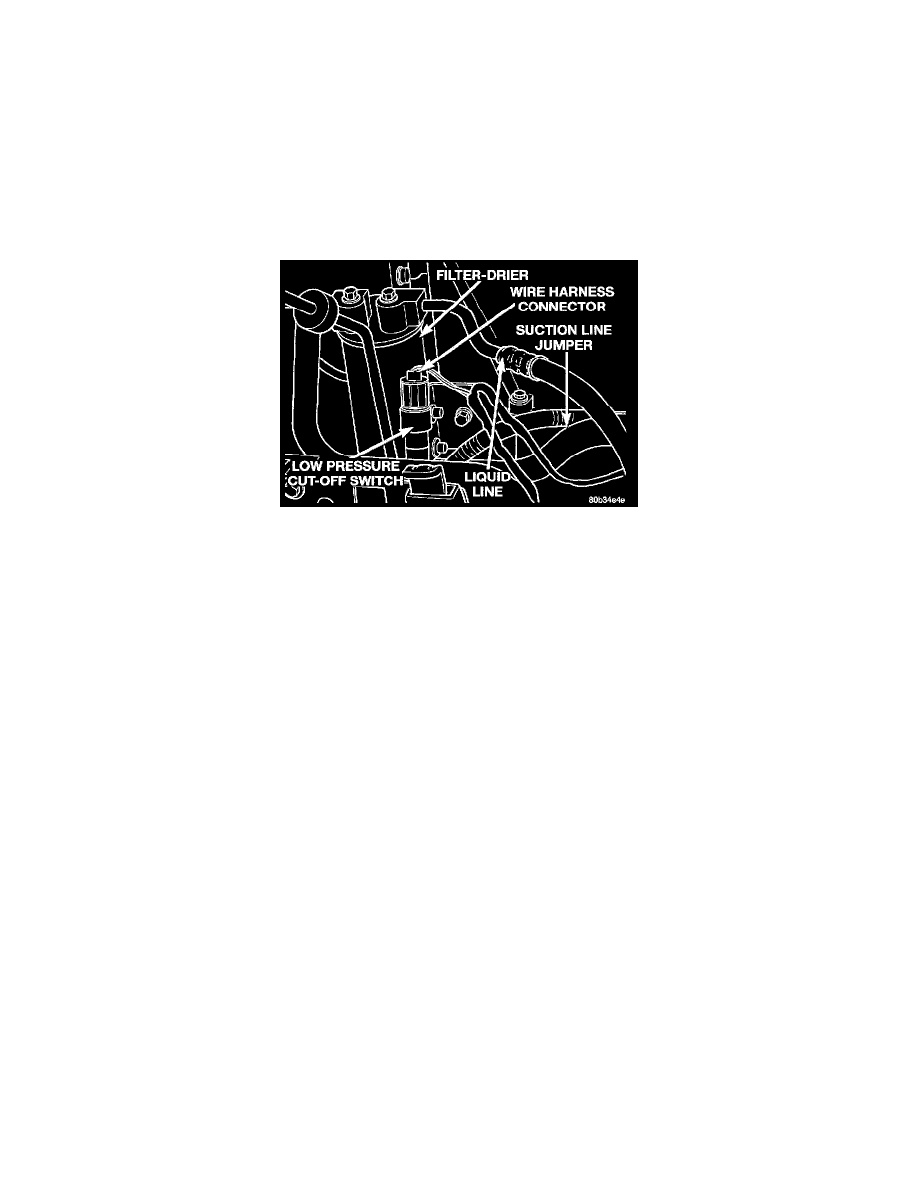
LOW PRESSURE CUT-OFF SWITCH
Before performing diagnosis of the low pressure cut-off switch, remember that lower ambient temperatures, below about -1° C (30° F), during
cold weather will open the switch contacts and prevent compressor operation due to the pressure/temperature relationship of the refrigerant.
Also verify that the refrigerant system has the correct refrigerant charge. See Refrigerant System Charging.
See: Service and Repair/Refrigerant System Charge
Testing
1. Disconnect and isolate the battery negative cable.
Low Pressure Cut-Off Switch Remove/Install
2. Unplug the low pressure cut-off switch wire harness connector from the switch on the suction line jumper fitting.
3. Install a jumper wire between the two cavities of the low pressure cut-off switch wire harness connector.
4. Connect a manifold gauge set to the refrigerant system service ports. See Refrigerant System Service Equipment and Refrigerant System Service
Ports.
See: Tools and Equipment
See: Service Port HVAC/Description and Operation
5. Connect the battery negative cable.
6. Place the heater-A/C mode control switch knob in any A/C position and start the engine.
7. Check for continuity between the two terminals of the low pressure cut-off switch. There should be continuity with a suction pressure (low side)
reading of 103 to 172 kPa (15 to 25 psi) or above, and no continuity with a suction pressure reading of 48 to 90 kPa (7 to 13 psi) or below. If
OK, test and repair the A/C switch sense circuit as required. If not OK, replace the faulty switch.