
RAM 1500 Van V8-5.2L VIN Y (1999)
Radio/Stereo: Service and Repair
WARNING: ON VEHICLES EQUIPPED WITH AIRBAGS, REFER TO AIR BAGS AND SEAT BELTS/AIR BAGS BEFORE
ATTEMPTING ANY STEERING WHEEL, STEERING COLUMN, OR INSTRUMENT PANEL COMPONENT DIAGNOSIS OR SERVICE.
FAILURE TO TAKE THE PROPER PRECAUTIONS COULD RESULT IN ACCIDENTAL AIRBAG DEPLOYMENT AND POSSIBLE
PERSONAL INJURY.
REMOVAL
1. Disconnect and isolate the battery negative cable.
2. Remove the cluster bezel from the instrument panel. Refer to Cluster Bezel in the Replacement of Instrument Panel Systems for the procedures.
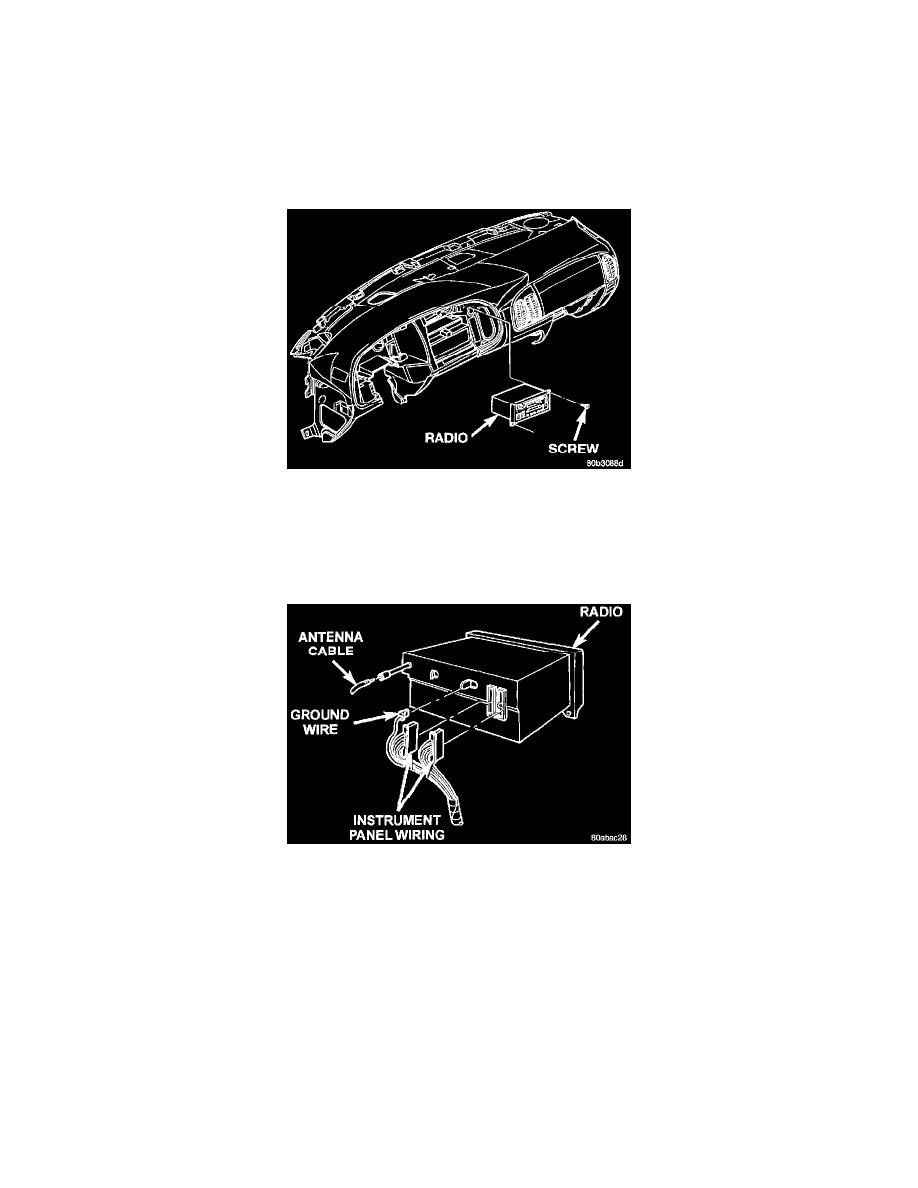
Radio Receiver Remove/Install
3. Remove the two screws that secure the radio receiver to the instrument panel.
CAUTION: Care must be used when removing or installing the radio so as not to damage the accessory switch plate, which is located just to the
right of the radio and the heater-air conditioner controls in the instrument panel.
Radio Receiver Connections - Typical
4. Pull the radio receiver out from the instrument panel far enough to access the instrument panel wire harness connectors and the antenna coaxial
cable connector.
5. Disconnect the instrument panel wire harness connectors and the antenna coaxial cable connector from the receptacles on the rear of the radio
receiver.
6. Remove the radio receiver from the instrument panel.
INSTALLATION
1. Position the radio receiver to the instrument panel.
2. Reconnect the instrument panel wire harness connectors and the antenna coaxial cable connector to the receptacles on the rear of the radio
receiver.
CAUTION: Care must be used when removing or installing the radio so as not to damage the accessory switch plate, which is located just to the
right of the radio and the heater-air conditioner controls in the instrument panel.
3. Position the radio receiver into the mounting hole in the instrument panel.