
RAM 1500 Van V8-5.9L VIN Z (1998)
Thermal Limiting Fuse: Service and Repair
After removing the thermal limiter switch, always replace it with a new unit. The refrigerant system can remain fully-charged during thermal limiter
switch replacement.
REMOVAL
1. Unplug the two wire harness connectors between the compressor clutch wire harness and the thermal limiter switch.
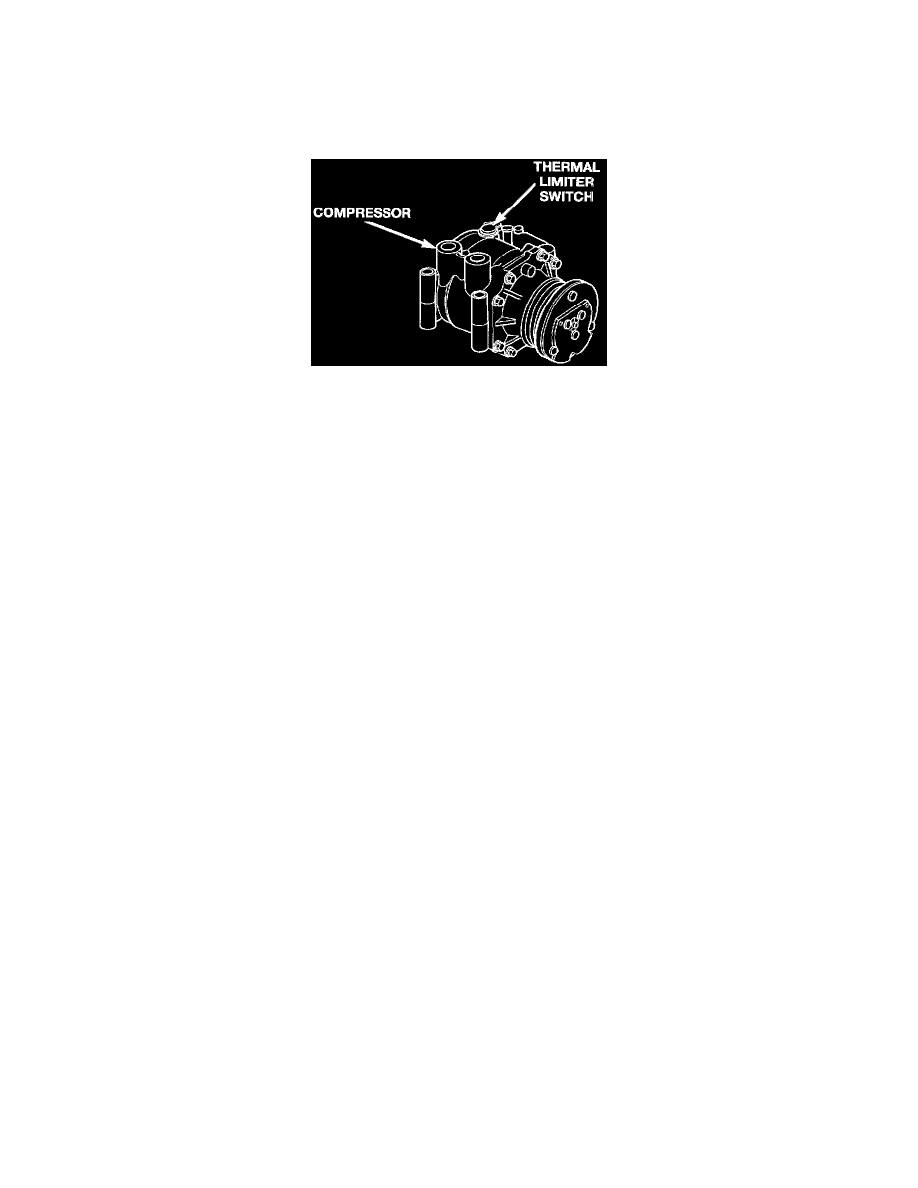
Thermal Limiter Switch Remove/Install
2. Remove the single screw that secures the thermal limiter switch clamp to the top of the compressor housing.
3. Using a straight-bladed screwdriver, pry the thermal switch from the socket in the top of the compressor housing.
4. Remove the thermal limiter switch from the compressor.
Cleaning
1. Remove the old silicone sealant filler from the thermal limiter switch socket on the top of the compressor housing.
2. Thoroughly clean the thermal limiter switch socket with paint thinner or another suitable solvent that leaves no residue.
INSTALLATION
1. Place the new thermal limiter switch on a suitable work bench with the flat copper surface of the switch facing upward.
2. Apply an even coating of RTV silicone sealant to the flat copper surface of the thermal limiter switch. Dispense and apply the silicone sealant to
the switch directly from the tube, and do not try to spread the material with your fingers.
3. Install the thermal limiter switch with the flat copper surface facing downward into the socket of the compressor housing.
4. Position the clamp over the thermal limiter switch and secure the clamp to the compressor housing with the mounting screw. Tighten the mounting
screw to 1.8 N.m (17 in. lbs.).
5. Plug in the thermal limiter switch wire harness connectors to the compressor clutch wire harness.