
RAM 1500 Van V8-5.9L VIN Z LDC (2001)
Sliding Door Striker: Service and Repair
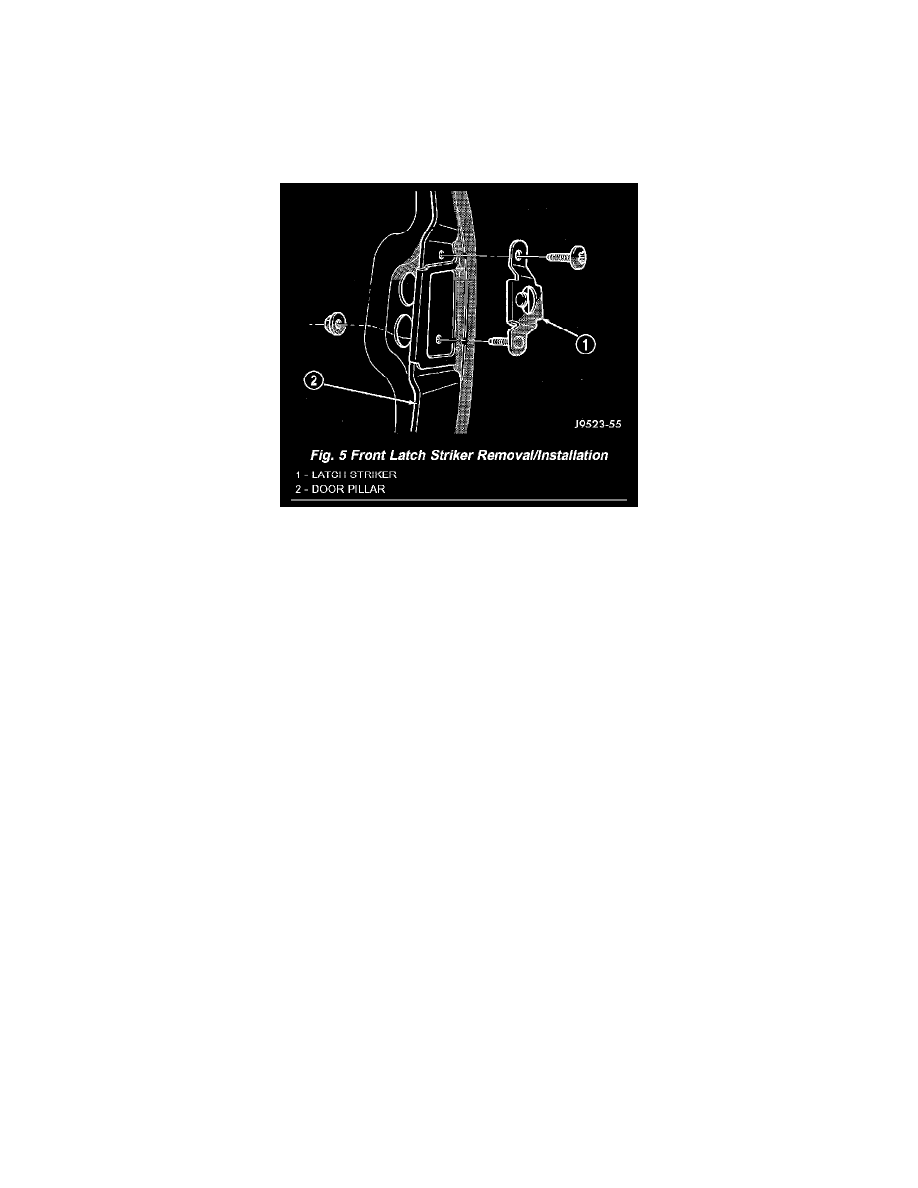
Front Latch Striker
FRONT LATCH STRIKER
REMOVAL
1. Remove plug from forward side of B-Pillar.
Fig. 5
2. Remove lower latch striker stud nut from inside of door pillar (Fig. 5). (Use care not to drop nut into pillar).
3. Remove upper latch striker screw from door pillar.
4. Remove the striker from the door pillar.
INSTALLATION
1. Position the striker on the door pillar.
2. Install the upper latch striker screw. Do not tighten.
3. Install the lower latch striker stud nut in the door pillar. Do not tighten.
4. Adjust the striker by closing the door completely. Tighten the inner nut to 22 N.m (200 in. lbs.) torque.
5. Open door. Tighten the upper screw to 11 N.m (95 in. lbs.) torque.
6. Install B-Pillar plug.