
RAM 1500 Van V8-5.9L VIN Z LDC (2001)
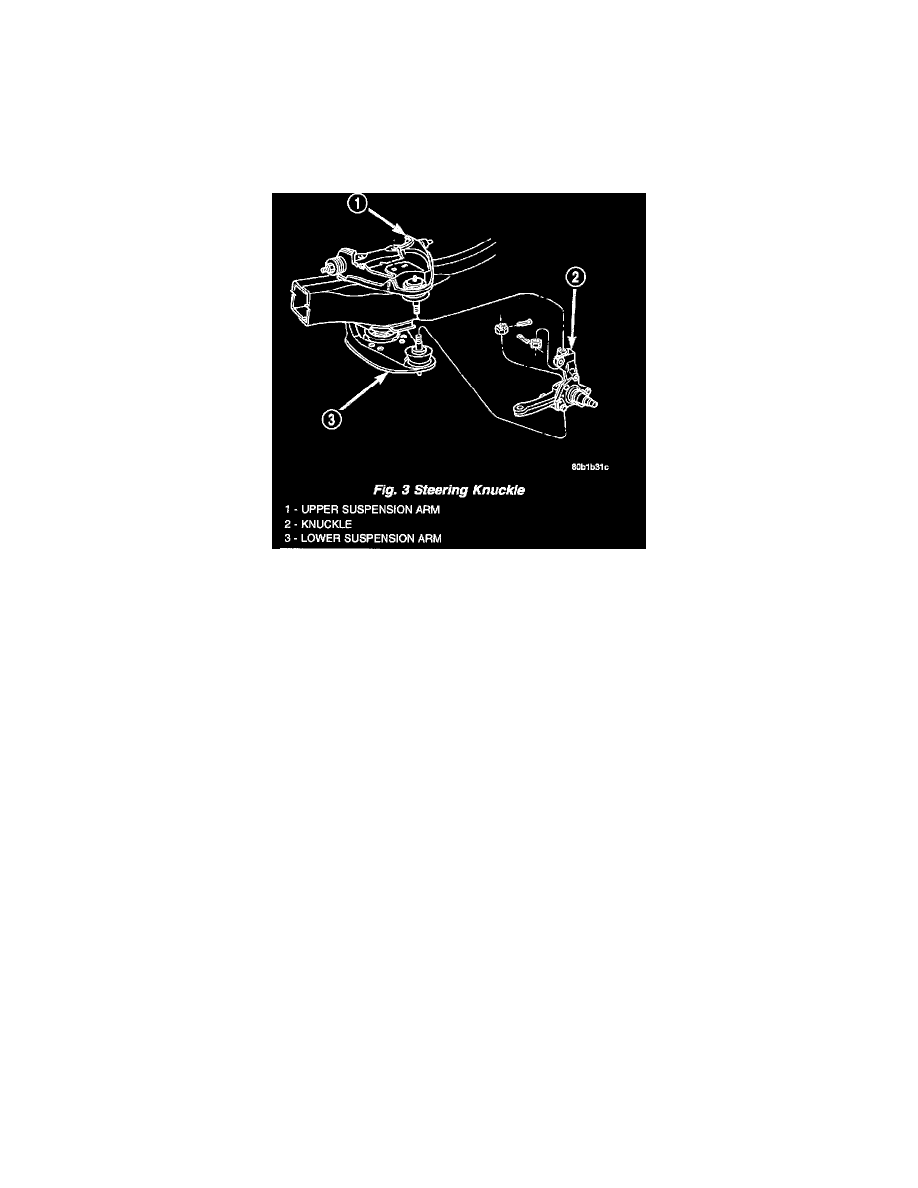
Front Steering Knuckle: Service and Repair
REMOVAL
1. Raise and support the vehicle. Place a jack under outer end of lower suspension arm.
2. Remove wheel and tire assembly.
3. Remove disc brake caliper and rotor.
4. Remove the rotor dust shield.
5. Remove the wheel speed sensor.
6. Remove tie rod from steering knuckle arm.
7. Remove cotter pins and nuts from upper and lower ball joints.
8. Use Ball Joint Remover C-3664-A to separate upper and lower ball joints from steering knuckle.
NOTE: It may be necessary to also strike the knuckle with a hammer to separate the ball joints from the knuckle.
9. Remove tool and steering knuckle assembly.
10. Secure the steering knuckle in a vise to remove the steering arm from the steering knuckle.
INSTALLATION
1. Mount the steering knuckle in a vise and install the steering arm on the steering knuckle and tighten nuts to:
-
LD 5/8 nut: 294 Nm (217 ft. lbs.)
-
HD 3/4 nut: 330 Nm (225 ft. lbs.)
2. Position steering knuckle on upper and lower ball joints and install nuts. Tighten upper nut to 183 Nm (135 ft. lbs). Install new cotter pins.
3. Tighten the lower nut to:
-
LD 11/16 nut: 183 Nm (135 ft. lbs.)
-
HD 3/4 nut: 237 Nm (175 ft. lbs.)
4. Install the wheel speed sensor.
5. Install brake rotor dust shield on steering knuckle and tighten bolts to 24 Nm (18 ft. lbs.).
6. Install rotor and disc brake caliper.
7. Install tie rod to steering knuckle arm.
8. Install wheel and tire assembly and lower the vehicle.
9. Check the wheel alignment.