
RAM 2500 Truck 2WD L6-359 5.9L DSL Turbo VIN D FI (1997)
9. The 4 digit number stamped on the rod cap at the parting line must match and be installed towards the oil cooler side of the engine.
10. Install the rod cap and bolts to the connecting rod. Tighten the connecting rod and bolt evenly in 3 steps.
^
Tighten the bolts to 35 Nm (26 ft. lbs.) torque.
^
Tighten the bolts to 70 Nm (61 ft. lbs.) torque.
^
Tighten the bolts to 100 Nm (73 ft. lbs.) torque.
11. The crankshaft must rotate freely. Check for freedom of rotation as the caps are installed. If the crankshaft does not rotate freely, check the
installation of the rod bearing and the bearing size.
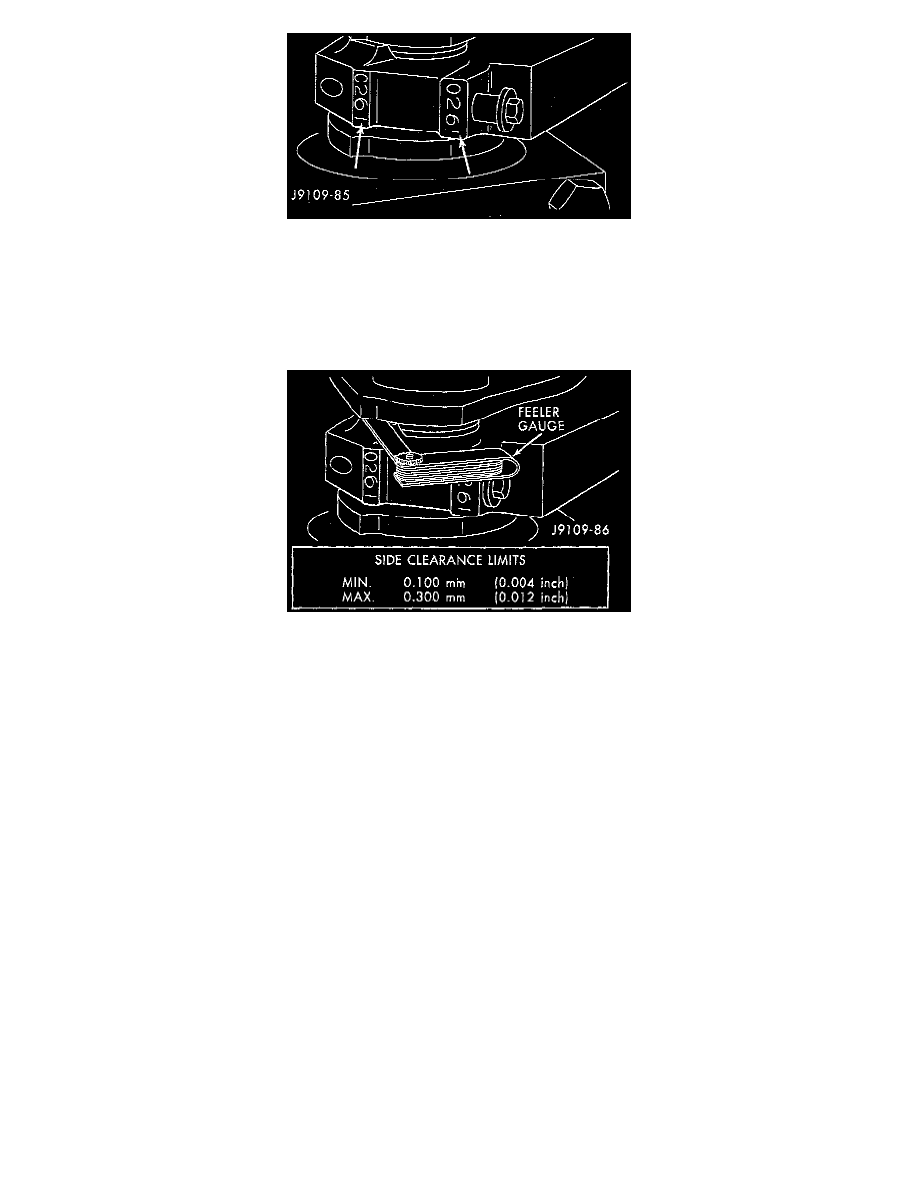
12. Measure the side clearance between the connecting rod and the crankshaft. DO NOT measure the clearance between the cap and crankshaft.
13. Install the suction tube and oil pan.
14. Install the cylinder head onto the block.
15. Install the engine assembly into the vehicle.