
RAM 2500 Truck 2WD L6-359 5.9L DSL Turbo VIN D FI (1997)
9. Rotate the crankshaft in the direction of normal engine rotation until the piston touches the intake valve. Make sure that the piston touches the
intake valve with approximately the same amount of force as in the previous step.
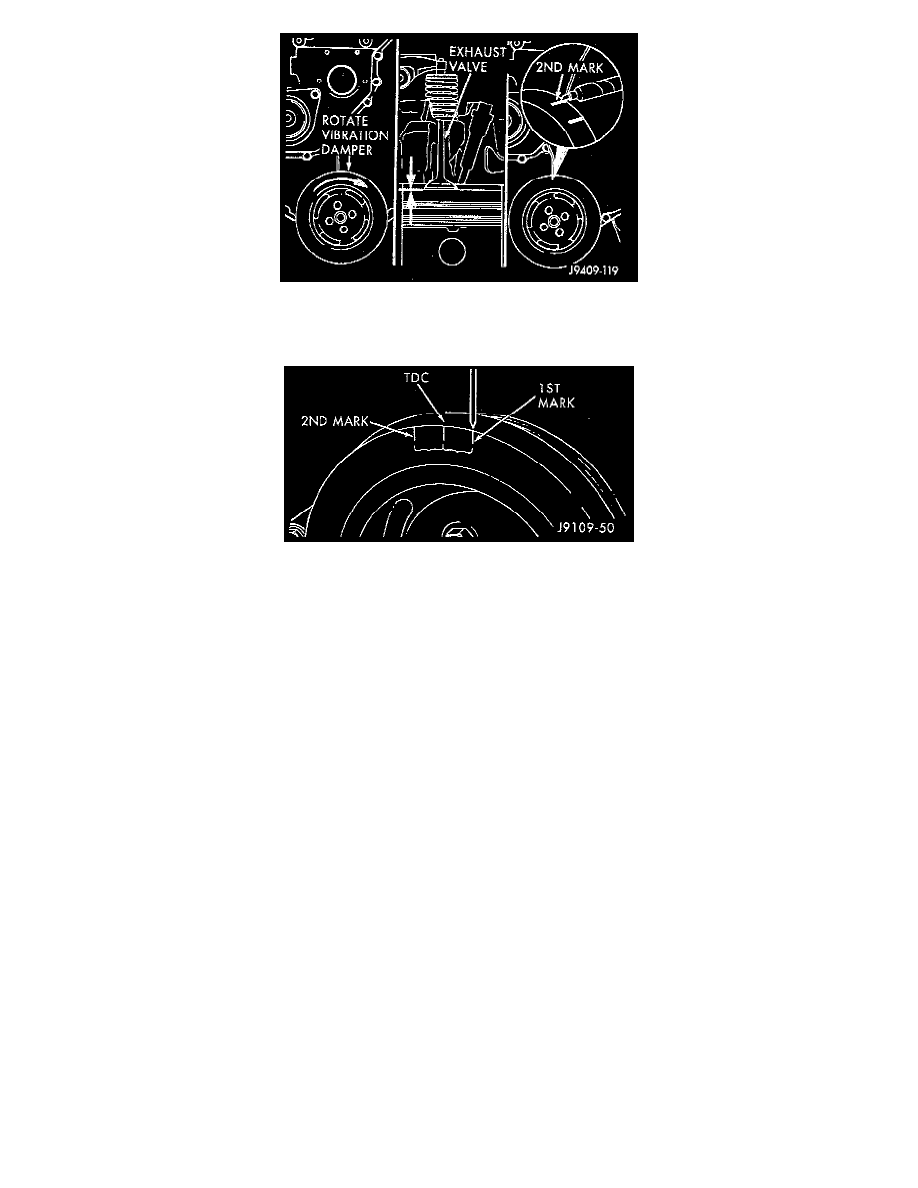
10. Mark the vibration damper at the wire pointer.
11. Measure the distance and mark the vibration damper at one-half that distance between the two marks. This mark is the TDC mark.
12. Completely loosen the intake valve adjusting screw. If not done, damage to the intake valve or push rod could occur when the crankshaft is rotated.
13. Rotate the crankshaft in the direction of normal engine rotation until the pointer is aligned with the TDC mark. Rotate crankshaft one additional
turn.
14. The timing pin hole in the cam gear should be visible or felt through the back side of the gear housing. If not, the crankshaft must be rotated one
revolution in the direction of engine rotation.
15. Apply a coat of Loctite (TM) 59241 (Liquid Teflon), or equivalent to the threads of the Torx head bolts. Install the timing pin assembly and new
O-ring.
16. Hold the timing pin in the hole to align the housing and install the Torx head bolts. Tighten the Torx bolts to 5 Nm (44 inch lbs.) torque.
17. Install the remaining rocker lever pedestal assemblies. Tighten the rocker lever pedestal mounting capscrews.
18. Adjust the valves.
19. Install the injectors and bleed the fuel system. Refer to Powertrain Management.
20. Install the fuel pump. Refer to Powertrain Management.
21. Install the gear cover.
22. Remove the pointer. Install the crankshaft vibration damper.
Cylinder Head Removed
NOTES:
^
The timing pin assembly is precisely located on the gear housing to correspond to Top Dead Center (TDC) for Cylinder No.1.
^
The timing pin assembly must be relocated if the gear housing is interchanged.