
RAM 2500 Truck 2WD L6-5.9L DSL Turbo VIN 7 (2001)
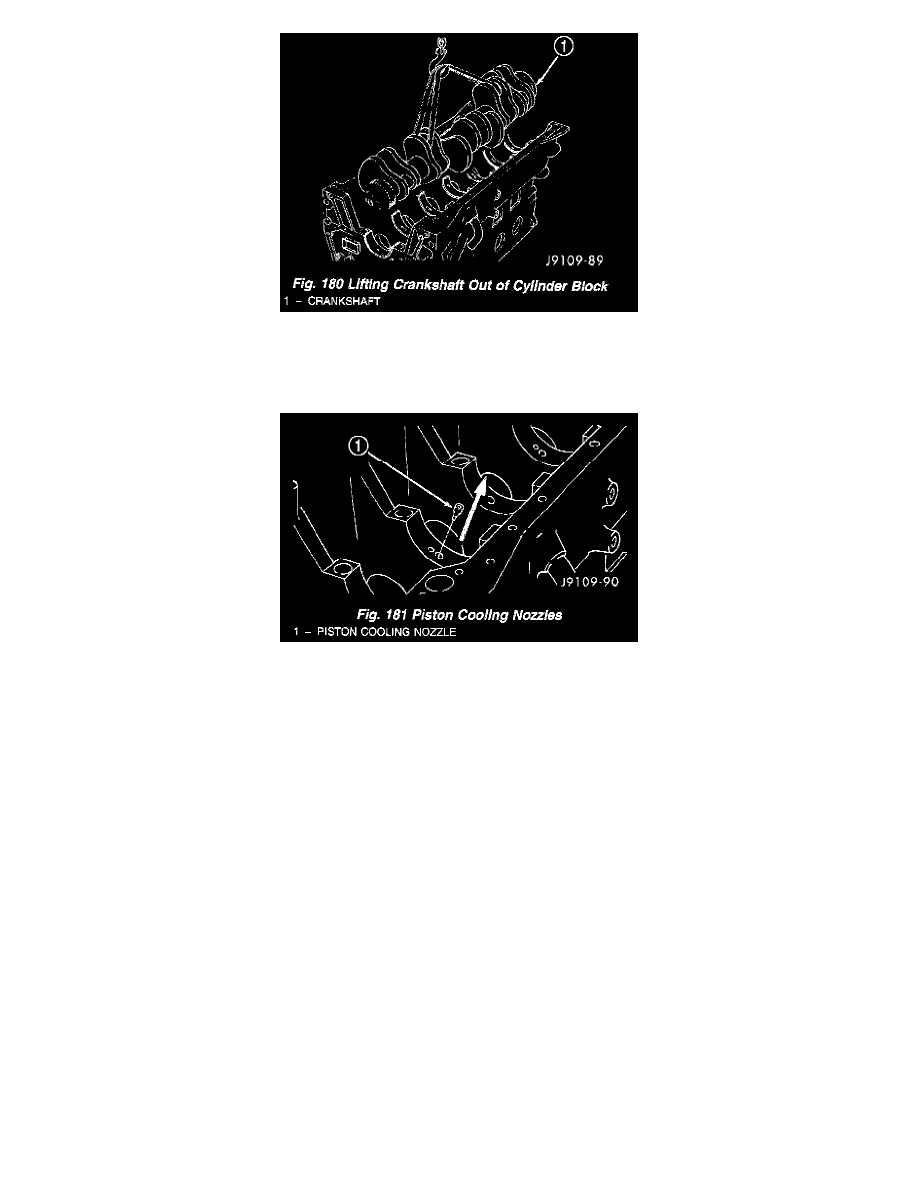
Fig. 180
7. Lift the crankshaft and gear from the cylinder block (Fig. 180).
8. Remove the main bearings from the block and the main caps.
Fig. 181
9. Remove the piston cooling nozzles by using a 3/16 inch pin punch to push them out (Fig. 181).
CLEANING
Clean the crankshaft oil gallery holes with a nylon brush.
Rinse in clean solvent and dry with compressed air.
INSPECTION
Inspect the rod and main journal for deep scores, signs of overheating and other abnormal marks. Inspect the front and rear seal contact areas of the
crankshaft for scratches or grooving.
The service seal kit will position the seal slightly deeper into the seal bore so it will contact the crankshaft at a different location. If this has already
been done and the crankshaft has two worn areas, install a wear sleeve to provide a new contact surface for the seal.
1. Visually inspect the tone wheel for missing teeth, cracks, and out-of-round.
NOTE: For additional crankshaft procedures, refer to "Crankshaft Service" in Engine, Service and Repair, Service Procedures.
INSTALLATION
CAUTION: Use only hand force to push the nozzle in place. If driven with a hammer, the nozzle will be damaged.
1. Use a center punch to push the piston cooling nozzle into place. Install nozzles so they bottom out in bore.
2. Make sure the saddle surface is clean and dry. Install the upper main bearings.
3. Install the combination thrust/main bearing in the number six main bearing location.
4. Lubricate the bearings with Lubriplate 105, or equivalent.
WARNING: TO AVOID INJURY, USE A HOIST TO INSTALL THE CRANKSHAFT.
5. If replacing the crankshaft, transfer the tone wheel to the new crankshaft.