
RAM 2500 Truck 2WD L6-6.7L DSL Turbo (2010)
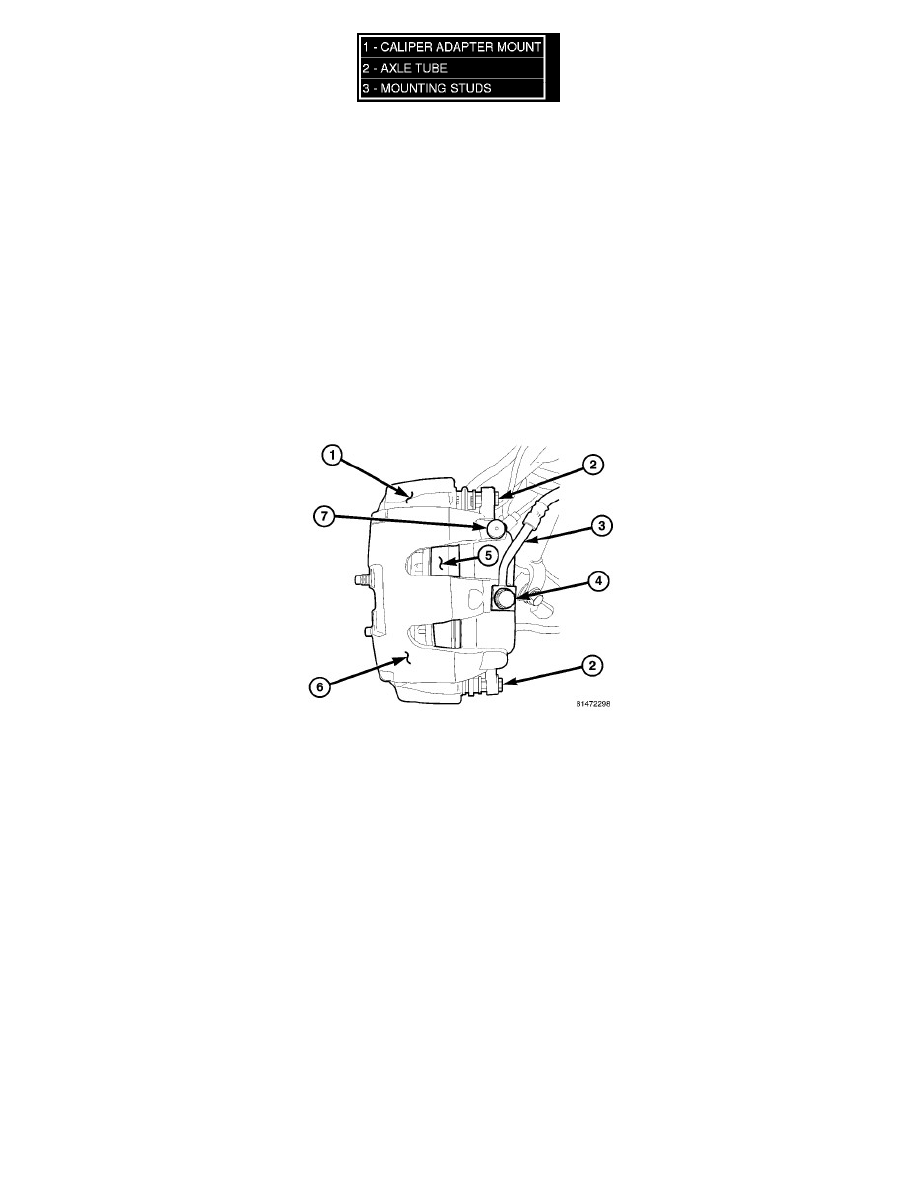
1. Install the caliper adapter mount (1) on the axle housing (2).
2. Install support plate on axle flange. Tighten attaching nuts (3) to 102 Nm (75 ft. lbs.).
3. Install parking brake cable in the brake lever.
4. Install the park brake shoes See: Parking Brake System/Parking Brake Shoe/Service and Repair/Removal and Replacement/Installation.
5. Install axle shaft, refer to Differential and Driveline/Rear Axle - Installation.
6. Adjust brake shoes to drum with brake gauge See: Parking Brake System/Parking Brake Shoe/Adjustments.
7. Install the rotor See: Disc Brake System/Brake Rotor/Disc/Service and Repair/Removal and Replacement/Brake Rotor - Installation.
8. Install the caliper adapter See: Disc Brake Caliper Adapter - Installation.
9. Install the caliper See: Disc Brake Caliper - Installation.
10. Install wheel and tire assembly, See: Maintenance/Wheels and Tires/Wheels/Service and Repair.
Front
FRONT
NOTE: 1500 shown, others similar.
CAUTION: Never allow the disc brake caliper to hang from the brake hose. Damage to the brake hose will result. Provide a suitable support to
hang the caliper securely.
1. Install prop rod on the brake pedal to keep pressure on the brake system, Holding pedal in this position will isolate master cylinder from hydraulic
brake system and will not allow brake fluid to drain out of brake fluid reservoir while brake lines are open. This will allow you to bleed out the
area of repair instead of the entire system.
2. Raise and support the vehicle, See: Maintenance.
3. Remove the tire and wheel assembly.
4. Compress the disc brake caliper (6).
5. Remove the banjo bolt (4) and discard the copper washers.