
RAM 2500 Truck 2WD L6-6.7L DSL Turbo (2010)
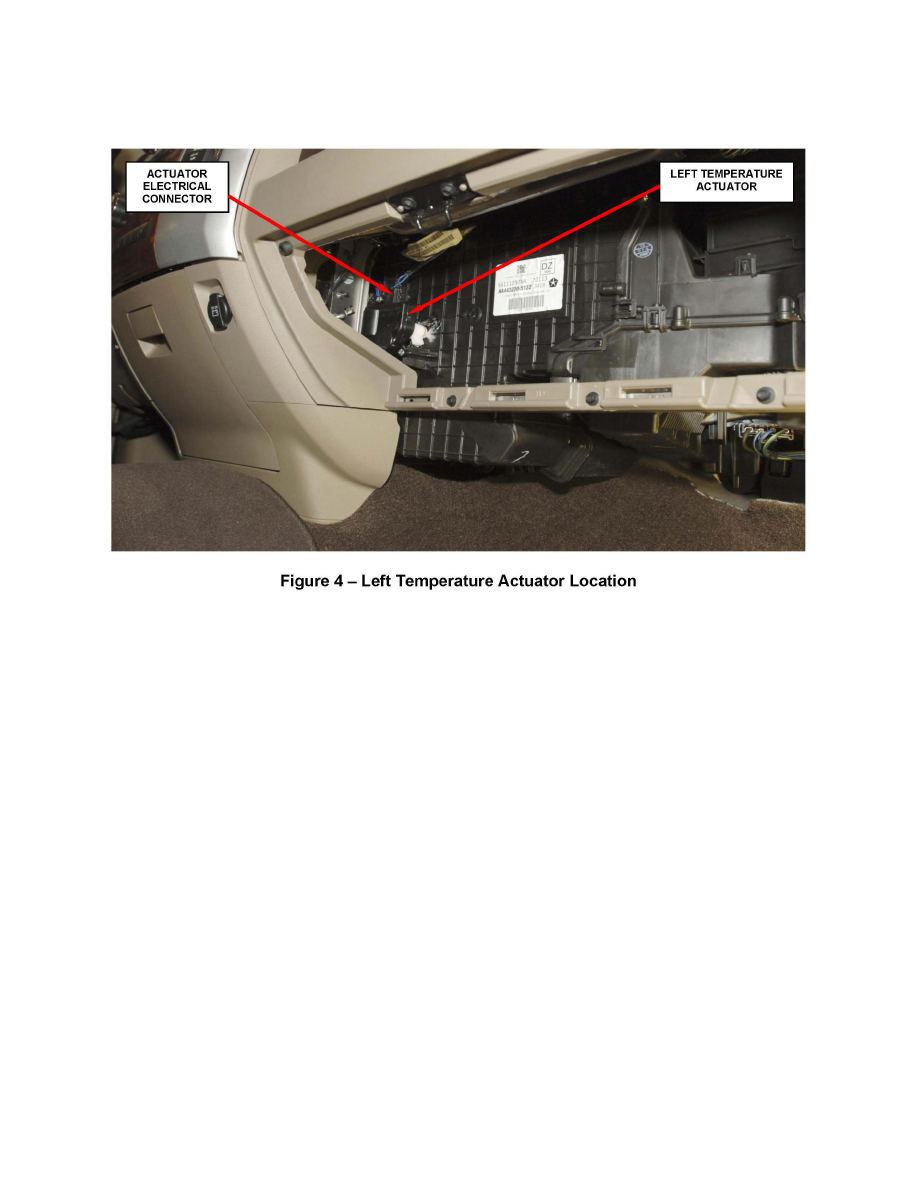
D. Replace Left Temperature Actuator
1. Disconnect the negative battery cable.
2. Remove the glove box door.
3. Disconnect the left temperature actuator electrical connector (Figure 4).
4. Remove the left temperature actuator mounting screws (Figure 4).
5. Remove and discard the left temperature actuator (Figure 4).
6. Install the new left temperature actuator into position on the heater housing.
NOTE:
The orientation of the door is not critical. The actuator will be correctly orientated when the actuator calibration procedure is performed.
7. Install the left temperature actuator mounting screws (Figure 4). Tighten the screws to 9 in. lbs. (1 N.m).
8. Connect the vehicle electrical harness connector to the left temperature actuator (Figure 4).
9. Install the glove box door.
10. Connect the negative battery cable.
11. If no other actuators require replacement, continue with Section G. Actuator Calibration.
If the actuator test determined there are additional actuator(s) that require replacement, continue with the appropriate Section in this document to
replace the actuator(s) that have active DTC's.
E. Replace Right Temperature Actuator (ATC Only) and/or the Recirculation Door Actuator
NOTE:
If an active code is present for the recirculation actuator, place the mode knob in the "FACE" mode, cycle the ignition key ON-OFF-ON and select
manually FRESH-RECIRC-FRESH. If the code is still active, replace the recirculation actuator. If the active DTC changes to a stored DTC, the
actuator does not require replacement.
1. Remove the front seat assemblies from the vehicle.