
RAM 2500 Truck 2WD L6-6.7L DSL Turbo (2010)
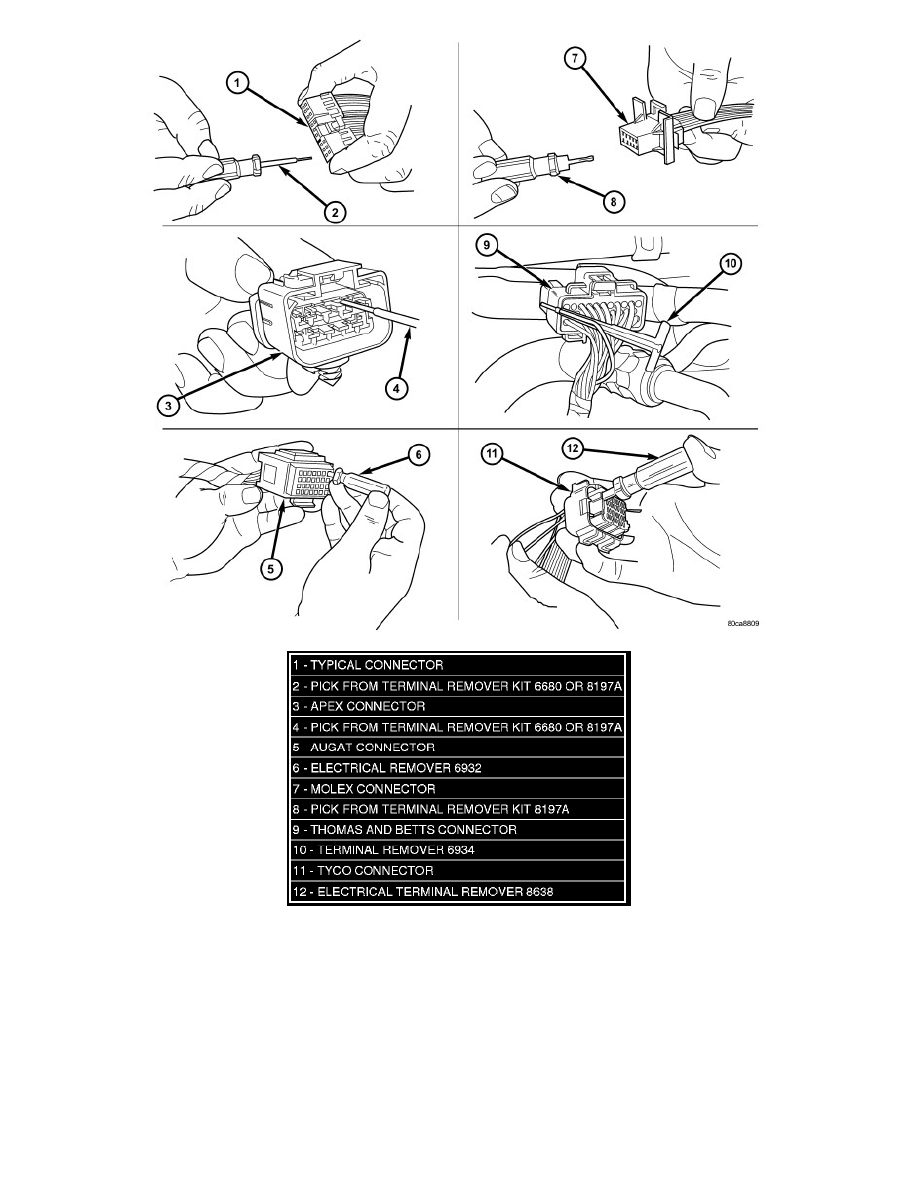
6. Position the connector locking finger away from the terminal using the proper special tool. Pull on the wire to remove the terminal from the
connector.
Installation
TERMINAL INSTALLATION
1. Select a wire from the terminal repair kit that best matches the color and gage of the wire being repaired.
2. Cut the repair wire to the proper length and remove one-half (1/2) inch of insulation.
3. Splice the repair wire to the wire harness (see wire splicing procedure) . See: Service Procedures/Wire Splicing
4. Insert the repaired wire into the connector.
5. Install the connector locking wedge, if required, and reconnect the connector to its mating half/component.
6. Re-tape the wire harness starting at 1-1/2 inches behind the connector and 2 inches past the repair.