
RAM 2500 Truck 2WD L6-6.7L DSL Turbo (2010)
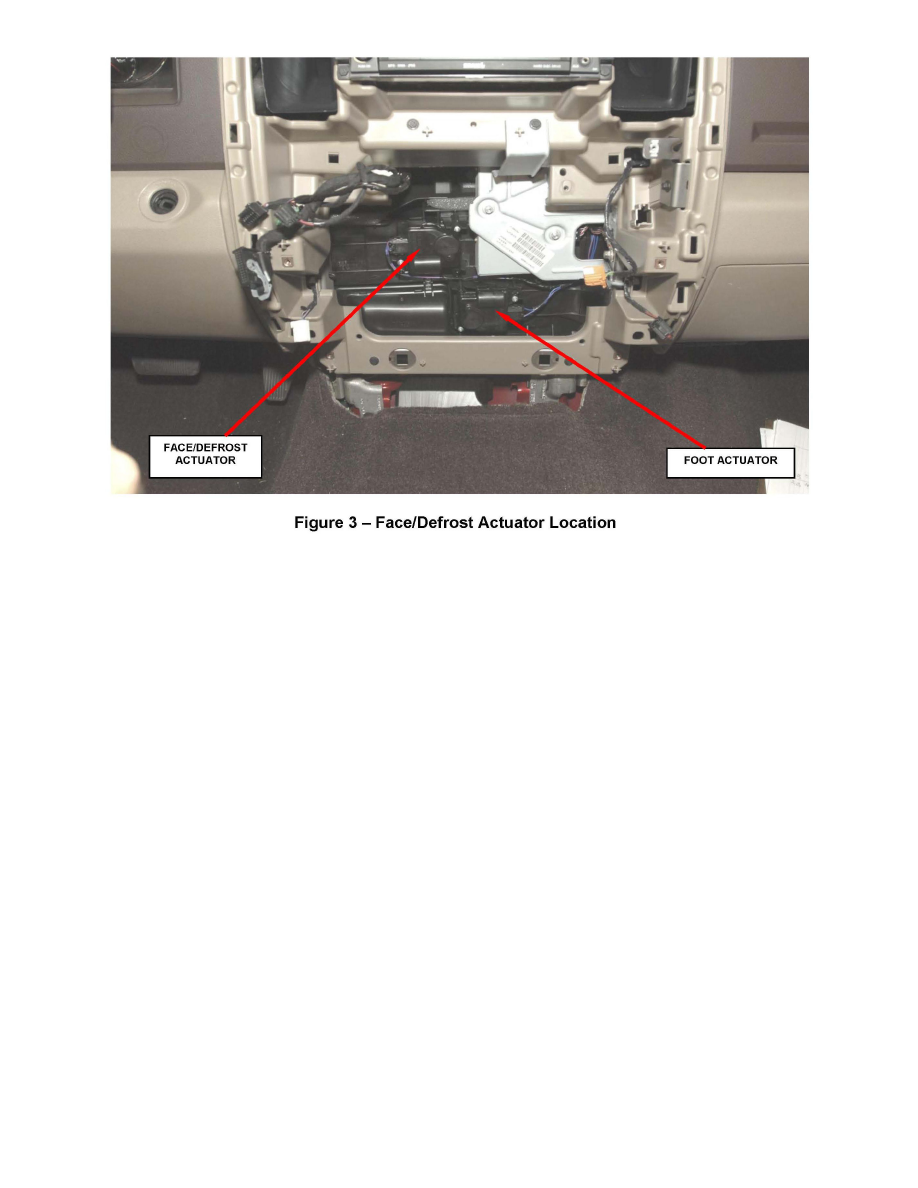
4. Disconnect the face/defrost actuator electrical connector (Figure 3).
5. Remove the face/defrost actuator mounting screws.
6. Remove and discard the original face/defrost actuator (Figure 3).
7. Install the new face/defrost actuator into position on the heater housing.
8. Install the face/defrost actuator mounting screws. Tighten the screws to 9 in. lbs. (1 N.m)
9. Install the cup holder using the following procedure:
a. Place the cup holder assembly and side panels into position.
b. Install the six cup holder mounting screws. Tighten the screws securely.
c. Install the lower cup holder trim panel.
10. Connect the electrical connectors to the center bezel.
11. Snap the center bezel into position.
12. Install the three center bezel mounting screws.
13. Install the power outlet trim bezel.
14. Install the center bezel tray liner.
15. If an MTC system and no other actuators require replacement, connect the negative battery cable and return the vehicle to the customer.
If an ATC system and no other actuators require replacement, continue with Section G. Actuator Calibration.
If the actuator test determined there are additional actuator(s) that require replacement, continue with the appropriate Section in this document to
replace the actuator(s) that have active DTC's.