
RAM 2500 Truck 2WD L6-6.7L DSL Turbo (2010)
Control Arm: Service and Repair
Rear Upper Control Arm - Removal
REMOVAL
1. Raise and support the vehicle See: Maintenance.
2. Support the rear axle with a suitable holding fixture.
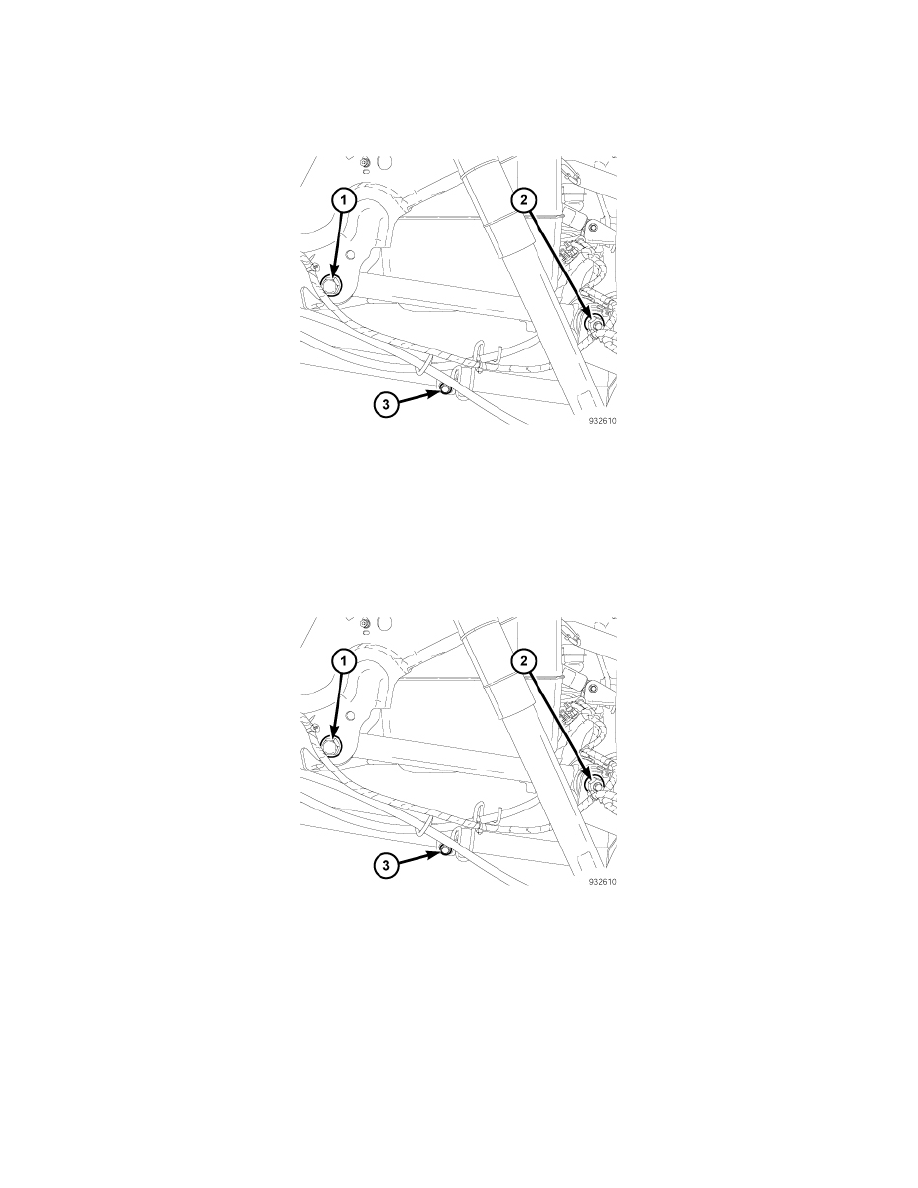
3. Remove the upper control arm bolt and nut (2) at the axle.
4. Remove the upper control arm front bolt (1) and nut at the frame.
5. Remove the upper control arm from the vehicle.
Rear Upper Control Arm - Installation
INSTALLATION
NOTE: The small bushing attaches to the axle and the large bushing to the frame.
1. Position the upper control arm to the vehicle.
2. Install the upper control arm bolt (1) and nut at the frame. Do not tighten.
3. Install the upper control arm bolt and nut (2) at the axle. Do not tighten.
4. Remove the holding fixture supporting the axle.
5. Remove the support and lower the vehicle.
6. Tighten the lower control arm nuts to 305 Nm (225 ft.lbs.).
Rear Lower Control Arm - Removal
REMOVAL
1. Raise and support the vehicle See: Maintenance.