
RAM 2500 Truck 2WD V10-8.0L VIN W (2003)
Timing Chain: Service and Repair
Timing Chain Cover
TIMING BELT/CHAIN COVER(S)
REMOVAL
1. Disconnect the negative cable from the battery.
2. Drain cooling system.
3. Remove the serpentine belt.
4. Remove fan and fan shroud.
5. Unbolt A/C compressor and set on top of engine.
6. Remove generator, air pump, and bracket assembly.
7. Remove water pump.
8. Remove damper bolt and washer.
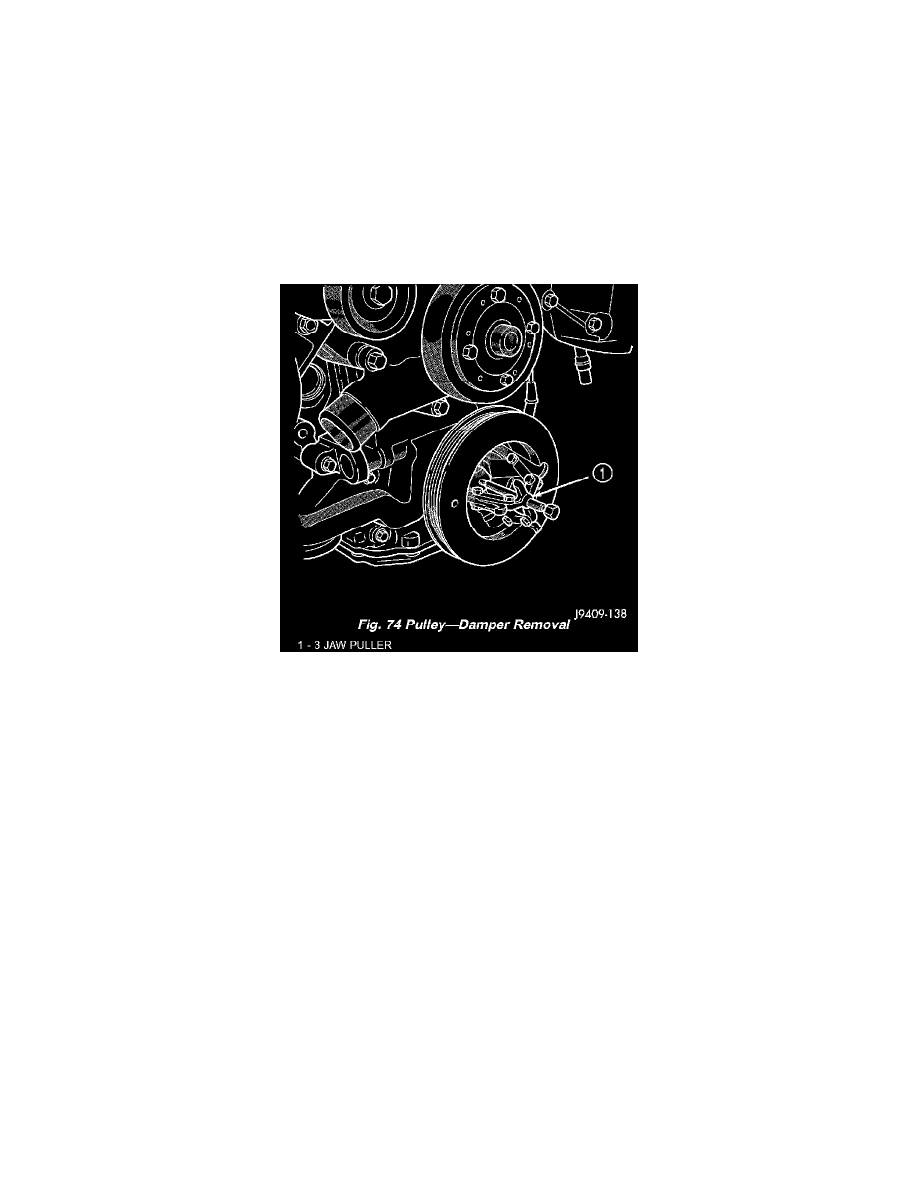
9. Using Special Tool 1026 3-Jaw Puller remove pulley/damper from the crankshaft. (Fig. 74)
10. Loosen oil pan bolts and remove the front oil pan bolts that mount the pan to the timing chain cover.
11. Remove the cover bolts.
12. Remove timing chain cover and gasket using extreme caution to avoid damaging oil pan gasket.
13. Inspect surface of cover. Remove any burrs or high spots.
INSTALLATION
1. Be sure mating surfaces of timing chain cover and cylinder block are clean and free from burrs.
2. Lubricate the pump rotors using petroleum jelly or lubriplate.
3. Using a new cover gasket, carefully install timing chain cover to avoid damaging oil pan gasket. Use a small amount of Mopar Silicone Rubber
Adhesive Sealant, or equivalent, at the joint between timing chain cover gasket and the oil pan gasket. Finger tighten the timing chain cover bolts
at this time.
4. Tighten timing chain cover bolts to 47 Nm (35 ft. lbs.) torque. Tighten oil pan bolts to 24 Nm (215 in. lbs.) torque.