
RAM 2500 Truck 2WD V8-5.2L VIN Y (2000)
Oil Pan: Service and Repair
REMOVAL
1. Disconnect the negative cable from the battery.
2. Remove engine oil dipstick.
3. Raise vehicle.
4. Drain engine oil.
5. Remove exhaust pipe.
6. Remove left engine to transmission strut.
7. Loosen the right side engine support bracket cushion thru-bolt nut and raise the engine slightly. Remove oil pan by sliding backward and out.
8. Remove the one-piece gasket.
INSTALLATION
1. Clean the block and pan gasket surfaces.
2. Trim or remove excess sealant film in the rear main cap oil pan gasket groove. DO NOT remove the sealant inside the rear main cap slots.
3. If present, trim excess sealant from inside the engine.
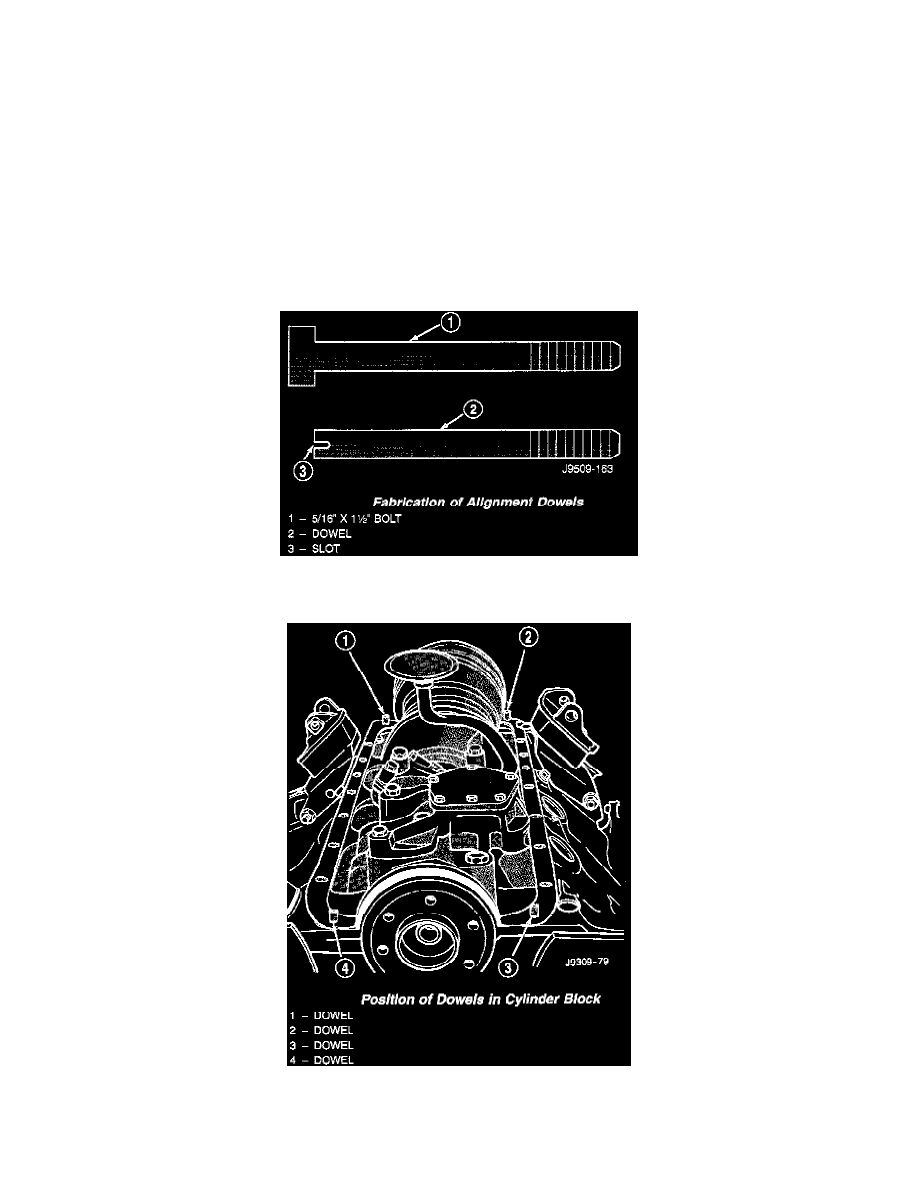
4. Fabricate 4 alignment dowels from 5/16 x 1 1/2 inch bolts. Cut the head off the bolts and cut a slot into the top of the dowel. This will allow easier
installation and removal with a screwdriver.
5. Install the dowels in the cylinder block.
6. Apply small amount of Mopar Silicone Rubber Adhesive Sealant, or equivalent in the corner of the cap and the cylinder block.
7. Slide the one-piece gasket over the dowels and onto the block.
8. Position the oil pan over the dowels and onto the gasket.