RAM 2500 Truck 2WD V8-5.7L VIN D (2004)

by: those vehicles that were unsold at recall launch, those with a phone number, city, zip code, or VIN sequence.
Dealers should perform this repair on all unsold vehicles before retail
delivery. Dealers should also use the VIN list to follow up with all owners to schedule appointments for this repair.
Recall VIN lists may contain confidential, restricted owner name and address information that was obtained from the Department of Motor Vehicles of
various states. Use of this information is permitted for this recall only and is strictly prohibited from all other use.
Owner Notification and Service Scheduling
All involved vehicle owners known to DaimlerChrysler are being notified of the service requirement by mail. They are requested to schedule
appointments for this service with their dealers. A copy of the owner letter is included.
Enclosed with each owner letter is an Owner Notification Form. The involved vehicle and notification are identified on the form for owner or dealer
reference as needed.
Additional Information
If you have any questions or need assistance in completing this action, please contact your Service and Parts District Manager.
Customer Services Field Operations
DaimlerChrysler Corporation
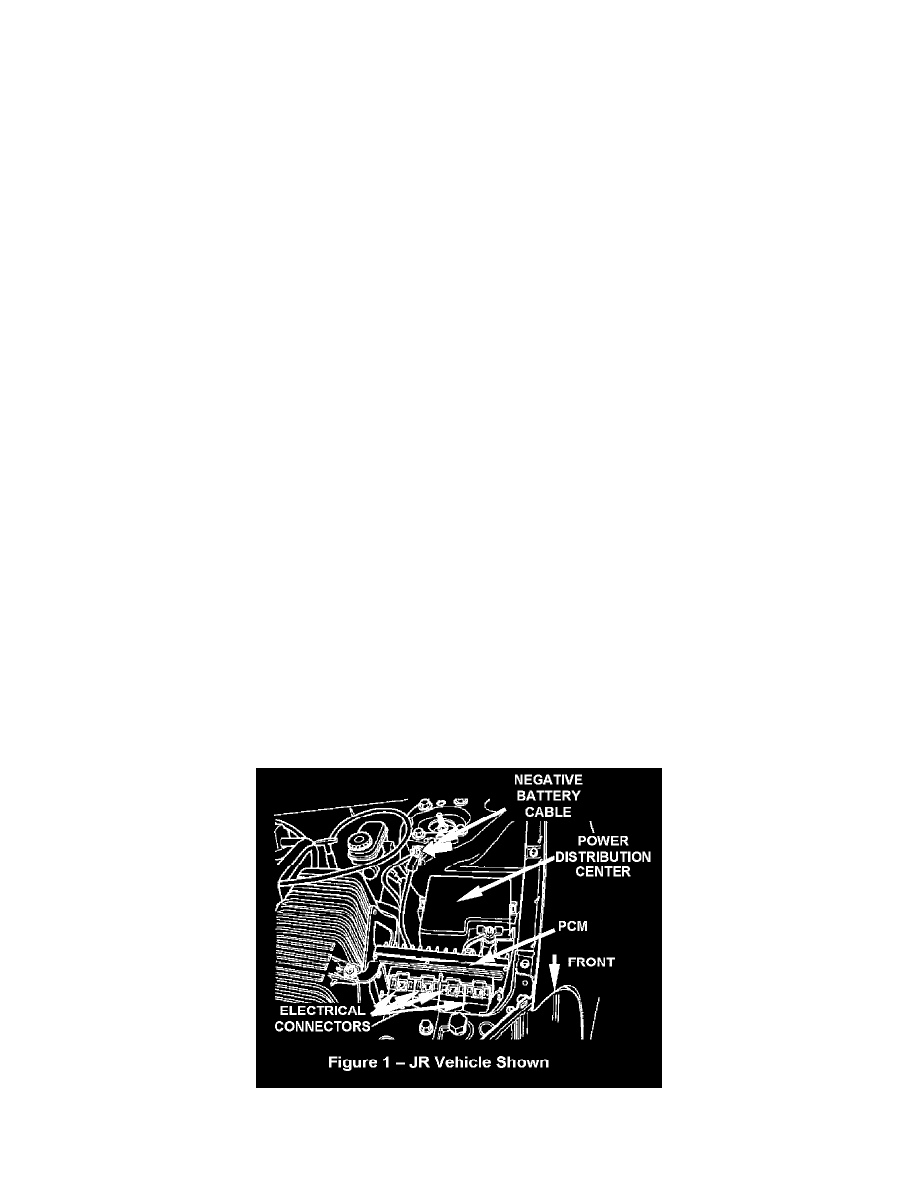
A. Inspect PCM Connectors
IMPORTANT:
Do not remove the electrical connectors from the PCM. This will only increase the risk of disturbing an otherwise sealed connector. An out of place
seal can only be identified while the connector is plugged in.
1.
Disconnect the negative battery cable.
NOTE:
To enhance customer satisfaction, remember to reset the clock when you have completed the service procedure.
2.
For PT and DR vehicles only: Remove the air cleaner assembly.
3.
For CS and RS Vehicles only:
Raise the vehicle on an appropriate hoist.
4.
For CS and RS Vehicles only:
Remove the left front wheel well splash shield.
5.
Remove the PCM mounting bracket screws.
