
RAM 2500 Truck 2WD V8-5.7L VIN D (2004)
1. Drill 6 mm (1/4 inch) diameter hole in center of the plug to be removed.
2. Pry plug out of cover with tapered punch.
3. Clean all chips from shift cover and plug bores. Then clean plug bores with solvent and dry with clean shop towel.
INSTALLATION
EXPANSION PLUG
1. Apply small bead of Mopar silicone sealer or equivalent to outer edge of each new plug.
2. Position each plug in bore and tap into place with hammer and punch or socket.
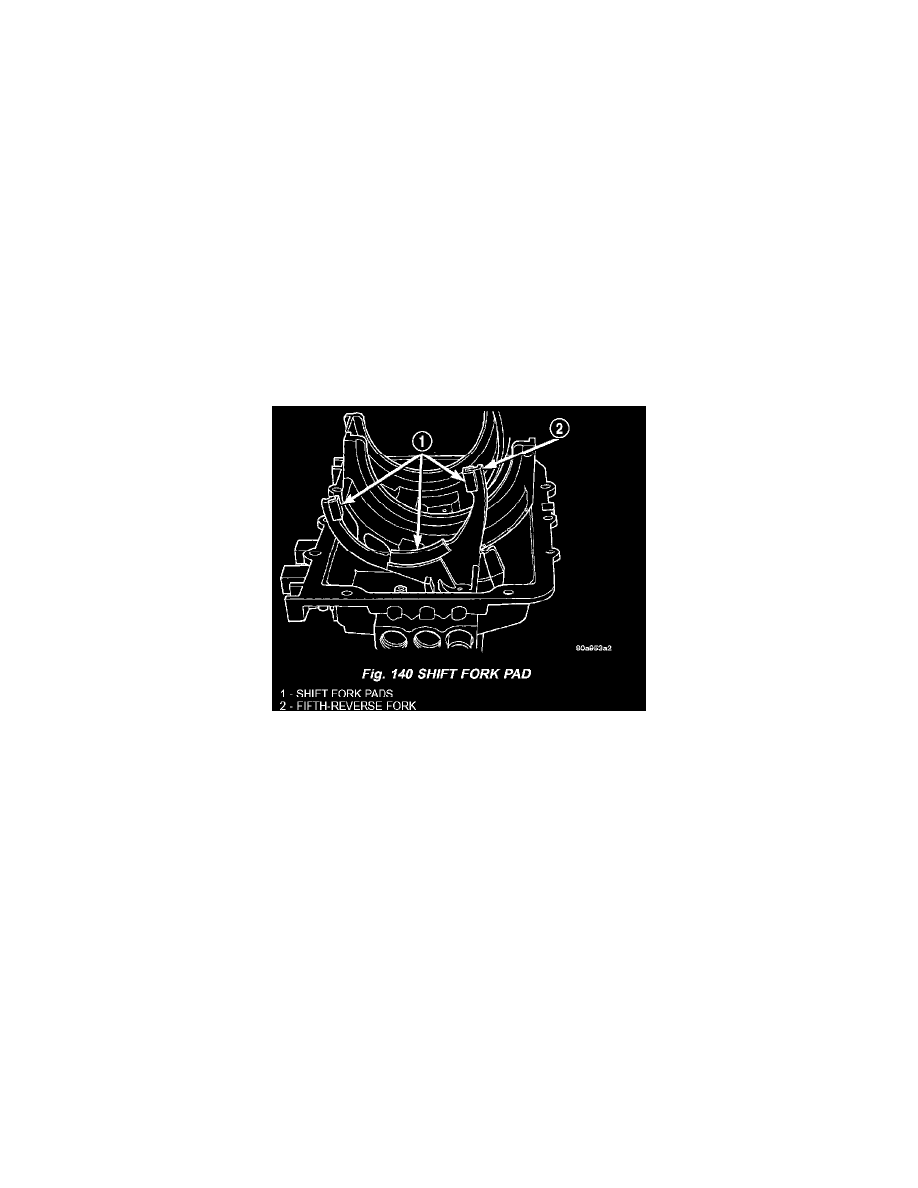
FIFTH-REVERSE SHIFT FORK PADS
1. Align pad locating tab.
2. Snap pads into place and verify locating tabs are locked-in.
SHIFT COVER
1. Clean mating surfaces of shift mechanism cover and gear case with wax and grease remover.
2. Apply a small amount of Mopar silicone sealer or equivalent to sealing surface of shift mechanism cover.
CAUTION: Do not use an excessive amount sealer. Excess can squeezed into gear case and could block lubricant feed holes in time.
3. Lubricate synchro sleeves with Castrol Syntorq gear lubricant or equivalent. Then apply light coat of petroleum jelly to shift fork contact surfaces.
4. Verify shift fork pads (Fig. 140) are secure.
5. Verify 1-2 and 3-4 synchro sleeves and forks in shift cover are in neutral position.
6. Align and seat shift mechanism cover on transmission.
NOTE: If cover will not seat, it may not be aligned on gear case dowels or shift forks are not aligned with sleeves and shift lug.
7. Apply Mopar Lock N' Seal or equivalent to threads of shift cover bolts.
8. Install shift cover mechanism bolts and tighten to 27 - 31 Nm (216 - 276 inch lbs.).
9. Apply sealer to backup lamp switch. Install switch into cover and tighten to 22 - 34 Nm (193 - 265 inch lbs.).
10. Install vent assembly if removed. Apply an adhesive/sealer to vent tube to help secure it in cover.
11. Install transmission.