
RAM 2500 Truck 2WD V8-5.9L VIN 5 HDC (1998)
Slightly lower or reposition the fuel tank as necessary to access the fuel tube clips along the inside of the frame rail.
20.
Install the new fuel tube.
21.
Connect the new fuel tube to the braided fuel hose.
CAUTION:
Pull back on quick connect to insure connector is fully seated.
22.
Connect the fuel tube to the fuel filter/pressure regulator (Figure 5).
CAUTION:
Pull back on quick connect to insure connector is fully seated.
23.
Fully raise tank into position and install the two mounting straps and nuts (Figure 4). Tighten the nuts to 30 ft-lbs (41 N.m). Do NOT over tighten.
24.
Install the center frame stiffener bracket (if necessary).
25.
For vehicles equipped with a 2-piece driveshaft, install the driveshaft center support bearing and bracket assembly.
26.
Connect the fuel filler and vent tubes to the fuel tank (Figure 3). Tighten the hose clamps to 20 in-lbs (2.3 N.m).
27.
Continue with Section C -- Remove Center Heat Shield Bolt.
C. Remove Center Heat Shield Bolt
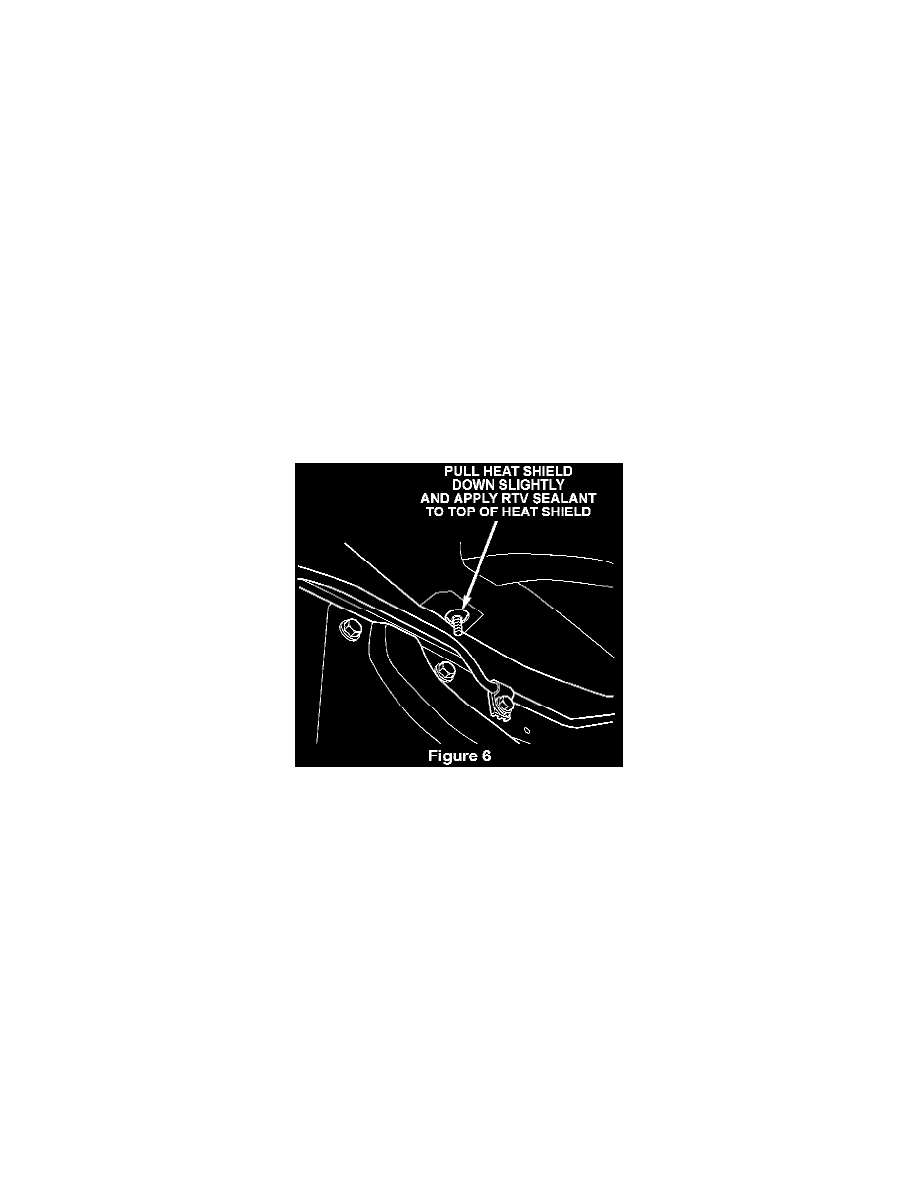
1.
Pull the metal heat shield down slightly and apply RTV sealant to the top of the heat shield around the center bolt hole (Figure 6).
2.
Reinstall only the front attaching nut for the metal heat shield. Do NOT reinstall the center attaching nut.
NOTE:
The rear metal heat shield attaching nut should still be in place.
3.
Install the three (3) fuel tube clips.
4.
Install the white plastic fuel tube heat shield (Figure 1).
5.
Lower the vehicle.
6.
Remove the left (driver) door sill trim.
7.
Remove the left kick panel.