
RAM 2500 Truck 2WD V8-5.9L VIN Z LDC (2000)
Pitman Arm: Service and Repair
REMOVAL
1. Remove the nut from the tie-rod.
2. Remove the tie-rod end ball studs from the steering knuckles with an appropriate puller.
3. Remove inner tie-rod ends from center link.
4. Remove idler arm stud from center link with an appropriate puller. Remove the idler arm bolt from frame bracket.
5. Remove pitman arm ball stud from center link.
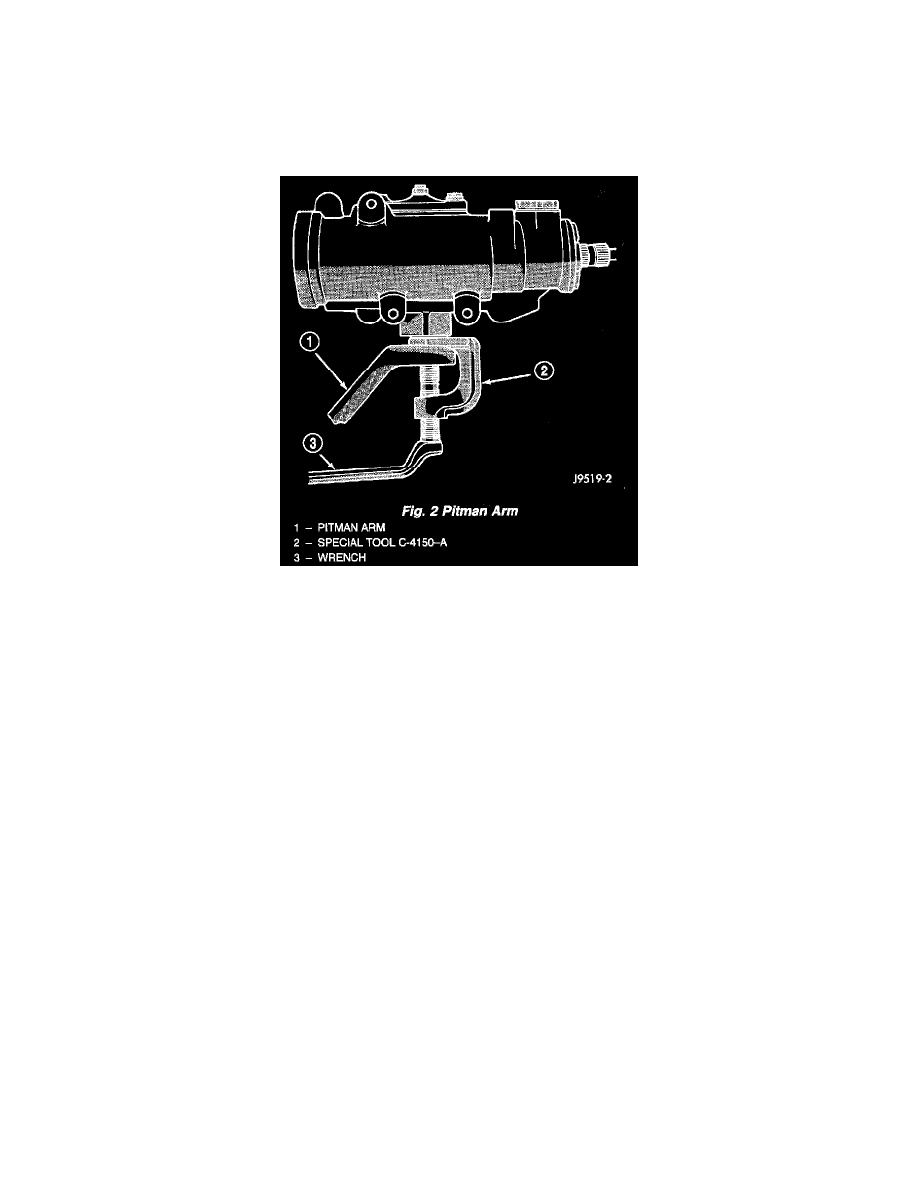
6. Mark the pitman arm and shaft positions for installation reference. Remove pitman arm with Puller C-4150A.
INSTALLATION
1. Position idler arm on the frame bracket and tighten the bolt to specification.
2. Center steering gear to alignment marks and install pitman arm.
3. Install the lock washer and retaining nut on the pitman shaft. Tighten the nut to 251 Nm (185 ft. lbs.).
4. Install center link to ball studs and tighten retaining nuts to specification.
5. Install tie-rod ends into center link and tighten the nuts to 88 Nm (65 ft. lbs.). Install new cotter pins.
6. Install tie-rod ends into steering knuckles and tighten nuts to 108 Nm (80 ft. lbs.).
7. Remove the supports and lower the vehicle to the surface. Center steering wheel and adjust toe (refer to Wheels Tires and Alignment, Alignment,
Adjustment).
NOTE: Position the clamp on the sleeve so retaining bolt is located on the bottom side of the sleeve.
8. After adjustment, tighten the tie-rod adjustment sleeve clamp bolt to 61 Nm (45 ft. lbs.).