RAM 2500 Truck 4WD L6-359 5.9L DSL Turbo VIN D FI (1998)

Axle Shaft: Service and Repair
Conventional Fixed/Floating Axle Shaft
Front Axle
REMOVAL
1. Raise and support the vehicle.
2. Remove the wheel and tire assembly.
3. Remove the brake caliper and rotor. Refer to Brakes, for proper procedures.
4. Remove ABS wheel speed sensor, if equipped. Refer to Brakes, for proper procedures.
5. Remove the cotter pin and axle hub nut.
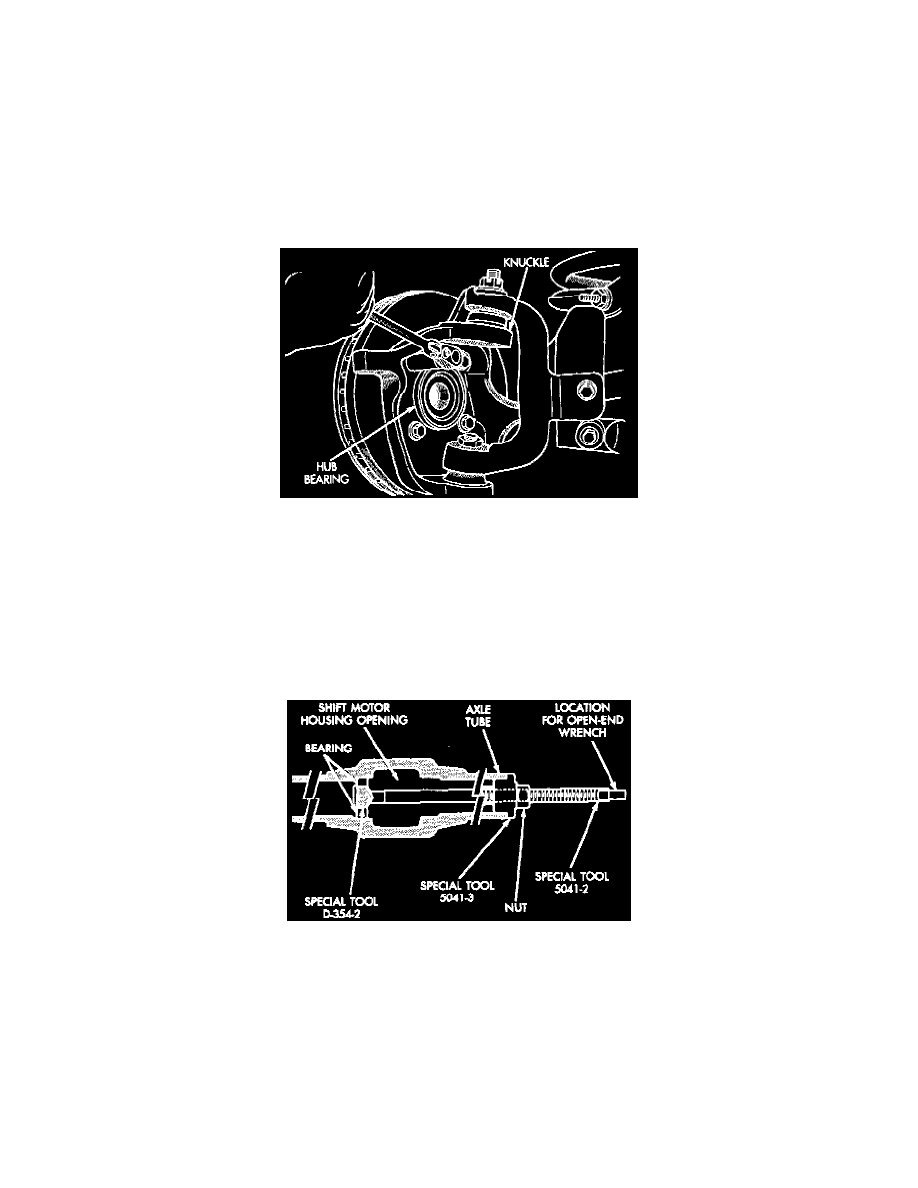
Hub And Knuckle
6. Remove the hub to knuckle bolts. Remove the hub bearing from the steering knuckle and axle shaft.
7. Remove the brake dust shield.
8. Remove the axle shaft from the housing, Avoid damaging the axle shaft oil seal.
9. Remove the vacuum shift motor housing.
10. Remove the outer axle shaft.
11. Remove the inner axle shaft seal from the shift motor housing with a long drift or punch. Be careful not to damage housing.
12. Remove intermediate axle shaft and shift collar.
Intermediate Shaft Bearing Removal
13. Remove the intermediate axle shaft bearing.
INSTALLATION
1. Clean the axle shaft and apply a thin film of MOPAR Wheel Bearing Grease to the shaft splines, seal contact surface, hub bore.
2. Install the axle shaft into the housing and differential side gears. Avoid damaging the axle shaft oil seals in the differential.
3. Install dust shield and hub bearing on knuckle, and axle shaft.
4. Install the hub bearing to knuckle bolts and tighten to 170 Nm (125 ft. lbs.) torque.
5. Install the axle washer and nut, tighten nut to 237 Nm (175 ft. lbs.) torque. Align nut to next cotter pin hole and install new cotter pin.
6. Install ABS wheel speed sensor. Refer to Brakes, for proper procedures.
