
RAM 2500 Truck 4WD L6-5.9L DSL Turbo VIN 6 (1999)
Oil Pan: Service and Repair
Removal and Installation
REMOVAL
1. Disconnect the battery negative cables.
2. Raise vehicle on hoist.
3. Remove transmission and transfer case (if equipped) from vehicle, Refer to Transmission and Drivetrain.
4. Remove flywheel.
5. Disconnect starter cables from starter motor.
6. Remove starter motor and transmission adapter plate assembly.
WARNING: HOT OIL CAN CAUSE PERSONAL INJURY.
7. Drain the used engine oil. Dispose of the used oil properly.
8. Install the oil pan drain plug with a new sealing washer and tighten to 60 Nm (44 ft. lbs.) torque.
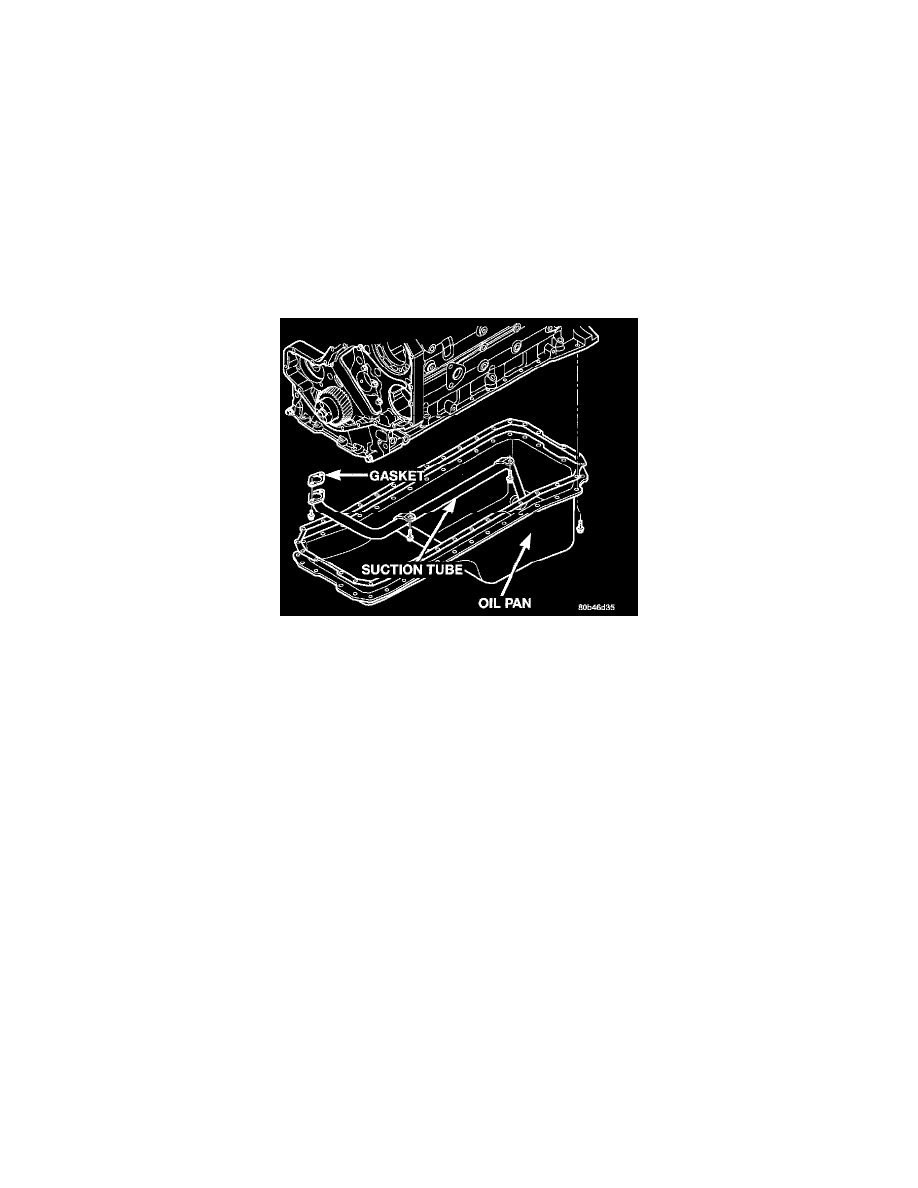
9. Remove oil pan bolts, break the pan to block seal, and lower pan slightly and remove oil suction tube fasteners.
Oil Pan, Suction Tube And Gasket
10. Remove oil pan and suction tube.
INSTALLATION
1. Fill the T-joint between the pan rail/gear housing and pan rail/rear seal retainer with sealant. Use Mopar(R) Silicone Rubber Adhesive Sealant or
equivalent.
2. Place suction tube in oil pan and guide them into place. Using a new tube to oil pump gasket, install and tighten the suction tube bolts by hand.
Starting with the oil pump inlet bolts, tighten the bolts to 24 Nm (18 ft. lbs.) torque. Tighten the remaining tube brace bolts to 24 Nm (18 ft. lbs.)
torque.
3. Starting in the center and working outward, tighten the oil pan bolts to 24 Nm (18 ft. lbs.) torque.
4. Install the flywheel housing assembly with the starter motor attached and tighten bolts to 60 Nm (44 ft. lbs.) torque.
5. Connect starter motor cables.
6. Install transmission and transfer case (if equipped). Refer to Transmission and Drivetrain.
7. Lower vehicle.
8. Install battery negative cables.
9. Fill the crankcase with new engine oil.
10. Start engine and check for leaks. Stop engine, check oil level, and adjust, if necessary.