
RAM 2500 Truck 4WD L6-5.9L DSL Turbo VIN 6 (1999)
Exhaust Pipe: Service and Repair
Exhaust Pipe Replacement
WARNING: IF TORCHES ARE USED WHEN WORKING ON THE EXHAUST SYSTEM, DO NOT ALLOW THE FLAME NEAR THE
FUEL LINES.
REMOVAL
1. Disconnect the battery negative cables.
2. Raise and support the vehicle on a hoist.
3. Saturate the bolts and nuts with heat valve lubricant. Allow 5 minutes for penetration.
4. Remove the exhaust pipe-to-extension pipe clamp. Separate the exhaust pipe and extension pipe.
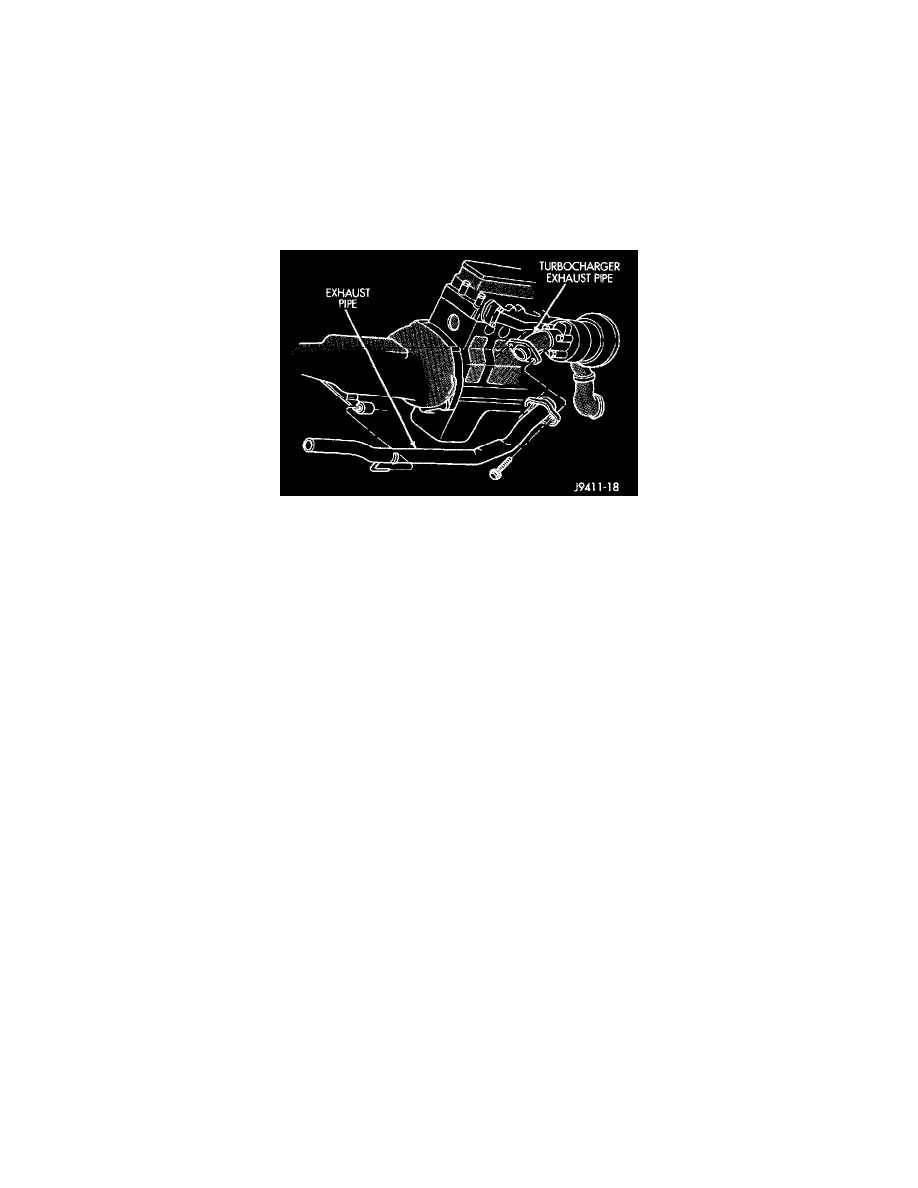
Exhaust Pipe Removal/Installation
5. Remove the exhaust pipe-to-turbocharger elbow bolts.
6. Remove the exhaust pipe from the transmission support.
INSTALLATION
1. Install the exhaust pipe into the transmission support and onto the turbocharger flange.
2. Install the exhaust pipe-to-turbocharger elbow bolts and tighten to 34 Nm (25 ft. lbs.) torque.
3. Install the extension pipe and clamp to the exhaust pipe using a new clamp and tighten the clamp nuts to 43 Nm (32 ft. lbs.) torque.
4. Lower the vehicle.
5. Connect the battery negative cables.
6. Start the engine and inspect for exhaust leaks and exhaust system contact with the body panels. A minimum of 25.4 mm (1.0 inch) is required.
Adjust the alignment, if needed.